
Classic Iced Latte
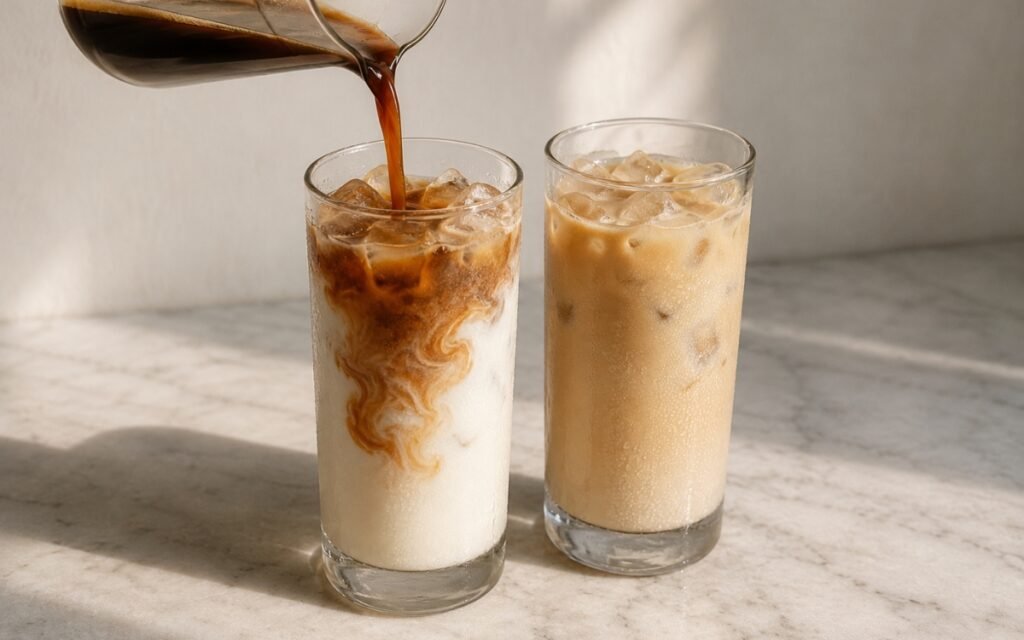
A classic iced latte made with cold milk, ice, and freshly brewed espresso poured over the top so it swirls visibly through the glass before being stirred. Milk-forward, smooth, clean, and simple — the textbook version of an iced latte. Building the glass in the correct order — ice, then cold milk, then espresso poured over the top last — is the technique this whole drink depends on for its signature visual. Pouring the espresso first and adding milk afterward loses that layered swirl entirely, the same build-order principle used elsewhere in this collection whenever a layered drink needs its components to stay visually distinct rather than blending prematurely. Using genuinely cold milk and generous ice, rather than warm or lightly chilled milk, is what keeps the drink crisp and refreshing rather than diluted and lukewarm the moment the hot espresso hits it. Pouring the espresso slowly in a thin stream, rather than dumping it in, is what produces the classic dark ribbons and soft clouds moving through the pale milk. The payoff is a drink that’s genuinely milk-forward and smooth once stirred, with a striking visual moment right before that first stir.
Prep Time : 5 min
Cook Time : 5 min
Servings : 2
5 min
5 min
2
Ingredients
For the Iced Latte
• 4 espresso shots total, about 120ml total (or 2 double shots total, divided between the 2 glasses)
• 360ml cold whole milk (or 2% milk if preferred)
• 8–10 ice cubes, or as needed to fill 2 glasses generously
Optional Sweetener
• 10–20ml simple syrup, to taste, optional, for a sweeter café-style iced latte — this one on Amazon
This post may contain affiliate links. As an Amazon Associate I earn from qualifying purchases, at no additional cost to you.
Directions
- Prepare the Espresso
Brew the espresso fresh so it is hot, aromatic, and concentrated. If using sweetener, stir the simple syrup into the hot espresso now so it dissolves evenly. The espresso should be freshly pulled, dark, and fragrant, with no stale or burnt smell. If it sits too long before pouring, the flavour flattens and the visual swirl becomes less striking. Stirring the simple syrup into the hot espresso rather than the finished cold drink is what lets it dissolve fully and evenly — sugar syrup added directly to a cold, milk-and-ice glass would take considerably longer to distribute and could leave an uneven, overly sweet pool at the bottom. - Fill the Glasses
Divide the ice between 2 tall glasses. Pour 180ml cold milk into each glass over the ice. Leave a little room at the top for the espresso. The glasses should look mostly milk-filled, with the ice clearly visible and enough headroom left so the espresso can sit and swirl through the drink rather than overflow. Building the milk and ice base first, before the espresso is anywhere near the glass, is what sets up the entire visual effect that follows — this order is the foundation everything else in the recipe depends on. - Pour in the Espresso
Slowly pour half of the hot espresso into each glass directly over the milk and ice. Pour gently so the espresso hits the milk surface and falls in visible dark ribbons, creating the classic cloud-like dispersion through the pale milk. You should see distinct dark espresso streaks and soft swirling clouds moving through the glass. That visual moment is the signature look of a classic iced latte. The milk must already be cold and the glasses already filled with ice before the espresso is poured. If the espresso goes in first and the milk follows, you lose the classic layered swirl effect. Pouring slowly in a thin stream, rather than all at once, gives the hot espresso just enough time to fall through the cold milk in distinct ribbons before the two liquids fully mix — a fast pour collapses that separation almost immediately, losing the visual moment this drink is built around. - Stir and Serve
Serve immediately as-is for the visual effect, then stir before drinking so the espresso fully combines with the milk. Once stirred, the drink should become a very pale caramel-beige colour — milk-dominant, smooth, and evenly blended. Presenting the drink unstirred for a moment before mixing is a deliberate part of the experience — that brief window is when the layered swirl is at its most visually striking, before stirring folds everything into the drink’s final, uniform colour.
*Notes :
- The build order in this recipe — ice first, then cold milk, then hot espresso poured over the top — is worth understanding as the single detail responsible for the drink’s entire visual identity. Reversing that order, even slightly, changes the result considerably. Espresso poured into an empty glass with milk added afterward mixes far more uniformly and loses the layered, swirling effect that defines a classic iced latte’s presentation before it’s stirred.
- Keeping the milk genuinely cold, not merely at room temperature, matters more than it might seem given how briefly it’s actually in contact with the hot espresso before serving. Warm milk both fails to properly chill the finished drink and reduces the temperature contrast that makes the espresso’s ribbons visible as it falls through — cold milk is what keeps that swirl crisp and distinct rather than blurred.
- The pace of the espresso pour is a genuine technique detail rather than a stylistic preference. A slow, thin stream gives the hot espresso time to fall through the cold milk in visible ribbons before the two liquids fully combine, which is exactly what produces the cloud-like dispersion this drink is known for. Pouring quickly or dumping the espresso in collapses that separation almost immediately, and the resulting drink never develops the same visual moment.
- Generous ice serves a genuinely functional purpose beyond simply chilling the glass. Hot espresso poured over too little ice dilutes and warms the drink faster than the ice can compensate, softening both the temperature and the flavour balance. A properly generous amount of ice keeps the drink cold and structured through the whole time it’s poured, presented, and finally stirred.
Why This Recipe Works
This recipe works because the glass is built in a specific, deliberate order — ice, then cold milk, then hot espresso poured over the top last — which is what creates the drink’s signature visual swirl before it’s stirred.
Genuinely cold milk and generous ice keep the drink crisp rather than diluted the moment hot espresso is added, and pouring that espresso slowly in a thin stream is what produces the classic dark ribbons and soft clouds moving through the milk.
Serving briefly unstirred, then combining everything into a smooth, pale caramel-beige drink, delivers both the visual moment and the milk-forward, balanced flavour this classic drink is known for.
Ingredient Breakdown
Freshly Brewed, Hot Espresso
The flavour and colour component — pulled fresh for maximum aroma, poured while still hot to create the visual swirl against the cold milk.
Genuinely Cold Whole Milk
The base — kept cold specifically to maximise the temperature contrast that makes the espresso’s ribbons visible as it’s poured.
Generous Ice
The structural component — keeps the drink properly cold and prevents rapid dilution once the hot espresso is added.
Correct Build Order (Ice, Milk, Espresso)
The critical technique — this specific sequence is what creates the layered swirl effect that defines the drink’s presentation.
Slow, Thin-Stream Espresso Pour
The pouring technique — gives the espresso time to fall through the milk in visible ribbons rather than mixing immediately.
Flavor Structure Explained
This iced latte follows a layered balance model:
- Smooth milky foundation (cold whole milk)
- Bold aromatic centre (freshly brewed espresso)
- Cool refreshing structure (ice)
- Optional gentle sweetness (simple syrup)
Cold whole milk provides the smooth, mellow foundation that dominates the finished drink, true to its milk-forward classic style. Freshly brewed espresso layers in bold, aromatic coffee flavour that tints and flavours the milk without overpowering it. Generous ice keeps the whole drink cool and refreshing while the espresso and milk combine. An optional touch of simple syrup, dissolved directly into the hot espresso, adds gentle sweetness for those who prefer a more café-style version.
Common Mistakes to Avoid
- Pouring the Espresso Before the Milk – This loses the classic layered swirl effect entirely. Always build the glass with ice and milk first, espresso last.
- Using Warm or Room-Temperature Milk – This reduces the temperature contrast that makes the swirl visible and leaves the finished drink less refreshing. Always use genuinely cold milk.
- Dumping the Espresso In Quickly – This collapses the visual ribbons and clouds almost immediately. Always pour slowly in a thin stream.
- Skimping on the Ice – Too little ice lets the hot espresso dilute and warm the drink too quickly. Always fill the glass generously.
- Letting the Espresso Sit Too Long Before Pouring – This flattens the flavour and dulls the visual effect. Always pour it while still hot and freshly brewed.
Variations
Sweeter Café-Style Version
Stir 10–20ml of simple syrup into the hot espresso before pouring for a more classic coffee-shop sweetness level.
Oat Milk Version
Substitute a barista-style oat milk for the dairy milk, following the identical cold-milk-and-ice build.
Extra-Strong Version
Increase to 3 shots of espresso per serving for a bolder, more coffee-forward drink, adjusting to taste.
Vanilla Syrup Version
Add vanilla syrup instead of plain simple syrup for a lightly flavoured variation on the same classic build.
Storage & Make-Ahead
This drink is meant to be built and served fresh; it does not hold or store well once assembled, since the ice will continue melting and diluting the drink over time.
Espresso can be brewed just before building the glasses, but should not be brewed far in advance, since its flavour and aroma fade noticeably as it sits.
Cold milk should be kept refrigerated until the moment of use for the best temperature contrast and visual effect.
Frequently Asked Questions
Why does the espresso need to go in last, after the ice and milk?
Pouring the espresso over already-iced, already-cold milk is what creates the layered swirl effect this drink is known for. Reversing the order and adding milk after the espresso mixes the two far more uniformly, losing that visual moment entirely.
Why does the milk need to be cold rather than at room temperature?
Cold milk maximises the temperature contrast against the hot espresso, which is what makes the espresso’s ribbons visible as it falls through and swirls. Warmer milk both reduces that visual effect and makes for a less refreshing finished drink.
Why pour the espresso slowly instead of just adding it quickly?
A slow, thin stream gives the hot espresso time to fall through the cold milk in visible ribbons before the two liquids fully combine. Pouring it quickly collapses that separation almost immediately, and the drink never develops its signature cloud-like swirl.
Why does the recipe call for generous ice rather than just a few cubes?
Hot espresso poured over too little ice dilutes and warms the drink faster than the ice can compensate. A properly generous amount keeps the drink cold and well-structured through pouring, presenting, and stirring.
Are there other iced coffee drinks worth trying?
Iced Vanilla Latte, Iced Caramel Macchiato, Iced Hazelnut Latte, and Iced Mocha all build on this same classic technique, each adding its own flavoured syrup or sauce for a different direction on the same milk-and-espresso foundation.
Nutrition Facts
( per serving )
Calories
~150 kcal
Protein
9 g
Fat
8 g
Carbs
10 g
Calories
~150 kcal
Protein
9 g
Fat
8 g
Carbs
10 g
Related Recipes
Related Recipes

Iced Americano with Lemon
Cold filtered water and ice topped with freshly brewed espresso, finished with a briefly warmed lemon peel twist for elegant citrus lift.
Freddo Espresso
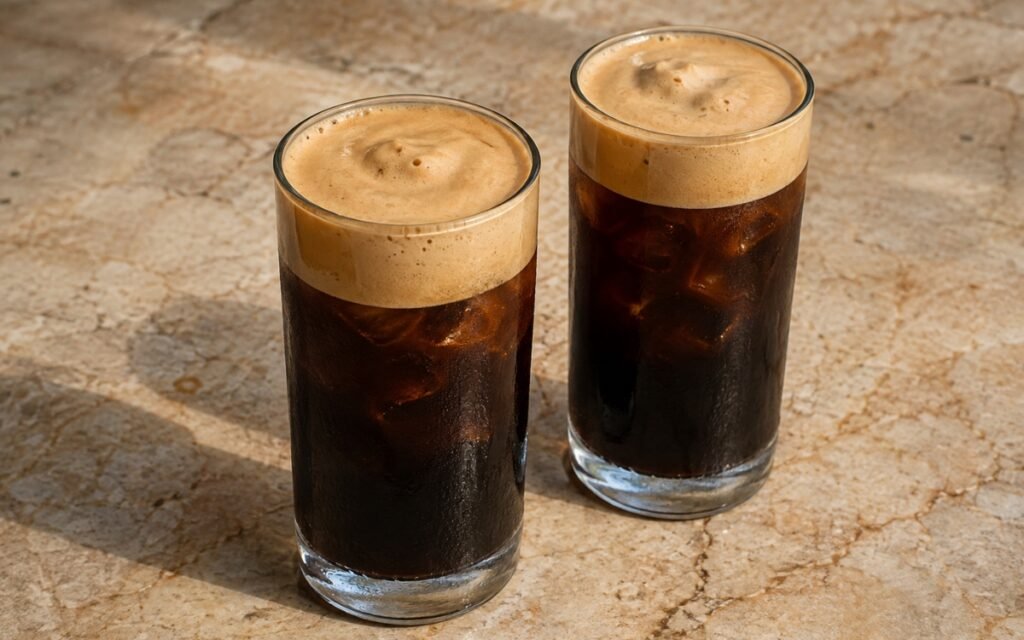
Hot espresso shaken hard with ice until chilled, aerated, and capped with thick foam, then poured over fresh ice.
Iced Spanish Latte with Condensed Milk
Sweetened condensed milk at the base, cold milk and ice in the middle, and freshly brewed espresso poured over the top for a rich, layered latte.


You might also like
You might also like
Mint Lime White Tea Cooler
Properly brewed white tea combined with a cold-style mint-lime infusion and fresh lime juice for a pale, clean, elegant iced tea cooler.
Elderflower Lemonade
Elderflower steeped in warm syrup exactly 6–8 minutes, lightly strained — fresh lemon juice, salt, cold water, chilled 1–2 hours. Honeyed-floral and elegantly clean.
Cheddar Chive Scones
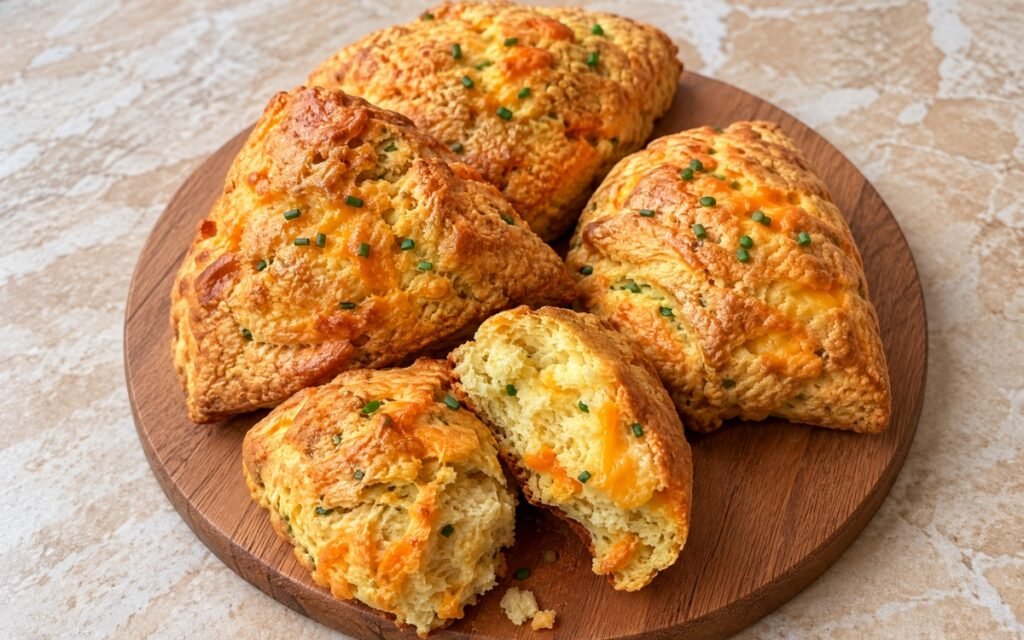
Savory cheddar chive scones with golden craggy tops, buttery flaky interiors, sharp cheddar pockets, and fresh chive flecks throughout.


Classic Iced Latte
Ingredients
Method
- Brew the espresso fresh so it is hot, aromatic, and concentrated. If using sweetener, stir the simple syrup into the hot espresso now so it dissolves evenly. The espresso should be freshly pulled, dark, and fragrant, with no stale or burnt smell. If it sits too long before pouring, the flavour flattens and the visual swirl becomes less striking. Stirring the simple syrup into the hot espresso rather than the finished cold drink is what lets it dissolve fully and evenly — sugar syrup added directly to a cold, milk-and-ice glass would take considerably longer to distribute and could leave an uneven, overly sweet pool at the bottom.
- Divide the ice between 2 tall glasses. Pour 180ml cold milk into each glass over the ice. Leave a little room at the top for the espresso. The glasses should look mostly milk-filled, with the ice clearly visible and enough headroom left so the espresso can sit and swirl through the drink rather than overflow. Building the milk and ice base first, before the espresso is anywhere near the glass, is what sets up the entire visual effect that follows — this order is the foundation everything else in the recipe depends on.
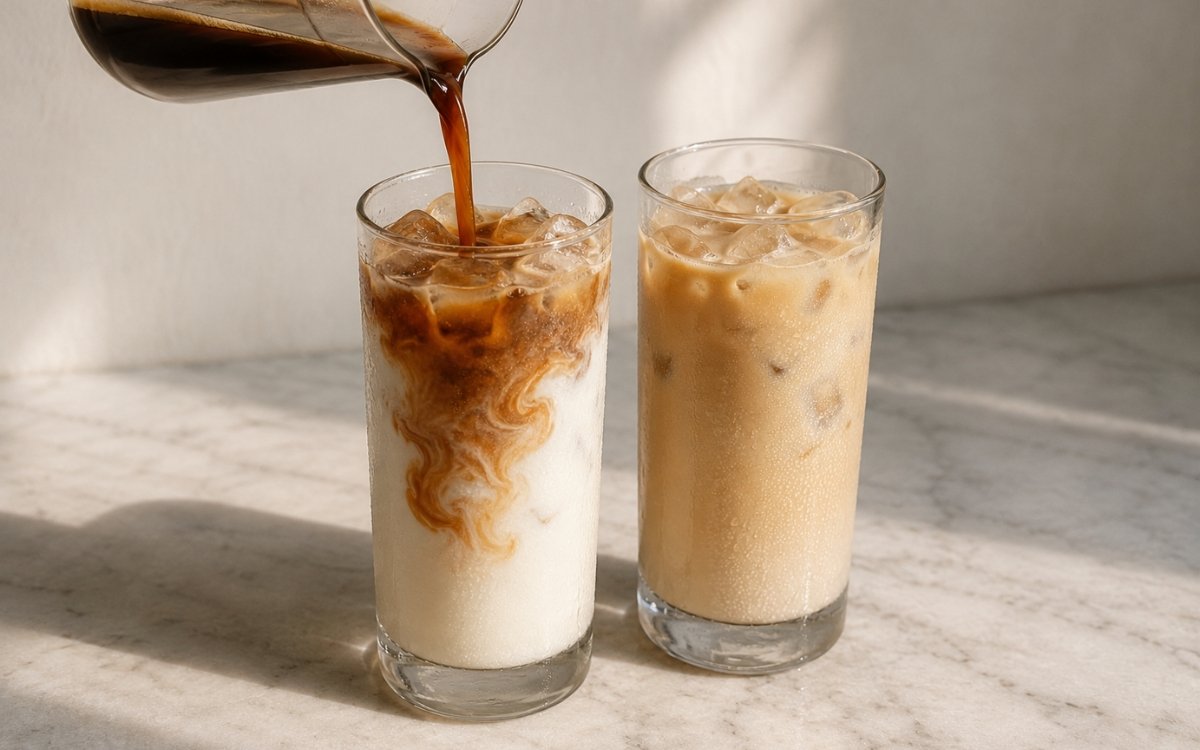
- Slowly pour half of the hot espresso into each glass directly over the milk and ice. Pour gently so the espresso hits the milk surface and falls in visible dark ribbons, creating the classic cloud-like dispersion through the pale milk. You should see distinct dark espresso streaks and soft swirling clouds moving through the glass. That visual moment is the signature look of a classic iced latte. The milk must already be cold and the glasses already filled with ice before the espresso is poured. If the espresso goes in first and the milk follows, you lose the classic layered swirl effect. Pouring slowly in a thin stream, rather than all at once, gives the hot espresso just enough time to fall through the cold milk in distinct ribbons before the two liquids fully mix — a fast pour collapses that separation almost immediately, losing the visual moment this drink is built around.
- Serve immediately as-is for the visual effect, then stir before drinking so the espresso fully combines with the milk. Once stirred, the drink should become a very pale caramel-beige colour — milk-dominant, smooth, and evenly blended. Presenting the drink unstirred for a moment before mixing is a deliberate part of the experience — that brief window is when the layered swirl is at its most visually striking, before stirring folds everything into the drink’s final, uniform colour.