
Japanese Oyakodon
A classic Japanese chicken-and-egg rice bowl built from tender bite-size chicken thigh and soft, translucent onion simmered in a light soy-dashi sauce, then finished with delicately set, streaky egg and spooned over warm, slightly sticky short-grain rice. Pouring the beaten egg over the pan in two stages, rather than all at once, is the technique this whole bowl depends on for silky, custardy ribbons — a single heavy pour sets into one dense, uniform layer that turns dry and omelette-like, the same add-in-stages-and-stop-early principle used elsewhere in this collection whenever a delicate egg must finish from residual heat. Beating the eggs only until the whites and yolks are just broken up is what keeps the topping streaky, with golden and pale ribbons instead of a flat yellow blanket. Simmering the chicken and onion gently in a balanced broth, two bowls at a time, is what keeps the thigh juicy and the sauce moist rather than soupy. The payoff is a bowl with real, comforting contrast — tender chicken, sweet soft onion, and glossy golden egg that is custardy with a few slightly runny patches, resting on tender rice and lifted by fresh scallion.

Prep Time : 15 min
Total Time : 40 min
Servings : 4
15 min
40 min
4
Ingredients
For the Rice
• 320g Japanese short-grain rice, uncooked
• About 350ml water, or as your rice cooker or usual method directs
• Or use about 850–900g cooked short-grain rice, reheated until steaming hot
For the Chicken and Onion
• 600g boneless skinless chicken thighs, cut into bite-size pieces
• 2 medium yellow onions, halved and thinly sliced
For the Egg
• 6 large eggs
• 2 extra egg yolks, optional, for a richer, silkier finish
For the Oyakodon Simmering Broth
• 500ml dashi
• 80ml soy sauce
• 80ml mirin
• 2 tbsp sake
• 1½–2 tbsp sugar
For the Garnish
• 2–3 scallions, thinly sliced
• Or 1 small bunch mitsuba, roughly chopped
Directions
- Cook the Rice
Rinse the 320g of Japanese short-grain rice in a bowl of cold water, swirling and draining several times, until the water runs mostly clear, then drain well. Cook it with about 350ml water in a rice cooker or covered saucepan according to your usual method, or use 850–900g of ready-cooked rice instead, and start it before the topping so it finishes hot. Keep the rice covered and warm, then fluff it with a paddle just before serving so the grains stay tender and slightly sticky. That tender, lightly sticky texture is what lets the rice support the topping instead of turning pasty or falling apart under it. - Beat the Eggs
Crack the 6 large eggs into a bowl, adding the 2 extra egg yolks if you want a richer, silkier finish. Beat very lightly with chopsticks or a fork, just enough to break up the whites and yolks, and stop while streaks of white and yolk are still visible rather than blending to a uniform yellow. Divide the egg between two small bowls or jugs, so each batch has its own half, ready to pour in two parts. That restraint is what gives the finished topping soft ribbons and custardy patches instead of a flat, evenly mixed set. - Mix the Simmering Broth
In a bowl or jug, combine the 500ml dashi, 80ml soy sauce, 80ml mirin, 2 tbsp sake, and 1½–2 tbsp sugar, then stir until the sugar fully dissolves. Start with 1½ tbsp sugar and taste, adding the rest only if the broth seems sharp, because it should be savoury, slightly sweet, and light rather than harshly salty. Keep the jug close to the stove, since the broth is used in two equal halves of about 350ml for the two batches. That balance is what keeps the finished bowl moist but never soupy. - Simmer the Onion
Cook in two batches, each making 2 bowls, for better control of the egg. For the first batch, pour half the broth into a medium skillet or shallow pan, add half the sliced onion, and bring to a gentle simmer over medium heat. Simmer for 2–3 minutes, until the onion begins to soften and turn translucent, keeping the bubbles lazy rather than rolling. That gentle start is what softens the onion and sweetens the broth before the chicken goes in. - Cook the Chicken
Add half the chicken, about 300g, to the pan in a single layer, nestling the pieces among the onion. Simmer for 5–7 minutes, turning once or twice, until the chicken is just cooked through, reaching at least 74°C in the thickest piece, and the onions are fully tender but still holding their shape. Lower the heat if the sauce begins to tighten or the bubbles turn aggressive. That single layer in a gentle simmer is what cooks every piece evenly while leaving enough sauce for the egg to set in. - Add the Egg in Two Stages
Once the chicken is cooked, pour about two-thirds of that batch’s beaten egg evenly over the pan in a slow circle, so it lands across the chicken and onion. Cover and cook for 30–60 seconds, until the egg begins to set softly at the edges. Drizzle the remaining egg over the top, cover again very briefly, and remove the pan from the heat as soon as the egg looks softly custardy and glossy, with some slightly runny areas. That second pour is what adds layered, golden ribbons, and stopping early lets residual heat finish the set without drying it. - Assemble and Serve
Divide the hot rice among 4 bowls, about 210g of cooked rice each. Spoon or slide the first batch of chicken, onion, egg, and a little of the sauce over two of the bowls, leaving the rice partly visible around the edges, and garnish with sliced scallions or mitsuba. Repeat the onion, chicken, and egg stages with the remaining half of each for the last two bowls, then serve immediately. That small amount of sauce, with the egg still softly set, is what makes the topping sit gently over the rice instead of flooding the bowl.
*Notes :
- Adding the egg in two stages deserves genuine recognition as the technique most directly responsible for the silky, layered texture of the topping. The first pour sets into a soft base while the second stays loose on top, whereas a single heavy pour sets into one dense layer that turns dry and omelette-like by the time it reaches the table.
- Cooking in two batches of two bowls deserves the same attention this technique receives throughout this collection’s other quick skillet dishes. A medium pan keeps the broth shallow and the egg within easy reach, whereas four portions in one large pan spread the egg thin and make the exact moment to pull it from the heat far harder to judge.
- Keeping the simmer gentle deserves genuine respect as the detail most directly responsible for juicy chicken and a moist, balanced sauce. Hard boiling tightens the thigh meat and reduces the broth into something salty and syrupy, which leaves less liquid for the egg to set in and makes the finished bowl taste harsh instead of light.
- Lightly beating the eggs deserves attention as a genuine, checkable visual cue rather than a loose approximation. Streaks of white and yolk should still be visible in the bowl, because that unevenness is exactly what turns into golden ribbons and pale, custardy patches once the egg meets the hot broth.
Why This Recipe Works
This recipe works because a balanced broth of dashi, soy sauce, mirin, sake, and sugar seasons the thigh and onion as they simmer, so the sauce stays light, savoury, and gently sweet. Cooking in two small batches keeps the heat gentle and the egg easy to control. Pouring lightly beaten egg in two stages builds soft, streaky ribbons with custardy patches instead of one uniform set. Stopping while the egg is still glossy lets residual heat finish the job, and short-grain rice underneath soaks up just enough sauce to carry every bite.
Ingredient Breakdown
Lightly Beaten Eggs (Added in Two Stages)
The critical technique — a loose beat and two-part pour create golden ribbons and custardy patches, not a dense layer.
Boneless Skinless Chicken Thighs
The critical ingredient choice — thigh meat stays juicy through gentle simmering and gives the most classical result, where breast would turn dry.
Dashi-Based Simmering Broth
The flavour foundation — dashi, soy sauce, mirin, sake, and sugar form a light, savoury-sweet sauce that seasons everything in the pan.
Gently Simmered Yellow Onion
The core flavour-building stage — slow softening turns the slices translucent and sweet, adding body to the broth without falling apart.
Japanese Short-Grain Rice (Not Long-Grain)
The structural foundation — its tender, slightly sticky grains support the topping and absorb a little sauce without turning pasty.
Scallion or Mitsuba Garnish
The finishing touch — mitsuba is more traditional, though scallions are an acceptable fresh, green lift that keeps the bowl simple.
Flavor Structure Explained
This oyakodon follows a layered balance model:
- Soft, starchy foundation (Japanese short-grain rice)
- Juicy, savoury core (chicken thigh, yellow onion)
- Light, umami broth (dashi, soy sauce, sake)
- Gentle sweet balance (mirin, sugar, simmered onion)
- Silky, golden finish (lightly beaten egg, scallion or mitsuba)
Tender short-grain rice gives the bowl a soft, slightly sticky base. Chicken thigh and onion form the juicy, savoury core, simmered in a light dashi, soy, and sake broth that adds quiet umami. Mirin and sugar round the sauce with gentle sweetness so it never turns harsh, while the softened onion adds its own mellow sugar. Lightly set egg and a scatter of scallion or mitsuba finish each bowl with a silky, fresh note that ties the oyakodon together.
Common Mistakes to Avoid
- Beating the Eggs Until Smooth – This produces a uniform, flat yellow set with no ribbons or custardy patches. Always beat just enough to break up the whites and yolks, leaving visible streaks.
- Pouring All the Egg at Once – This sets into one dense layer that cooks through too quickly and turns dry. Always pour about two-thirds first, then drizzle the remaining egg over the top.
- Boiling the Broth Hard – This toughens the chicken and reduces the sauce until it turns salty and syrupy. Always keep the simmer gentle and lower the heat if the bubbles turn rolling.
- Cooking All Four Servings in One Pan – This spreads the egg thin and makes the doneness window hard to judge. Always cook two bowls at a time in a medium skillet.
- Leaving the Egg on the Heat Too Long – This lets residual heat push the topping past custardy into dry, scrambled curds. Always remove the pan while the egg still looks glossy and slightly loose in places.
Variations
Richer Yolk Version
Stir the 2 extra egg yolks into the lightly beaten eggs, as the optional ingredient suggests, to give the topping a deeper golden colour and an even silkier, more custardy finish.
Mitsuba Version
Garnish each bowl with a small bunch of roughly chopped mitsuba instead of scallions, giving the dish the more traditional green, herbal aroma that lifts the sweet and savoury sauce.
Single-Pan Version
Cook all four servings at once in a large pan for convenience, taking extra care with the egg, since it is harder to control and two smaller batches usually give a better result.
Cooked-Rice Shortcut Version
Replace the uncooked rice with 850–900g of ready-cooked short-grain rice, reheated until steaming, to skip the rice stage and bring the whole dinner together noticeably faster.
Storage & Make-Ahead
Oyakodon is best served immediately, because the egg keeps setting from residual heat, so plan to eat each bowl within a few minutes of assembly while the topping is silky and the rice is hot.
Cook the rice ahead and keep it warm in the cooker, or cool leftover rice quickly and refrigerate it in an airtight container for up to 2 days, then reheat it until steaming before topping.
The simmering broth can be mixed up to 2 days ahead and refrigerated in a covered jar, and the chicken and onion can be sliced a day ahead and kept refrigerated, so only the cooking remains.
Leftover topping keeps in an airtight container in the refrigerator for up to 1 day, though the egg will firm and lose some of its silkiness, so it is best treated as a reheated second-best.
Reheat leftover topping gently in a small pan with a splash of dashi or water over low heat just until hot, then spoon it over freshly reheated rice, and do not freeze it because cooked egg turns rubbery.
Frequently Asked Questions
Why is the egg only lightly beaten for oyakodon?
A loose beat leaves streaks of white and yolk, which set into golden ribbons and soft, custardy patches, whereas a fully blended egg sets into one flat, uniform layer with no texture.
Why is the egg added in two separate stages?
The first two-thirds sets into a soft base while the remaining drizzle stays looser on top, giving a layered, silky texture and a more classic depth that a single pour cannot match.
Why are the chicken and onion cooked in two batches of two bowls?
A medium pan keeps the broth shallow and the egg easy to watch, so you can pull it at exactly the right moment, whereas four portions in one large pan spread the egg thin and make timing much harder.
Why are boneless chicken thighs used instead of breast?
Thigh meat holds more fat and connective tissue, so it stays juicy and tender after a gentle simmer in the broth and gives the most classical result, while breast dries out faster.
Are there other classic Japanese rice bowl, rice ball, or cucumber salad dishes worth trying?
Katsudon offers another classic Japanese rice bowl direction worth exploring, while Japanese Chicken Yakitori Rice Bowl is also worth trying for another chicken-over-rice dish. Teriyaki Chicken Rice Bowl and Japanese Cucumber Salad (Sunomono) offer other glossy and refreshing directions, and Onigiri Rice Balls make a handheld rice option worth exploring.
Nutrition Facts
( Per Serving )
Calories
~700 kcal
Protein
48 g
Fat
19 g
Carbs
84 g
Calories
~700 kcal
Protein
48 g
Fat
19 g
Carbs
84 g
Related Recipes
Related Recipes
-

Mexican Pastel Azteca / Mexican Lasagna
Soft corn tortillas layered with shredded chicken, roasted poblano rajas, red tomato-chile sauce, crema, and melted cheese into a golden, sliceable Mexican casserole.
-
Tom Yum Noodle Soup
Shrimp, mushrooms and rice noodles in a red-orange hot-and-sour broth with lemongrass, galangal, kaffir lime leaves, nam prik pao, fish sauce and lime.
-
Alambre Tacos
Soft corn tortillas filled with charred steak, smoky bacon, blistered peppers and onions, and melted Oaxaca cheese, finished with salsa roja, cilantro, and scallions.


You might also like
You might also like
-
Chicken Pad Thai
Stir-fried flat rice noodles with browned chicken, egg, bean sprouts and garlic chives in a tamarind sauce, topped with peanuts and lime.
-
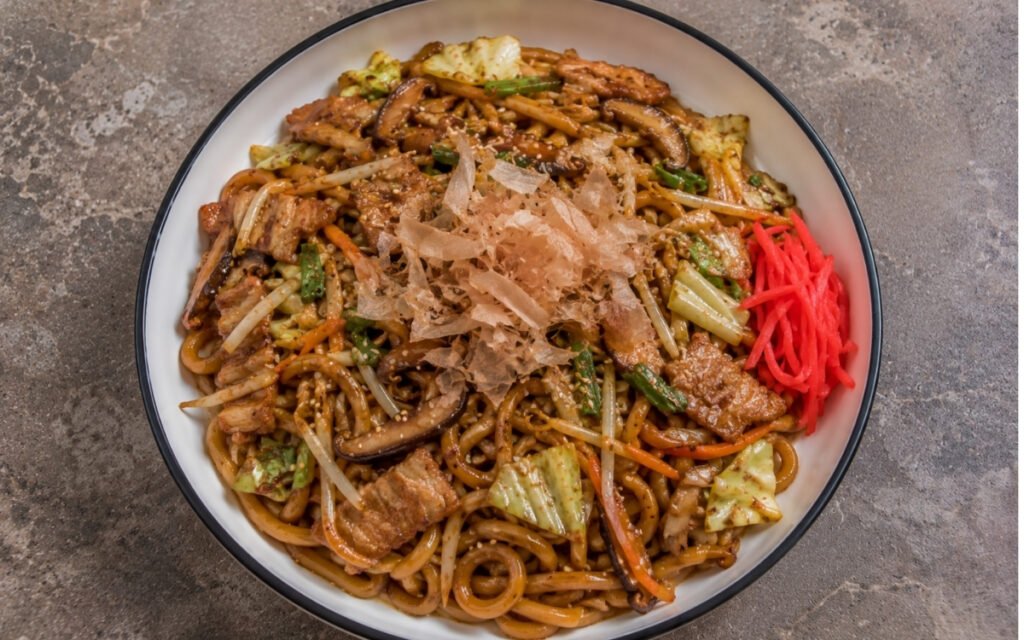
Yaki Udon Stir-Fry Noodles
Pork belly, shiitake, and udon in a smoking-hot wok — soy-mirin sauce, bonito flakes, pickled ginger, 27 minutes.
-
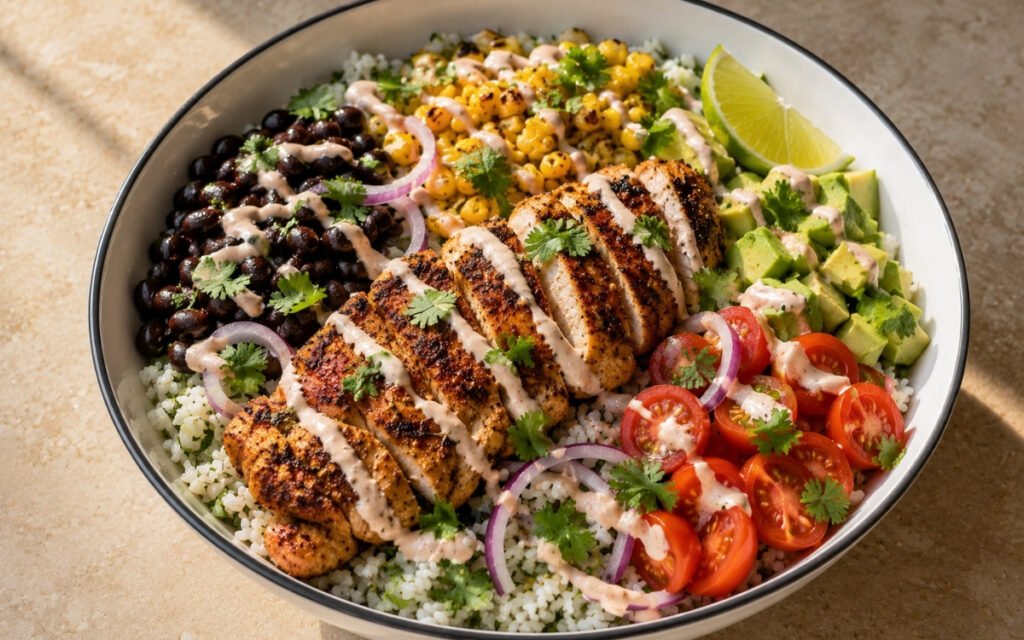
Chili Lime Chicken Rice Bowl
Chili-lime marinated chicken and charred corn over cilantro-lime rice with black beans, avocado, and Greek yogurt crema — vibrant, balanced, 45 minutes.


Japanese Oyakodon
Ingredients
Method
- Rinse the 320g of Japanese short-grain rice in a bowl of cold water, swirling and draining several times, until the water runs mostly clear, then drain well. Cook it with about 350ml water in a rice cooker or covered saucepan according to your usual method, or use 850–900g of ready-cooked rice instead, and start it before the topping so it finishes hot. Keep the rice covered and warm, then fluff it with a paddle just before serving so the grains stay tender and slightly sticky. That tender, lightly sticky texture is what lets the rice support the topping instead of turning pasty or falling apart under it.
- Crack the 6 large eggs into a bowl, adding the 2 extra egg yolks if you want a richer, silkier finish. Beat very lightly with chopsticks or a fork, just enough to break up the whites and yolks, and stop while streaks of white and yolk are still visible rather than blending to a uniform yellow. Divide the egg between two small bowls or jugs, so each batch has its own half, ready to pour in two parts. That restraint is what gives the finished topping soft ribbons and custardy patches instead of a flat, evenly mixed set.
- In a bowl or jug, combine the 500ml dashi, 80ml soy sauce, 80ml mirin, 2 tbsp sake, and 1½–2 tbsp sugar, then stir until the sugar fully dissolves. Start with 1½ tbsp sugar and taste, adding the rest only if the broth seems sharp, because it should be savoury, slightly sweet, and light rather than harshly salty. Keep the jug close to the stove, since the broth is used in two equal halves of about 350ml for the two batches. That balance is what keeps the finished bowl moist but never soupy.
- Cook in two batches, each making 2 bowls, for better control of the egg. For the first batch, pour half the broth into a medium skillet or shallow pan, add half the sliced onion, and bring to a gentle simmer over medium heat. Simmer for 2–3 minutes, until the onion begins to soften and turn translucent, keeping the bubbles lazy rather than rolling. That gentle start is what softens the onion and sweetens the broth before the chicken goes in.
- Add half the chicken, about 300g, to the pan in a single layer, nestling the pieces among the onion. Simmer for 5–7 minutes, turning once or twice, until the chicken is just cooked through, reaching at least 74°C in the thickest piece, and the onions are fully tender but still holding their shape. Lower the heat if the sauce begins to tighten or the bubbles turn aggressive. That single layer in a gentle simmer is what cooks every piece evenly while leaving enough sauce for the egg to set in.
- Once the chicken is cooked, pour about two-thirds of that batch’s beaten egg evenly over the pan in a slow circle, so it lands across the chicken and onion. Cover and cook for 30–60 seconds, until the egg begins to set softly at the edges. Drizzle the remaining egg over the top, cover again very briefly, and remove the pan from the heat as soon as the egg looks softly custardy and glossy, with some slightly runny areas. That second pour is what adds layered, golden ribbons, and stopping early lets residual heat finish the set without drying it.
- Divide the hot rice among 4 bowls, about 210g of cooked rice each. Spoon or slide the first batch of chicken, onion, egg, and a little of the sauce over two of the bowls, leaving the rice partly visible around the edges, and garnish with sliced scallions or mitsuba. Repeat the onion, chicken, and egg stages with the remaining half of each for the last two bowls, then serve immediately. That small amount of sauce, with the egg still softly set, is what makes the topping sit gently over the rice instead of flooding the bowl.