
Hawaiian Garlic Shrimp Bowl
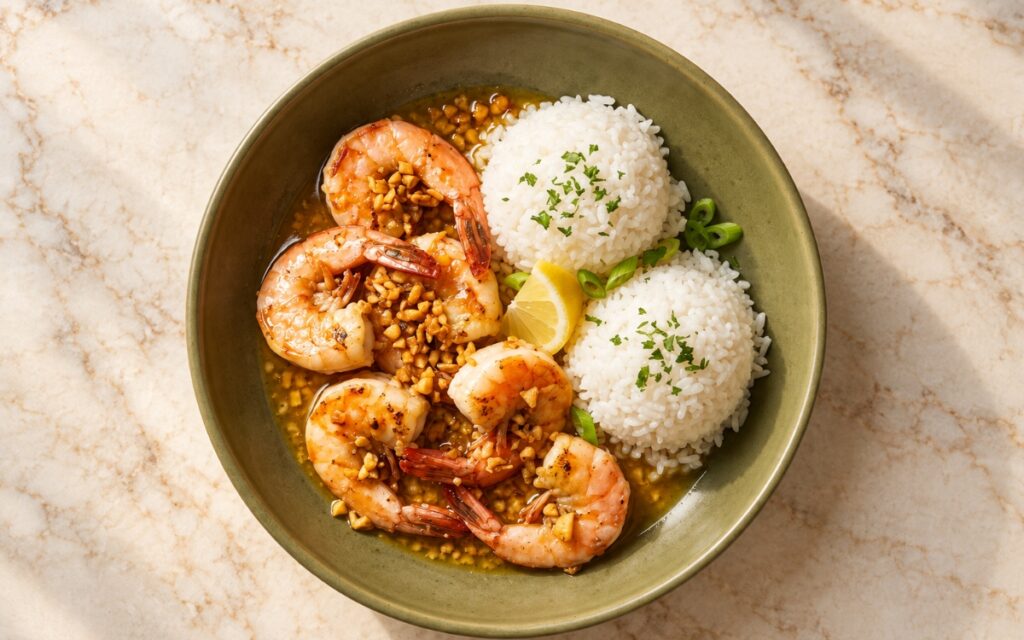
Hawaiian plate-lunch style garlic shrimp bowls built from large shell-on shrimp seared under a light flour coating, then tossed in a loose, golden garlic butter sauce thick with toasted garlic, served beside two neat scoops of fluffy white rice with a lemon wedge, parsley, and scallions, the key being the contrast between buttery richness and bright lemon. Toasting the garlic gently in butter and oil, rather than frying it hard alongside the shrimp, is the technique this whole bowl depends on for a sauce that is aggressively garlicky without turning bitter — garlic taken past lightly golden tastes acrid and flattens the butter, the same low-and-slow-aromatics principle used elsewhere in this collection whenever garlic carries the dish. Searing the lightly floured shrimp in a single layer over medium-high heat is what gives them a thin, slightly crusted surface that the sauce can cling to. Finishing the shrimp in the sauce for only 30–60 seconds is what keeps them tender and curled rather than tight and rubbery. The payoff is a bowl with real, generous plate-lunch character — juicy, sweet shrimp in a glossy, peppery garlic butter sauce beside soft white rice, lifted by lemon and a fresh finish of parsley and scallion.
Prep Time : 15 min
Total Time : 40 min
Servings : 4
15 min
40 min
4
Ingredients
For the Rice
• 320g white rice, preferably jasmine or medium-grain white rice
• 480–520ml water, as needed for your rice
• ½ tsp salt
For the Shrimp
• 900g large shell-on shrimp, preferably headless, shells left on where possible
• 1 tsp kosher salt
• ½ tsp black pepper
• 1 tsp sweet paprika
• ¼ tsp cayenne pepper, or to taste
• 40g all-purpose flour
• 20g rice flour or cornstarch, optional, for a lighter coating
• 2 tbsp neutral oil, for searing
For the Garlic Butter Sauce
• 80g unsalted butter, divided in half
• 14–16 garlic cloves, finely chopped
• 2 tbsp neutral oil, for the garlic base
• 2 tbsp lemon juice
• 1 tbsp soy sauce
• 60–80ml chicken stock or water
• ½ tsp paprika
• A pinch of cayenne or chili flakes, optional
• Salt, to taste
• Black pepper, to taste
For the Garnish and Serving
• 1 lemon, cut into wedges
• 2 tbsp finely chopped parsley
• 2 scallions, thinly sliced
Directions
- Cook the Rice
Rinse the 320g of rice under cold water until the water runs mostly clear, then drain well. Combine it with the water and ½ tsp salt in a pot, bring to a boil, cover tightly, and cook on low heat for about 12–15 minutes until tender, or use your rice cooker. Keep the rice covered off the heat for 10 minutes, then fluff gently with a fork. It should be tender and fluffy rather than wet, and firm enough to hold its shape when scooped. That covered rest is what lets the grains finish steaming evenly, so the rice scoops cleanly for the plate-lunch look. - Prep the Shrimp
Pat the 900g of shrimp very dry with paper towels. If a vein is visible, slit lightly along the back through the shell and lift it out, leaving the shells on wherever possible. In a large bowl, toss the shrimp with the kosher salt, black pepper, sweet paprika, ¼ tsp cayenne, 40g flour, and the rice flour or cornstarch if using, until each shrimp wears only a thin, dusty coating. Shake off any clumps. That dry surface and light coat are what let the shrimp sear instead of steam and help the garlic butter cling. - Toast the Garlic Base
Heat a large skillet over medium heat and add the 2 tbsp of neutral oil for the garlic base with half of the butter, about 40g. When the butter foams, add the 14–16 chopped garlic cloves and cook gently, stirring often, for 2–3 minutes until fragrant and only lightly golden. Scrape the garlic and its buttery fat into a small bowl and set it aside, leaving the skillet on the heat. Moving the garlic out is what keeps it from scorching during the hot sear and turning bitter. - Sear the Shrimp
Raise the heat to medium-high and add 1 tbsp of the searing oil, keeping the other tablespoon for the second batch if needed. Lay half of the shrimp in a single layer without crowding and sear for about 1½–2 minutes per side, until pink-orange, lightly browned at the edges, and almost cooked through. Remove them to a plate as soon as they curl into a loose “C” shape, then sear the second batch the same way and return all the shrimp to the pan together. That single layer is what lets the shrimp brown rather than steam into pale, tight curls. - Finish the Garlic Butter Sauce
Lower the heat to medium and return the toasted garlic and its fat to the skillet. Add the remaining 40g of butter, the lemon juice, soy sauce, 60–80ml of stock or water, ½ tsp paprika, and a small pinch of cayenne or chili flakes if using. Toss the shrimp until glossy and fully coated, then simmer for 30–60 seconds, just until the sauce looks lightly emulsified and the garlic is richly golden. Taste and add salt and black pepper only now, since the soy sauce already adds salinity. That brief simmer finishes the shrimp until opaque, about 63°C / 145°F, without letting them toughen. - Assemble the Bowls
Divide the rice among 4 bowls, shaping two neat scoops of rice in each, and set the shrimp beside it, about 5–6 large shrimp per bowl depending on size. Spoon the garlic butter and plenty of crispy garlic pieces over the shrimp, letting a little sauce pool toward the rice without soaking it. Tuck a lemon wedge into each bowl and finish with the parsley and sliced scallions. Keeping the shrimp and rice visually distinct is what gives the bowl its plate-lunch look while the shrimp and garlic stay clearly visible.
*Notes :
- Gently toasting the garlic deserves genuine recognition as the technique most directly responsible for whether the sauce tastes sweetly garlicky or bitter. Garlic cooks fast in warm fat and its sugars scorch just past lightly golden, so moving it out of the pan before the sear leaves it fragrant and ready to finish gently in the sauce.
- The light flour coating deserves the same attention this technique receives throughout this collection’s other seared dishes, because North Shore style shrimp need only a thin surface film rather than a batter. A heavy coat turns pasty in the butter and hides the shrimp, while a thin dry dusting browns at the edges and gives the loose sauce something to cling to.
- Keeping the shells on deserves genuine respect as the detail most directly responsible for the sweet, savoury shrimp flavour and the classic look of the plate. The shell shields the flesh from the fierce heat of the pan and adds flavour to the fat, so peeled shrimp cook faster, dry out sooner, and taste noticeably flatter.
- Pulling the shrimp the moment they curl into a loose “C” deserves attention as a genuine, checkable readiness cue rather than a guess from the clock. Shrimp are done when opaque and pink-orange, and they keep cooking in the hot sauce, so a tight “O” shape is a sign they have already gone past tender.
Why This Recipe Works
This recipe works because the garlic is toasted gently in butter and oil first, then set aside, so it turns golden and sweet instead of bitter during the hot sear. A thin flour coating and a single layer of dry shrimp build a lightly crusted surface in about 4 minutes, with the shells holding in flavour and moisture. Returning the garlic with fresh butter, lemon, soy sauce, and a splash of stock creates a loose, glossy sauce that coats rather than smothers. Plain white rice and a squeeze of lemon then balance the richness, so the bowl stays bright, buttery, and generous.
Ingredient Breakdown
Gently Toasted Garlic (14–16 Cloves)
The flavour foundation — slow cooking in butter and oil makes the sauce aggressively garlicky without any bitterness.
Large Shell-On Shrimp
The critical ingredient choice — shells protect the flesh from the hot pan and add sweetness, keeping the shrimp juicy.
Light Flour Coating
The critical technique — a thin film of flour browns lightly and gives the buttery sauce a surface to cling to.
Butter Added in Two Stages
The structural choice — half builds the garlic base and half finishes the sauce with fresh, glossy richness.
Lemon Juice and Soy Sauce
The balancing element — bright acidity and gentle salinity lift the butter so the sauce tastes savoury, not heavy.
Plain White Rice (Two Scoops)
The neutral base — soft, fluffy grains soak up the buttery sauce and balance the rich shrimp.
Flavor Structure Explained
This Hawaiian garlic shrimp bowl follows a layered balance model:
- Neutral, fluffy foundation (steamed white rice, rice-cooking salt)
- Sweet, juicy core (large shell-on shrimp, light flour crust)
- Rich, garlicky sauce (toasted garlic, butter, neutral oil)
- Bright, savoury lift (lemon juice, soy sauce, chicken stock)
- Fresh, peppery finish (parsley, scallions, paprika, cayenne, black pepper)
Fluffy white rice gives the bowl a soft, neutral base that catches the sauce. Seared shrimp form the sweet, juicy centre, coated in a loose butter sauce full of toasted garlic, so every forkful carries sweetness and richness together. Lemon juice and soy sauce keep that richness bright and savoury, while paprika, cayenne, and black pepper add a gentle, peppery warmth beneath the garlic. Parsley and scallions add the fresh finish that ties the bowl together.
Common Mistakes to Avoid
- Browning the Garlic Too Dark – This turns the garlic bitter and the whole sauce acrid. Always cook it to a light gold and move it out before the sear.
- Crowding the Pan – This traps steam, so the shrimp turn pale and tight instead of browning. Always sear in a single layer, in two batches if needed.
- Using a Heavy Flour Coating – This turns pasty in the butter and hides the shrimp. Always toss with only a thin dusting and shake off any clumps.
- Overcooking the Shrimp – This makes them tight and rubbery, since they keep cooking in the sauce. Always pull them at a loose “C” shape and simmer for no more than 60 seconds.
- Reducing the Sauce to a Glaze – This leaves a thick coating that weighs down the rice and hides the garlic. Always keep it loose and buttery, loosening with stock if needed.
Variations
Peeled Version
Use peeled, deveined large shrimp and cut the sear to about 1–1½ minutes per side, which makes the bowl easier to eat though the flavour is slightly less sweet.
Extra-Spicy Version
Raise the cayenne in the coating to ½ tsp and add a generous pinch of chili flakes to the sauce for a more noticeable heat beneath the garlic and butter.
Gluten-Free Adaptable Version
Replace the all-purpose flour with extra rice flour or cornstarch and use gluten-free tamari instead of soy sauce, keeping the light crust and savoury depth of the sauce.
Herb-Heavy Version
Double the parsley and add a spoonful of chopped chives or cilantro at the end, giving the buttery sauce a greener, fresher finish without changing the method.
Storage & Make-Ahead
Cook the rice and prepare the garlic and the dry-rubbed shrimp up to a few hours ahead, then sear and sauce the shrimp just before serving, since this order keeps the crust and the tender texture at their best.
Refrigerate leftover shrimp and sauce together in an airtight container for up to 1 day, because shrimp toughen quickly as they sit and are best eaten while they are still tender.
Reheat the shrimp gently in a skillet over low heat with a splash of water or stock for just 1–2 minutes, so the sauce loosens without cooking the shrimp any further.
Cool the cooked rice within an hour, refrigerate it for up to 2 days, and reheat it with a spoonful of water in the microwave until steaming hot and fluffy again.
Add the lemon wedges, parsley, and scallions only when the bowls are assembled just before serving, so the garnish stays fresh, crisp, and bright against the warm shrimp and the buttery sauce.
Frequently Asked Questions
Why is the garlic cooked first and then set aside before the shrimp are seared?
Garlic burns quickly over the medium-high heat needed for searing, so toasting it gently first and removing it keeps it sweet and golden, then it returns later to finish in the sauce.
Why should the shrimp be patted very dry and given only a light flour coating?
Surface moisture creates steam that stops browning, and a heavy coat turns pasty in butter, so a dry shrimp with a thin dusting sears properly and lets the garlic butter cling.
Why are shell-on shrimp preferred for this bowl?
The shell protects the flesh from the hot pan, keeping it juicy, and it adds a sweet, savoury flavour to the fat, which gives the dish its classic North Shore character.
Why do the shrimp need only 30–60 seconds in the finished sauce?
Searing already cooks them almost through, so the brief simmer just finishes them and coats them in the sauce, while a longer simmer would turn them tight and rubbery.
Are there other classic shrimp, Hawaiian, or plate-lunch recipes worth trying?
Garlic Butter Shrimp Skillet offers another classic garlicky shrimp direction worth exploring. Hawaiian Shoyu Chicken Rice Bowl and Hawaiian Macaroni Salad are also worth trying for other Hawaiian plate-lunch directions, and Garlic Shrimp Skewers and Fresh Pineapple Lemonade offer other shrimp and fruity drink pairings worth exploring.
Nutrition Facts
( Per Serving )
Calories
~730 kcal
Protein
38 g
Fat
31 g
Carbs
74 g
Calories
~730 kcal
Protein
38 g
Fat
31 g
Carbs
74 g
Related Recipes
Related Recipes
-

Miso Butter Corn Ramen
Springy noodles in creamy golden miso broth topped with sweet corn, melting butter, sprouts, and a jammy egg.
-
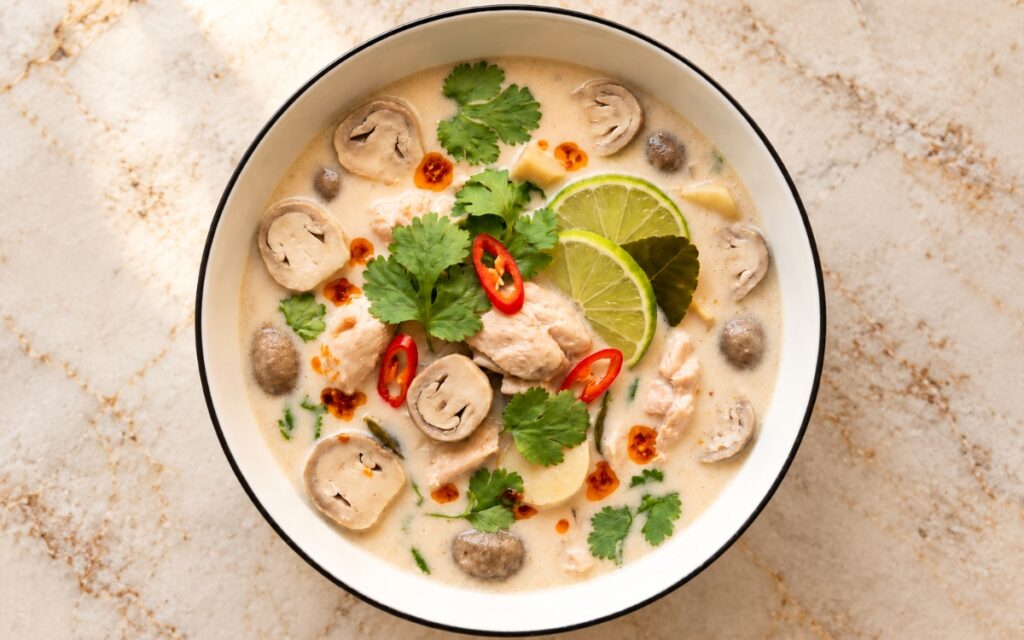
Tom Kha Gai Coconut Chicken Soup
Chicken thighs and mushrooms simmered in a creamy coconut broth with lemongrass, galangal and kaffir lime leaves, finished with fish sauce and lime.
-
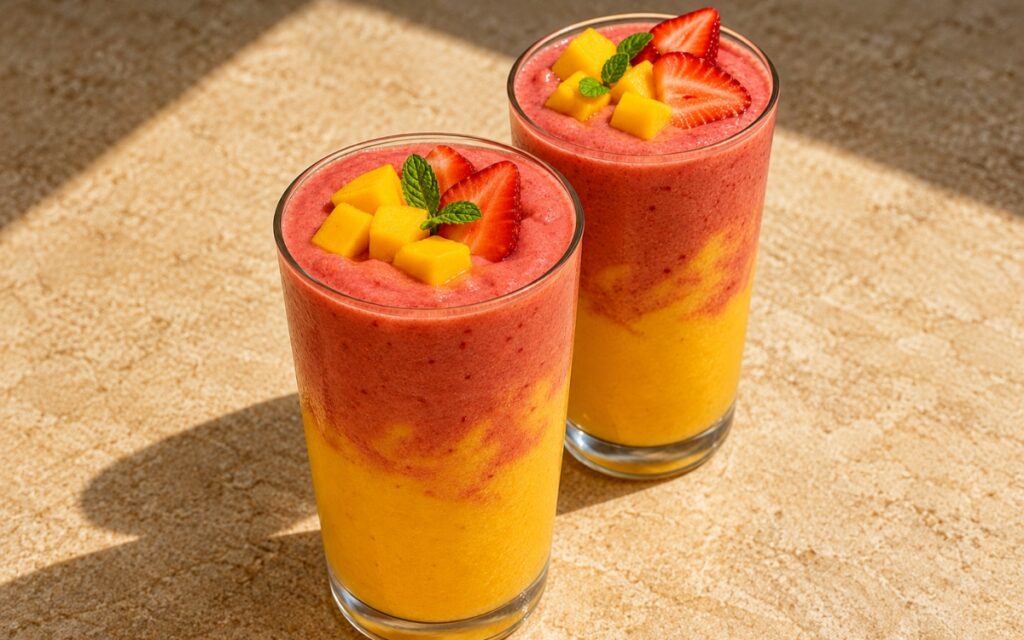
Strawberry Mango Smoothie
A thick layered smoothie with a bright golden mango base and a creamy strawberry-pink top layer, finished with fresh fruit and mint.

You might also like
You might also like
-
Japanese Oyakodon
Tender simmered chicken thigh and soft onion topped with softly set egg in a light soy-dashi sauce, served over short-grain rice.
-
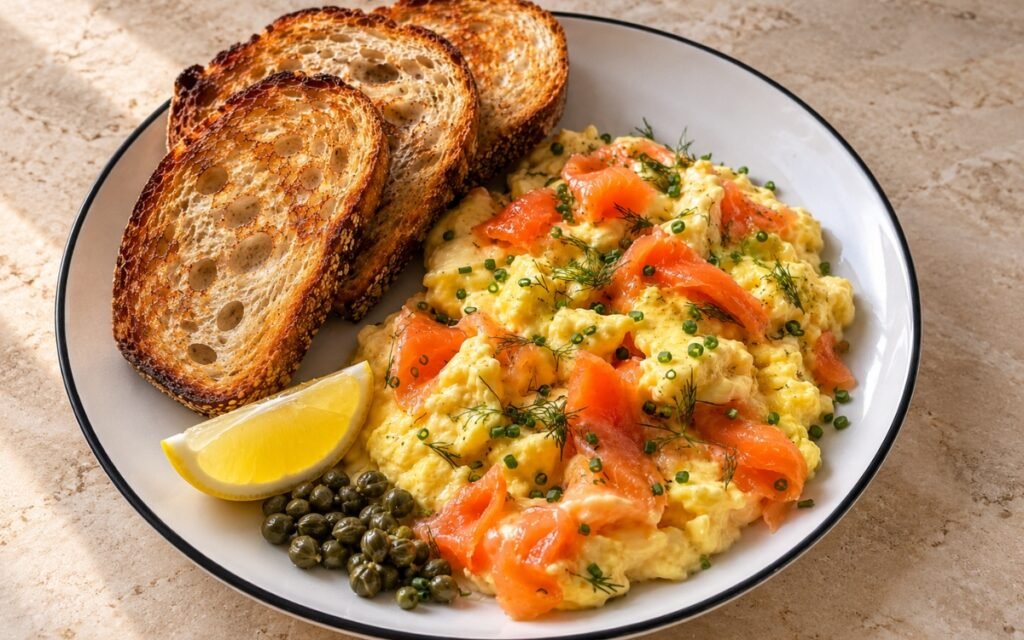
Smoked Salmon Scrambled Eggs Plate
Soft, creamy scrambled eggs finished with ribbons of smoked salmon, fresh dill, and chives, served with toasted sourdough, capers, and lemon.
-
Shrimp Scampi Pasta
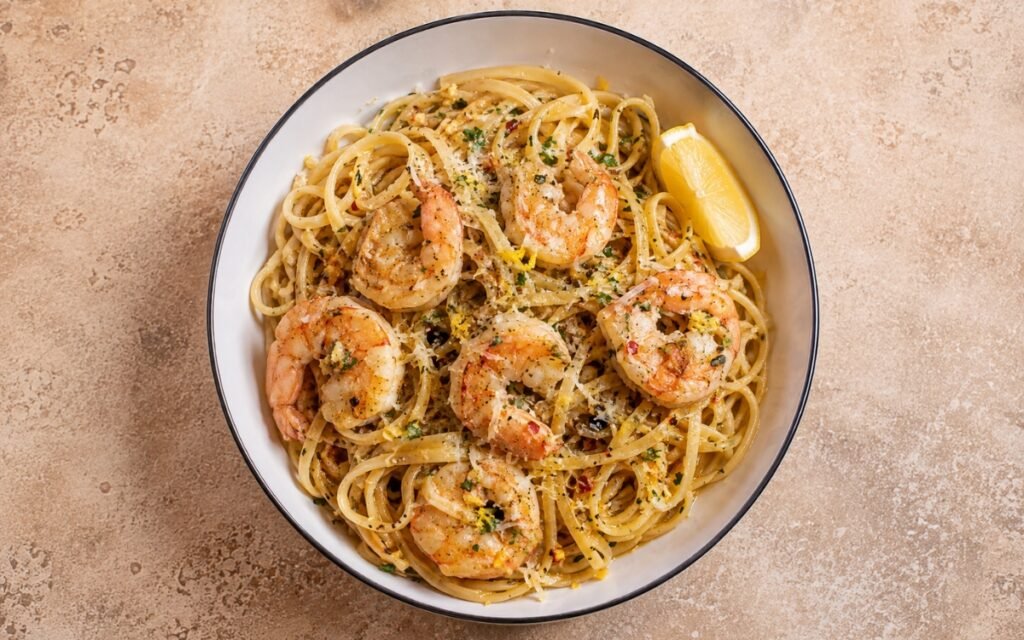
Linguine finished in a glossy garlic butter lemon sauce with tender shrimp, parsley, chili flakes, and Parmesan.


Hawaiian Garlic Shrimp Bowl
Ingredients
Method
- Rinse the 320g of rice under cold water until the water runs mostly clear, then drain well. Combine it with the water and ½ tsp salt in a pot, bring to a boil, cover tightly, and cook on low heat for about 12–15 minutes until tender, or use your rice cooker. Keep the rice covered off the heat for 10 minutes, then fluff gently with a fork. It should be tender and fluffy rather than wet, and firm enough to hold its shape when scooped. That covered rest is what lets the grains finish steaming evenly, so the rice scoops cleanly for the plate-lunch look.
- Pat the 900g of shrimp very dry with paper towels. If a vein is visible, slit lightly along the back through the shell and lift it out, leaving the shells on wherever possible. In a large bowl, toss the shrimp with the kosher salt, black pepper, sweet paprika, ¼ tsp cayenne, 40g flour, and the rice flour or cornstarch if using, until each shrimp wears only a thin, dusty coating. Shake off any clumps. That dry surface and light coat are what let the shrimp sear instead of steam and help the garlic butter cling.
- Heat a large skillet over medium heat and add the 2 tbsp of neutral oil for the garlic base with half of the butter, about 40g. When the butter foams, add the 14–16 chopped garlic cloves and cook gently, stirring often, for 2–3 minutes until fragrant and only lightly golden. Scrape the garlic and its buttery fat into a small bowl and set it aside, leaving the skillet on the heat. Moving the garlic out is what keeps it from scorching during the hot sear and turning bitter.
- Raise the heat to medium-high and add 1 tbsp of the searing oil, keeping the other tablespoon for the second batch if needed. Lay half of the shrimp in a single layer without crowding and sear for about 1½–2 minutes per side, until pink-orange, lightly browned at the edges, and almost cooked through. Remove them to a plate as soon as they curl into a loose “C” shape, then sear the second batch the same way and return all the shrimp to the pan together. That single layer is what lets the shrimp brown rather than steam into pale, tight curls.
- Lower the heat to medium and return the toasted garlic and its fat to the skillet. Add the remaining 40g of butter, the lemon juice, soy sauce, 60–80ml of stock or water, ½ tsp paprika, and a small pinch of cayenne or chili flakes if using. Toss the shrimp until glossy and fully coated, then simmer for 30–60 seconds, just until the sauce looks lightly emulsified and the garlic is richly golden. Taste and add salt and black pepper only now, since the soy sauce already adds salinity. That brief simmer finishes the shrimp until opaque, about 63°C / 145°F, without letting them toughen.
- Divide the rice among 4 bowls, shaping two neat scoops of rice in each, and set the shrimp beside it, about 5–6 large shrimp per bowl depending on size. Spoon the garlic butter and plenty of crispy garlic pieces over the shrimp, letting a little sauce pool toward the rice without soaking it. Tuck a lemon wedge into each bowl and finish with the parsley and sliced scallions. Keeping the shrimp and rice visually distinct is what gives the bowl its plate-lunch look while the shrimp and garlic stay clearly visible.