
Dragon Fruit Lemonade
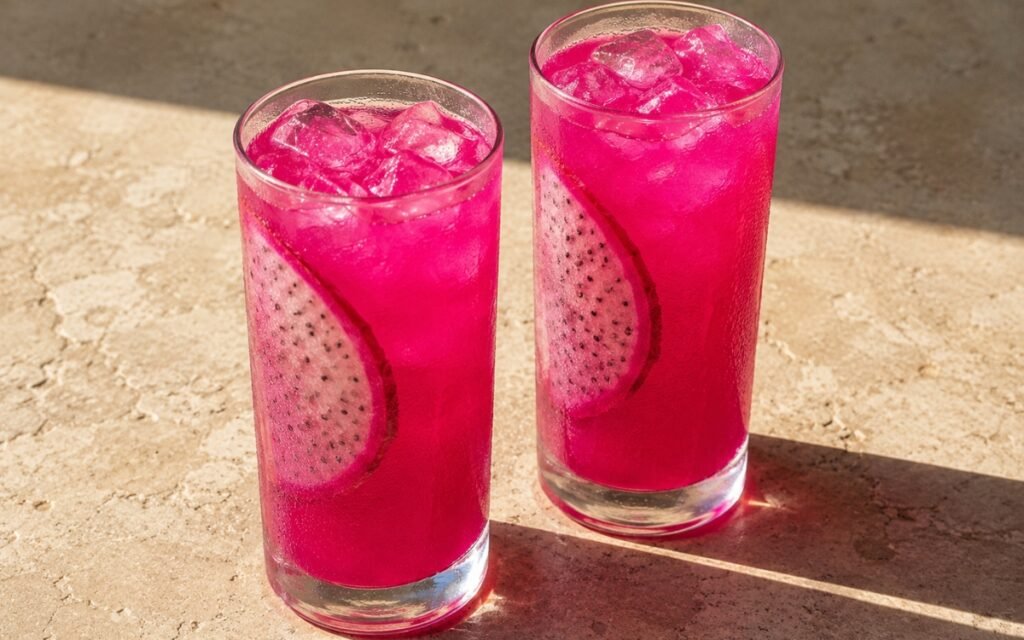
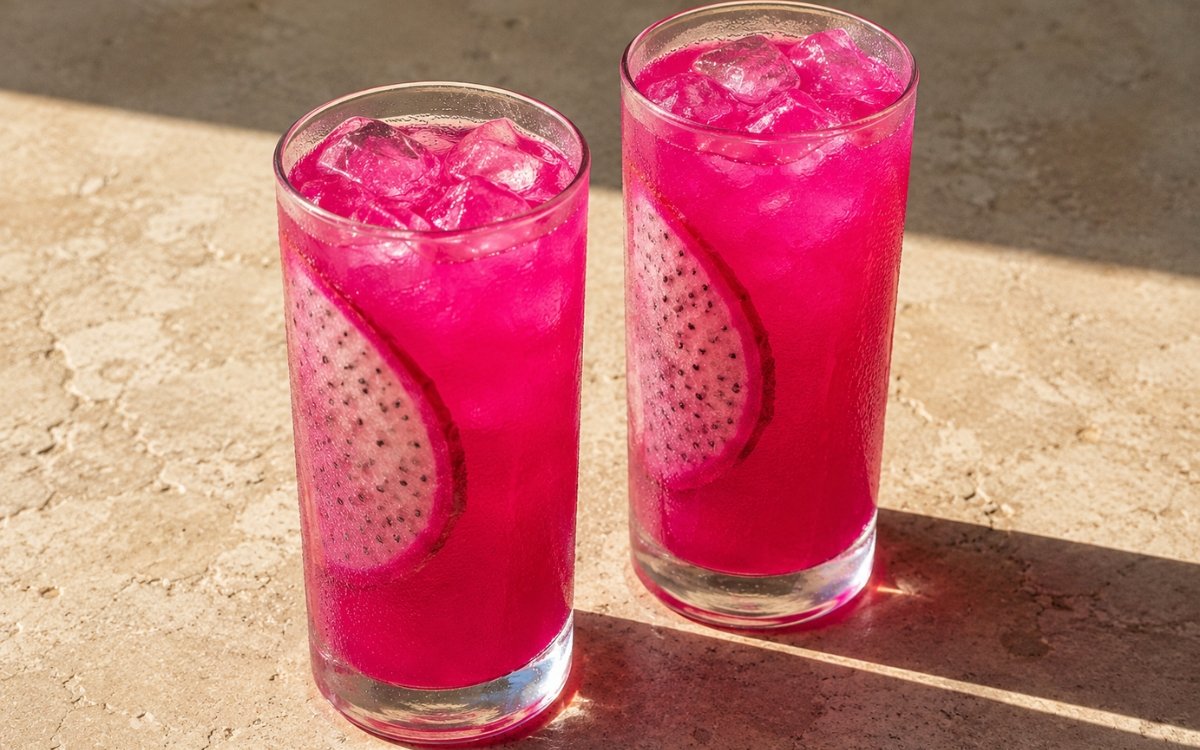
A vivid magenta-pink dragon fruit lemonade made with fresh lemon juice and cold-extracted lemon zest sugar for the brightest citrus flavour. The dragon fruit is blended cold to preserve its clean taste and intense natural colour. Taking only the yellow lemon zest, carefully avoiding any white pith, is the technique this whole lemonade depends on for its clean flavour — that pith carries real bitterness that would compete directly with dragon fruit’s own delicate character, the same zest-only-no-pith principle used elsewhere in this collection whenever citrus aroma needs extracting cleanly rather than bitterly. Choosing genuinely red-fleshed dragon fruit, rather than white-fleshed, is what gives this drink its whole vivid magenta identity — no amount of technique corrects for starting with the wrong variety. Keeping every component cold throughout, from the blended fruit to the final water, is what preserves both the drink’s freshest flavour and its most intense colour. The payoff is a lemonade that’s genuinely vivid, magenta-pink, and clean-tasting — bright citrus meeting dragon fruit’s own striking natural colour and mild sweetness.
Prep Time : 25 min
Chill Time : 30 min
Servings : 8
25 min
30 min
8
Ingredients
For the Cold Lemon Extraction
• Zest of 4 large lemons, yellow part only, no white pith
• 170g granulated sugar — this one on Amazon
For the Lemonade
• 320ml fresh lemon juice, from about 6 lemons
• 500g red dragon fruit flesh, from about 2 medium red dragon fruits
• 1.2L very cold water, plus more as needed
• 1 small pinch fine sea salt, optional
For Serving
• Ice cubes
• Thin slices of red dragon fruit, for the glasses
This post may contain affiliate links. As an Amazon Associate I earn from qualifying purchases, at no additional cost to you.
Directions
- Make the Cold Lemon Sugar
Zest the lemons carefully, taking only the yellow peel and avoiding all white pith. Place the zest and sugar in a bowl. Rub them together with your fingertips for 2–3 minutes until the sugar feels damp and very fragrant. Let it sit for 20–30 minutes so the sugar pulls out the citrus oils. Rubbing rather than simply mixing the zest into the sugar is what actually ruptures the peel’s tiny oil glands, mechanically releasing those aromatic oils directly into the sugar without needing any heat. - Juice the Lemons
Juice the lemons to get 320ml fresh lemon juice. Pour the lemon juice over the lemon sugar and stir until the sugar is mostly dissolved. Let stand 2–3 minutes, then stir again. Strain out the zest, pressing well to extract all the lemony syrup. The lemon juice’s own acidity helps dissolve the sugar while carrying the already-released lemon oils fully into the base, and pressing the spent zest firmly before discarding it captures as much of that flavourful syrup as possible. - Prepare the Dragon Fruit Base
Scoop out the flesh of the red dragon fruit and cut it into chunks. Blend the dragon fruit with 300ml of the cold water just until smooth. For a smoother lemonade, strain once through a fine-mesh sieve. For a more natural look, leave some of the tiny black seeds in the mixture. Using genuinely cold water at this blending stage, rather than room-temperature liquid, is what keeps the fruit’s own colour and freshness intact right from this first processing step, before it ever meets the rest of the lemonade. - Build the Lemonade
In a large pitcher, combine the lemon syrup, the dragon fruit base, the remaining 900ml cold water, and the pinch of salt, if using. Stir very well. Taste and add a little more cold water as needed to bring the total close to 2 liters and balance the sweetness, tartness, and fruit flavour. This tasting checkpoint matters directly given how much dragon fruit itself can vary in natural intensity — building in that adjustment stage accounts for that variability rather than assuming a fixed recipe always lands at the same balance. - Chill
Refrigerate for 30 minutes until fully chilled. That resting period lets the lemon and dragon fruit components fully meld together, producing a more unified flavour than serving the drink immediately after mixing. - Serve
Place a thin slice of dragon fruit inside each glass. Fill with ice, pour in the lemonade, and serve immediately. Pressing the dragon fruit slice against the glass wall before adding ice, rather than dropping it in loosely, is what keeps it visibly displayed against the glass rather than sinking or floating out of view once the drink is poured.
*Notes :
- The strict avoidance of white pith throughout zesting deserves the same careful attention it receives across every citrus-forward drink in this collection. Lemon pith carries a real, distinct bitterness entirely separate from the fruit’s natural tartness — even a small amount worked accidentally into the zest can introduce a flavour that competes directly with dragon fruit’s own naturally mild, clean character.
- Choosing red-fleshed dragon fruit specifically, rather than the more commonly available white-fleshed variety, deserves recognition as the single ingredient decision most responsible for this drink’s entire visual identity. White-fleshed dragon fruit simply doesn’t carry the same intense pigment — no amount of technique elsewhere in the recipe can substitute for starting with the correctly coloured fruit if that vivid magenta result is the goal.
- Keeping every stage of this recipe genuinely cold — the blended fruit, the final water, the overall handling — protects both the drink’s freshness and its colour intensity simultaneously. Dragon fruit’s own vivid pigment, along with its delicate, mild flavour, can both be diminished by unnecessary warmth or extended exposure to air, which is exactly why this recipe emphasises staying cold throughout rather than treating that as a minor detail.
- The recipe’s own guidance about reducing added water if the dragon fruit tastes mild deserves genuine attention rather than being dismissed as a minor adjustment. Dragon fruit itself carries a naturally gentle, subtle flavour that varies from fruit to fruit — the built-in tasting stage exists specifically to let that natural variability be accounted for rather than assuming a fixed recipe always produces the same intensity.
Why This Recipe Works
This recipe works because the lemon zest is worked carefully to avoid any white pith, protecting a clean flavour that lets dragon fruit’s own mild character come through. Choosing genuinely red-fleshed dragon fruit is what gives the drink its whole vivid magenta identity from the start.
Keeping every stage cold protects both freshness and colour intensity throughout the process. A built-in tasting and adjustment stage accounts for dragon fruit’s real natural variability in flavour intensity, and a proper chilling period brings every component together into one cohesive, vividly coloured, refreshing drink.
Ingredient Breakdown
Yellow Lemon Zest (No Pith)
The aromatic foundation — carefully separated from the bitter white pith, letting dragon fruit’s mild character come through.
Cold-Extracted Zest-Sugar Base
The critical technique — rubbing releases lemon oils without the heat that would alter their fresher character.
Red-Fleshed Dragon Fruit
The critical ingredient choice — the specific pigment responsible for this drink’s entire vivid magenta identity.
Fresh Lemon Juice
The tartness and dissolving agent — its acidity both flavours the drink and helps fully dissolve the sugar.
Consistently Cold Handling
The overarching technique — protects both freshness and colour intensity from the blending stage right through to serving.
Flavor Structure Explained
This dragon fruit lemonade follows a layered balance model:
- Bright citrus foundation (cold-extracted lemon zest and juice)
- Sweet balancing base (granulated sugar)
- Mild fruity depth (blended red dragon fruit)
- Cool refreshing structure (cold water, ice)
- Subtle sharpening note (optional pinch of salt)
Cold-extracted lemon zest and fresh lemon juice provide this drink’s bright, clean citrus foundation. Sugar, infused directly with those lemon oils, balances that tartness. Blended red dragon fruit contributes mild, gentle fruity depth alongside the drink’s signature vivid magenta colour. Cold water and ice keep the whole lemonade properly refreshing. An optional pinch of salt subtly sharpens the overall fruit flavour without making the drink taste salty.
Common Mistakes to Avoid
- Zesting Too Deep Into the White Pith – This introduces noticeable bitterness that competes with dragon fruit’s mild character. Always take only the thin, fragrant yellow layer.
- Using White-Fleshed Dragon Fruit Instead of Red – This produces a far paler drink, missing the drink’s whole vivid identity. Always use red-fleshed dragon fruit.
- Blending With Room-Temperature Water – This can diminish both freshness and colour intensity. Always keep every component genuinely cold.
- Adding Too Much Water Without Tasting First – This can dilute an already mild dragon fruit past its natural flavour. Always taste and adjust the water amount as needed.
- Serving Without a Proper Chill – The lemon and dragon fruit flavours taste more separate without time to settle together. Always refrigerate at least 30 minutes before serving.
Variations
Extra-Tart Version
Add 20–40ml extra lemon juice for a sharper, brighter finish, per the recipe’s own guidance.
Stronger Fruit Version
Reduce the added water slightly if the dragon fruit tastes especially mild.
Seeded Rustic Version
Skip straining the blended dragon fruit for a more natural look, leaving the tiny black seeds throughout.
Sparkling Version
Top each glass with a splash of chilled soda water just before serving for light effervescence.
Storage & Make-Ahead
Best served the same day for the freshest colour and cleanest flavour. This recipe makes about 2 litres, enough for 8 servings of roughly 250ml each.
The lemon syrup base can be made a few hours ahead and refrigerated separately before combining with the dragon fruit base and water.
Frequently Asked Questions
Why is it so important to avoid the white pith when zesting the lemons?
Lemon pith carries real, distinct bitterness separate from the fruit’s natural tartness. Even a small amount worked into the zest can introduce a flavour that competes directly with dragon fruit’s naturally mild, clean character.
Why does the recipe specifically call for red-fleshed dragon fruit rather than white-fleshed?
White-fleshed dragon fruit simply doesn’t carry the same intense natural pigment. Red-fleshed fruit is the single ingredient decision responsible for this drink’s entire vivid magenta colour — no other technique can substitute for it.
Why does everything need to stay cold throughout this recipe?
Dragon fruit’s vivid pigment and delicate, mild flavour can both be diminished by unnecessary warmth or extended exposure to air. Keeping every stage genuinely cold protects both the drink’s freshness and its colour intensity simultaneously.
Why should the added water be reduced if the dragon fruit tastes mild?
Dragon fruit naturally carries a gentle, subtle flavour that varies from fruit to fruit. The built-in tasting and adjustment stage lets that natural variability be accounted for, rather than assuming a fixed recipe always produces the same intensity.
Are there other vivid, bright, or berry-forward lemonades worth trying?
Fresh Pink Lemonade, Hibiscus Strawberry Lemonade, and Raspberry Lemonade all offer other vivid, bright fruit-forward lemonades worth exploring. Pomegranate Lemonade is also worth trying for a similarly striking, deeply coloured drink direction.
Nutrition Facts
( per serving )
Calories
~90 kcal
Protein
0 g
Fat
0 g
Carbs
23 g
Calories
~90 kcal
Protein
0 g
Fat
0 g
Carbs
23 g
Related Recipes
Related Recipes

Elderflower Lemonade
Elderflower steeped in warm syrup exactly 6–8 minutes, lightly strained — fresh lemon juice, salt, cold water, chilled 1–2 hours. Honeyed-floral and elegantly clean.
Passion Fruit Lemonade
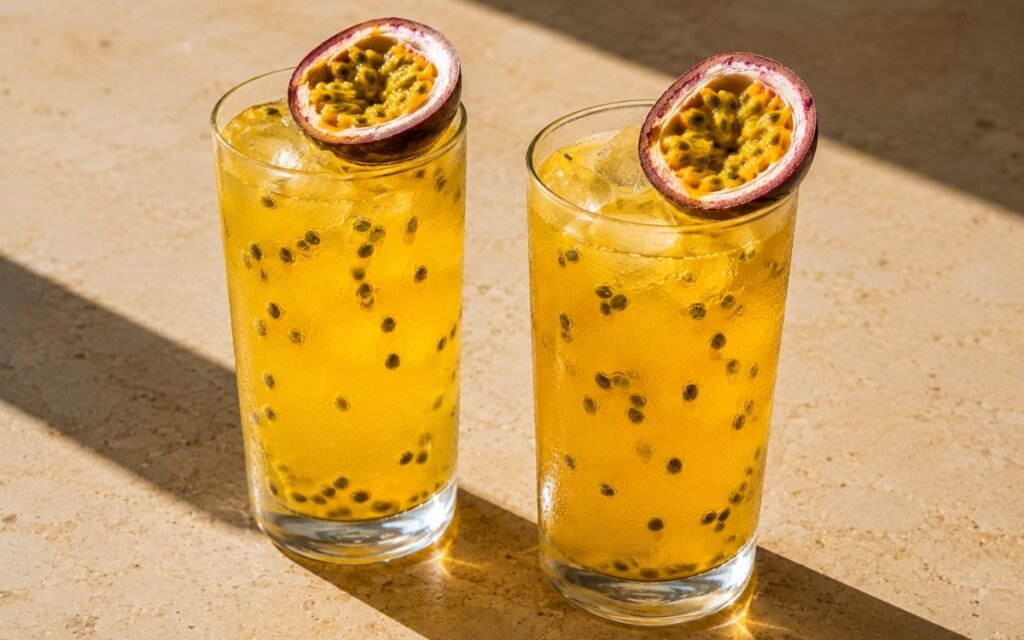
Cold-extracted lemon zest and juice combined with whole passion fruit pulp and seeds for a bright, tropical, tart lemonade.
Cantaloupe Lemonade
Cold-extracted lemon zest and juice combined with blended ripe cantaloupe for a soft orange, smooth, melon-forward lemonade.


You might also like
You might also like
Light Raspberry Mint Iced Tea
White tea at 75–80°C, raspberries blended with lemon and water — honey while warm, mint cold-infused 10–15 minutes, chilled. Pale blush-pink and clean.
Orange Cold Brew Iced Tea
Black tea cold brewed 8–12 hours in cold filtered water — orange peel infused 10–12 minutes, fresh orange juice. Ultra-smooth and gently citrusy.
Raspberry Basil Limeade
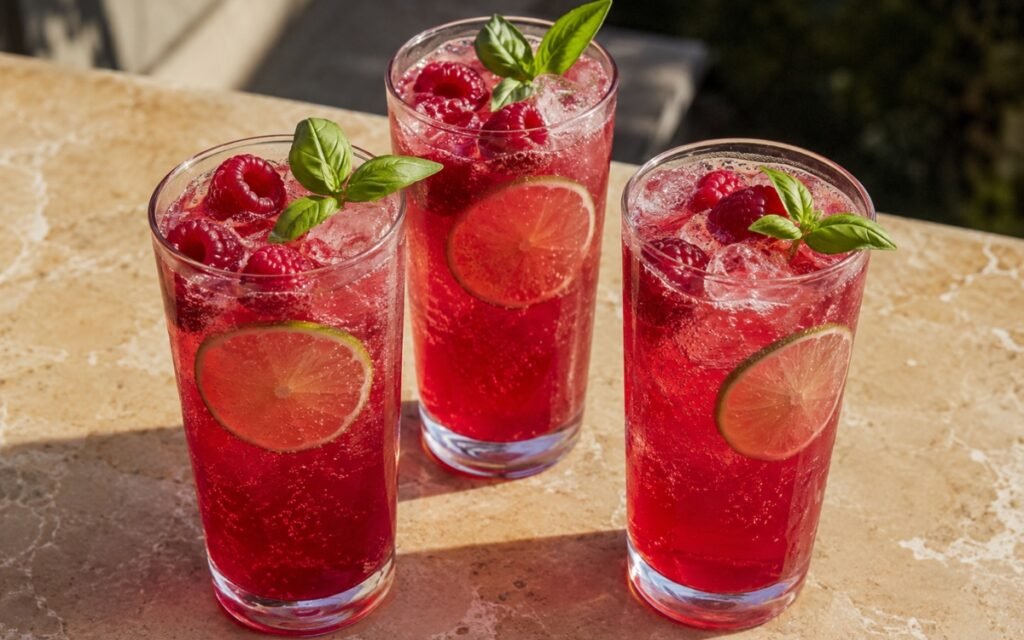
Raspberries blended with lime juice, strained — honey no-cook syrup, basil and mint steeped cold 5–10 minutes, club soda right before serving. Vivid red and tart.


Dragon Fruit Lemonade
Ingredients
Method
- Zest the lemons carefully, taking only the yellow peel and avoiding all white pith. Place the zest and sugar in a bowl. Rub them together with your fingertips for 2–3 minutes until the sugar feels damp and very fragrant. Let it sit for 20–30 minutes so the sugar pulls out the citrus oils. Rubbing rather than simply mixing the zest into the sugar is what actually ruptures the peel’s tiny oil glands, mechanically releasing those aromatic oils directly into the sugar without needing any heat.
- Juice the lemons to get 320ml fresh lemon juice. Pour the lemon juice over the lemon sugar and stir until the sugar is mostly dissolved. Let stand 2–3 minutes, then stir again. Strain out the zest, pressing well to extract all the lemony syrup. The lemon juice’s own acidity helps dissolve the sugar while carrying the already-released lemon oils fully into the base, and pressing the spent zest firmly before discarding it captures as much of that flavourful syrup as possible.
- Scoop out the flesh of the red dragon fruit and cut it into chunks. Blend the dragon fruit with 300ml of the cold water just until smooth. For a smoother lemonade, strain once through a fine-mesh sieve. For a more natural look, leave some of the tiny black seeds in the mixture. Using genuinely cold water at this blending stage, rather than room-temperature liquid, is what keeps the fruit’s own colour and freshness intact right from this first processing step, before it ever meets the rest of the lemonade.
- In a large pitcher, combine the lemon syrup, the dragon fruit base, the remaining 900ml cold water, and the pinch of salt, if using. Stir very well. Taste and add a little more cold water as needed to bring the total close to 2 liters and balance the sweetness, tartness, and fruit flavour. This tasting checkpoint matters directly given how much dragon fruit itself can vary in natural intensity — building in that adjustment stage accounts for that variability rather than assuming a fixed recipe always lands at the same balance.
- Refrigerate for 30 minutes until fully chilled. That resting period lets the lemon and dragon fruit components fully meld together, producing a more unified flavour than serving the drink immediately after mixing.
- Place a thin slice of dragon fruit inside each glass. Fill with ice, pour in the lemonade, and serve immediately. Pressing the dragon fruit slice against the glass wall before adding ice, rather than dropping it in loosely, is what keeps it visibly displayed against the glass rather than sinking or floating out of view once the drink is poured.