
Classic Pavlova
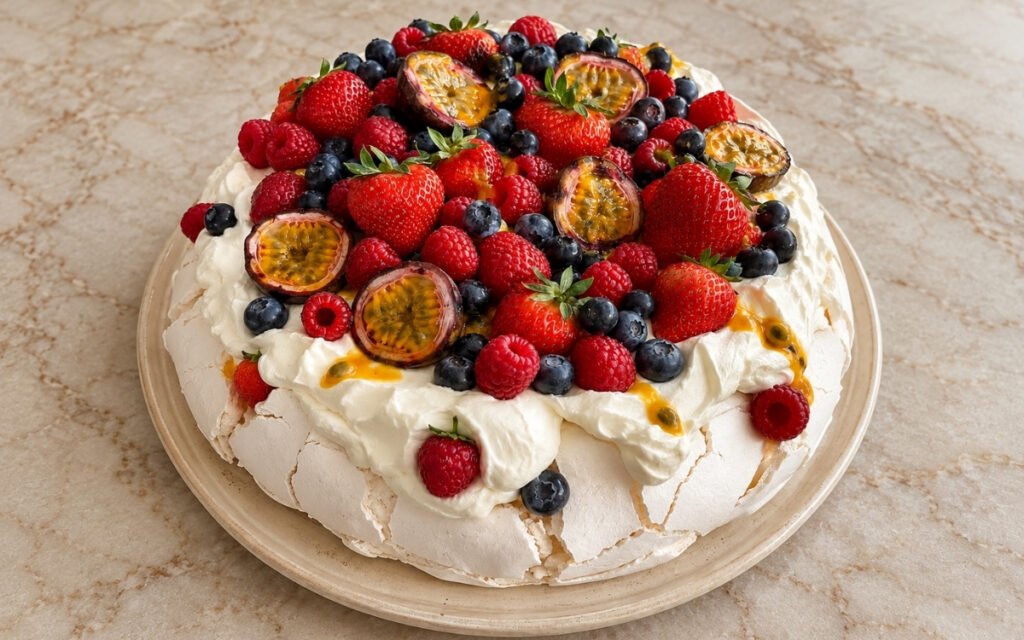
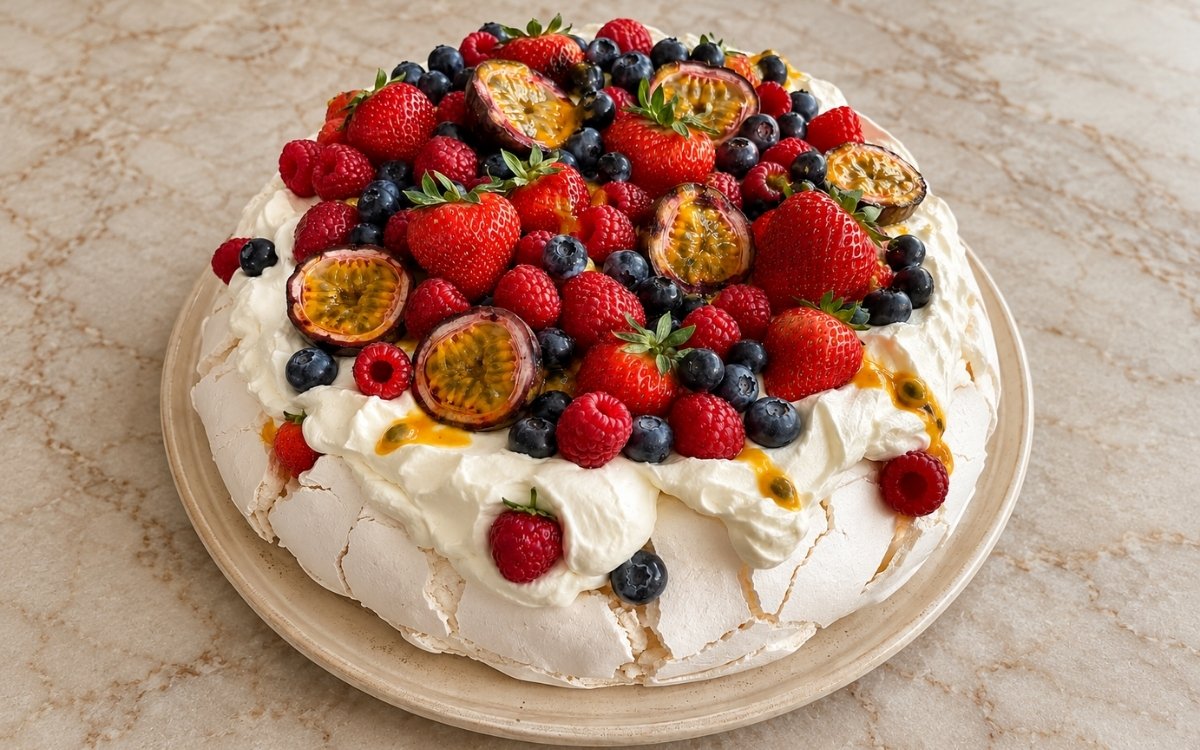
A classic 23cm / 9-inch pavlova with a crisp white meringue shell, soft marshmallow-like center, and a slight natural collapse to hold a generous mound of softly whipped cream, finished with abundant fresh berries and passion fruit, looking airy, elegant, and dramatic, with vivid fruit colors against the pure white meringue. Adding the sugar gradually, one tablespoon at a time, while whipping continuously is the technique this whole meringue depends on for its characteristic thick, glossy, stable structure — sugar added too quickly or a meringue that’s under-whipped risks weeping, spreading, or collapsing badly, the same gradual-sugar-while-whipping principle used elsewhere in this collection whenever egg whites need real time to fully dissolve sugar and build a genuinely stable foam. Baking at a genuinely low temperature and cooling slowly inside the turned-off oven is what protects the pavlova from major collapse and cracking. Keeping the fruit unsugared until just before serving is what protects the finished pavlova from turning soggy. The payoff is a dessert with real, dramatic contrast — a crisp, pale white meringue shell around a soft, marshmallow-like center, piled with billowy cream and vivid, fresh fruit.
Prep Time : 30 min
Bake Time : 1 hr, 30 min
Servings : 12
30 min
1 hr, 30 min
12
Ingredients
For the Meringue Base
• 6 large egg whites (about 210g), room temperature
• 300g caster sugar / superfine sugar — this one on Amazon
• 2 tsp cornstarch
• 1 tsp white wine vinegar or distilled white vinegar — this one on Amazon
• 1 tsp vanilla extract — this one on Amazon
• Pinch of fine salt
For the Whipped Cream
• 500ml cold heavy cream / double cream — this one on Amazon
• 40–50g powdered sugar, or to taste
• 1 tsp vanilla extract
For the Fruit Topping
• 300–350g strawberries, hulled
• 200g raspberries
• 150–200g blueberries
• 4–5 passion fruit
• Optional: 1–2 tsp lemon juice if you want a little brightness on the berries
This post may contain affiliate links. As an Amazon Associate I earn from qualifying purchases, at no additional cost to you.
Directions
- Prepare the Oven and Tray
Preheat the oven to 130°C fan / 150°C conventional / 300°F. Line a baking tray with parchment paper. Draw a 23cm / 9-inch circle on the parchment as a guide, then turn the parchment upside down so the ink or pencil does not touch the meringue. Pavlova needs a low oven and gentle, even baking. Avoid strong top heat. That deliberately low oven temperature is what allows the meringue to dry out slowly and evenly, rather than setting a hard, browned exterior too quickly while the interior remains uncooked. - Whip the Egg Whites
Place the room-temperature egg whites and pinch of salt in a very clean, grease-free bowl. Whip on medium speed until foamy, then continue whipping until the whites reach soft peaks. Begin adding the sugar gradually, 1 tablespoon at a time, while whipping continuously. Do not rush this step. Once all the sugar is in, keep whipping until the meringue is very thick, glossy, smooth, and holding firm stiff peaks. Rub a little meringue between your fingers. It should feel almost smooth, not grainy. If the sugar is added too quickly, or the meringue is under-whipped, the pavlova may weep, spread too much, or collapse badly. That gradual, patient sugar addition gives every granule genuine time to dissolve fully into the whipped whites — sugar added too fast simply wouldn’t have that same time to dissolve, leaving the meringue grainy and structurally weaker. - Finish the Meringue
Sprinkle over the cornstarch, then add the vinegar and vanilla. Fold gently with a spatula just until incorporated. Cornstarch and vinegar help create the classic pavlova texture — crisp outside, marshmallow-soft inside. That combination works together chemically to stabilize the meringue’s own protein structure just enough to protect the interior from drying out fully, while the exterior still sets crisp. - Shape the Pavlova
Pile the meringue onto the prepared circle. Shape it into a tall round about 23cm / 9 inches across. Use a spatula to create a slightly taller outer edge, and a shallow dip in the center to hold the cream later. Keep the top rustic rather than perfectly smooth. Target look: thick sides, slight height, and a natural “nest” shape. That deliberately built dip and taller outer edge give the finished shell real, functional structure — a shape genuinely designed to hold the generous mound of cream still to come rather than simply being decorative. - Bake
Place in the oven and immediately reduce the temperature to 120°C fan / 140°C conventional / 285°F. Bake for 1 hour 20 minutes to 1 hour 30 minutes, until the outside is dry to the touch, the shell looks crisp and pale cream-white, and there may be a few light cracks. Do not aim for strong browning. Then turn the oven off, leave the door closed or slightly ajar, and let the pavlova cool inside for at least 2 hours, preferably longer. Slow cooling prevents major collapse and cracking. Some cracking is normal and desirable. That gradual, oven-contained cooling protects the meringue from the sudden temperature shock a rapid cool-down would cause — a shock genuinely severe enough to crack and collapse the shell far more dramatically than the light, desirable cracking this slow method allows. - Prepare the Fruit
If the strawberries are large, halve or quarter them. Leave the raspberries and blueberries whole. Cut the passion fruit in half and scoop out the pulp. Keep the fruit fresh and minimally handled so it stays vivid and glossy. If desired, toss only the strawberries lightly with 1–2 tsp lemon juice. Do not sugar the berries too early or they will release too much liquid and make the pavlova soggy. That deliberate restraint from sugaring the fruit protects the finished pavlova from a real, specific risk — any real release of berry juice would soak directly into the meringue’s own delicate, marshmallow-soft interior. - Whip the Cream
Just before assembling, whip the cold heavy cream, powdered sugar, and vanilla to soft-medium peaks. The cream should be billowy and spoonable, not overly stiff. Over-whipped cream looks heavy and won’t give that soft, cloud-like pavlova finish. That deliberate stopping point, soft-medium rather than stiff, protects the cream’s own light, billowy texture — whipped further, it would turn dense and heavy, working against the airy, cloud-like presentation this dessert depends on. - Assemble
Transfer the cooled pavlova carefully to a serving plate or cake stand. Pile the whipped cream generously into the center, letting it mound high and slightly spill toward the edges. Top abundantly with strawberries, raspberries, blueberries, and passion fruit pulp spooned over and between the berries. A few berries can sit near the edge or tumble slightly down the cracked sides, matching the hero-image style. Serve immediately after assembly, or within 1–2 hours. Serving within this genuinely narrow window is what protects the pavlova’s own contrast between crisp shell and soft interior — the cream and fruit’s own moisture will begin softening the meringue noticeably the longer it sits assembled.
*Notes :
- Adding the sugar gradually while whipping the egg whites continuously deserves genuine recognition as the technique most directly responsible for whether this pavlova achieves real, stable structure. The recipe’s own explicit warning that sugar “added too quickly” or an “under-whipped” meringue risks weeping, spreading, or collapsing badly reflects a real, common failure point — that patient, gradual addition gives every granule genuine time to dissolve fully into the whites.
- Baking at a genuinely low oven temperature and cooling the pavlova slowly inside the turned-off oven deserves the same attention this technique receives throughout classical pavlova-making generally. The recipe’s own explicit note that “slow cooling prevents major collapse and cracking” reflects real understanding of how directly a sudden temperature shift would compromise the meringue’s own fragile, just-baked structure.
- Keeping the fresh fruit entirely unsugared until right before serving deserves genuine respect as a real, deliberate technique protecting the finished dessert. The recipe’s own explicit warning that sugaring too early “will release too much liquid and make the pavlova soggy” reflects a real, direct risk this restraint is specifically built to avoid.
- Whipping the cream only to soft-medium peaks, rather than stiff ones, deserves attention as the detail responsible for the pavlova’s whole intended visual and textural character. The recipe’s own explicit note that over-whipped cream “looks heavy” reflects real, considered attention to how this one component’s own texture affects the finished dessert’s overall lightness.
Why This Recipe Works
This recipe works because the sugar is added to the egg whites gradually while whipping continuously, building a genuinely stable, glossy meringue structure. Cornstarch and vinegar are folded in to help create the pavlova’s own crisp-outside, marshmallow-inside contrast.
The pavlova is baked at a genuinely low temperature and cooled slowly inside the oven, protecting it from major collapse and cracking. The fruit is kept unsugared until serving, protecting the shell from turning soggy, and the cream is whipped only to soft-medium peaks, preserving the dessert’s whole intended airy, cloud-like presentation.
Ingredient Breakdown
Gradually Sugared, Fully Whipped Egg Whites
The critical technique — patient, incremental sugar addition builds a genuinely stable, glossy meringue structure.
Cornstarch and Vinegar
The critical technique — together create the classic crisp-outside, marshmallow-soft-inside contrast this dessert depends on.
Low, Genuinely Slow Bake and Cool
The critical technique — a low oven temperature and slow, oven-contained cooling protect against major collapse and heavy cracking.
Unsugared Fresh Fruit (Until Serving)
The critical technique — protects the meringue shell from turning soggy under released berry juice.
Soft-Medium Whipped Cream
The critical technique — preserves the dessert’s own light, billowy, cloud-like presentation.
Narrow Serving Window (Immediately or Within 1–2 Hours)
The critical technique — protects the contrast between crisp shell and soft interior from softening excessively.
Flavor Structure Explained
This classic pavlova follows a layered balance model:
- Crisp, pale white shell (slowly baked, gradually sugared meringue)
- Soft, marshmallow interior (cornstarch and vinegar-stabilized centre)
- Light, billowy richness (softly whipped cream)
- Bright, vivid fruit finish (strawberries, raspberries, blueberries, passion fruit)
A slowly baked, gradually sugared meringue provides this dessert’s crisp, genuinely pale white shell, its structure protected through patient, deliberate technique. Cornstarch and vinegar stabilize a soft, marshmallow-like interior beneath that crisp exterior. Softly whipped cream adds light, billowy richness right at the centre. Vivid strawberries, raspberries, blueberries, and passion fruit finish the pavlova with bright, fresh contrast that ties this dramatic, elegant classic dessert together.
Common Mistakes to Avoid
- Adding the Sugar Too Quickly – This risks a weepy, spreading, or badly collapsing meringue. Always add it gradually, one tablespoon at a time, while whipping continuously.
- Using Any Grease, Yolk, or Water in the Bowl – Even a little fat can prevent the egg whites from whipping properly. Always use a very clean, grease-free bowl.
- Cooling the Pavlova Too Quickly – This risks major collapse and heavy cracking. Always cool it slowly, inside the turned-off oven.
- Sugaring the Berries Too Early – This releases too much liquid, making the pavlova soggy. Always keep the fruit unsugared until just before serving.
- Over-Whipping the Cream – This makes it look heavy rather than soft and billowy. Always stop at soft-medium peaks.
Variations
Make-Ahead Shell Version
Bake the shell 1 day ahead and store it airtight at room temperature once fully cooled, per the recipe’s own guidance, whipping the cream and assembling only close to serving.
Citrus-Brightened Berry Version
Toss only the strawberries lightly with 1 to 2 tsp lemon juice, per the recipe’s own optional note, for a little extra brightness against the sweet meringue and cream.
Single-Fruit Version
Use only strawberries or a single berry variety instead of the full mixed selection, accepting a simpler, more focused fruit presentation.
Extra-Passion Fruit Version
Increase the passion fruit pulp spooned over the finished pavlova for a more pronounced, tart-sweet flavour throughout every slice.
Storage & Make-Ahead
The texture goal here is genuinely crisp shell with a marshmallow center; if the whole meringue dries out fully, it has been overbaked for pavlova, so watch the timing and colour carefully rather than baking until it feels completely dry throughout.
Egg whites need to be completely free of any yolk, grease, or water in the bowl, since even a small amount of fat can prevent them from whipping properly, so use a genuinely clean bowl and whisk.
Caster sugar works best for this recipe because it dissolves more easily than standard coarse granulated sugar, and pavlova genuinely dislikes humidity, since it may soften faster on a damp day.
The shell can be baked a full day ahead and stored airtight at room temperature once fully cooled, but do not refrigerate the plain shell, since refrigeration can make the meringue sticky; whip the cream and assemble only close to serving.
Cracks in the finished shell are entirely normal and part of the classic pavlova look, and the best way to slice it is with a sharp serrated knife and a gentle sawing motion, since it will never cut as neatly as a regular cake.
Frequently Asked Questions
Why does the sugar need to be added to the egg whites so gradually?
That patient, incremental addition gives every granule genuine time to dissolve fully into the whipped whites. Sugar added too quickly, or a meringue that’s under-whipped, risks the finished pavlova weeping, spreading, or collapsing badly.
Why do cornstarch and vinegar go into the meringue at all?
Together, they help create pavlova’s whole classic texture — a crisp outside with a soft, marshmallow-like inside. That combination stabilizes the meringue’s structure just enough to protect the interior from drying out completely.
Why does the pavlova need to cool so slowly, inside the turned-off oven?
A rapid temperature shift would shock the meringue’s own fragile, just-baked structure, causing considerably more dramatic collapse and cracking than the light, desirable cracking this slow cooling method allows.
Why can’t the fruit be sugared or prepared too far in advance?
Sugared berries release real liquid over time, and that moisture would soak directly into the meringue’s own delicate interior, making the whole pavlova soggy. Keeping the fruit fresh and unsugared until serving protects that texture.
Are there other classic chilled, poached, or breakfast batter dessert dishes worth trying?
Panna Cotta offers another classic, elegant chilled dessert worth exploring. Hibiscus & Orange Poached Pears and Lemon Posset Brûlée in Lemon Shells are also worth trying for other classic fruit-forward and citrus desserts, and Dutch Baby Pancake and White Chocolate Blueberry Muffins offer other classic breakfast baked treats worth exploring.
Nutrition Facts
( Per Serving — 1 slice of 12 )
Calories
~280 kcal
Protein
3 g
Fat
16 g
Carbs
32 g
Calories
~280 kcal
Protein
3 g
Fat
16 g
Carbs
32 g
Related Recipes
Related Recipes

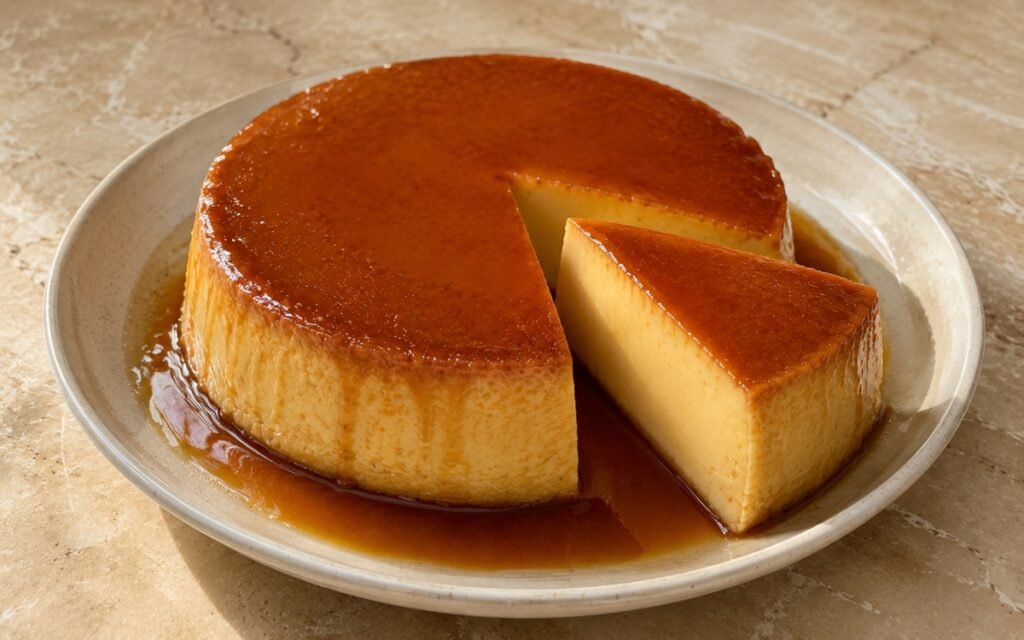
Flan Round Cake
A silky three-milk custard baked gently in a water bath over deep amber caramel, chilled overnight, and unmoulded glossy and smooth.
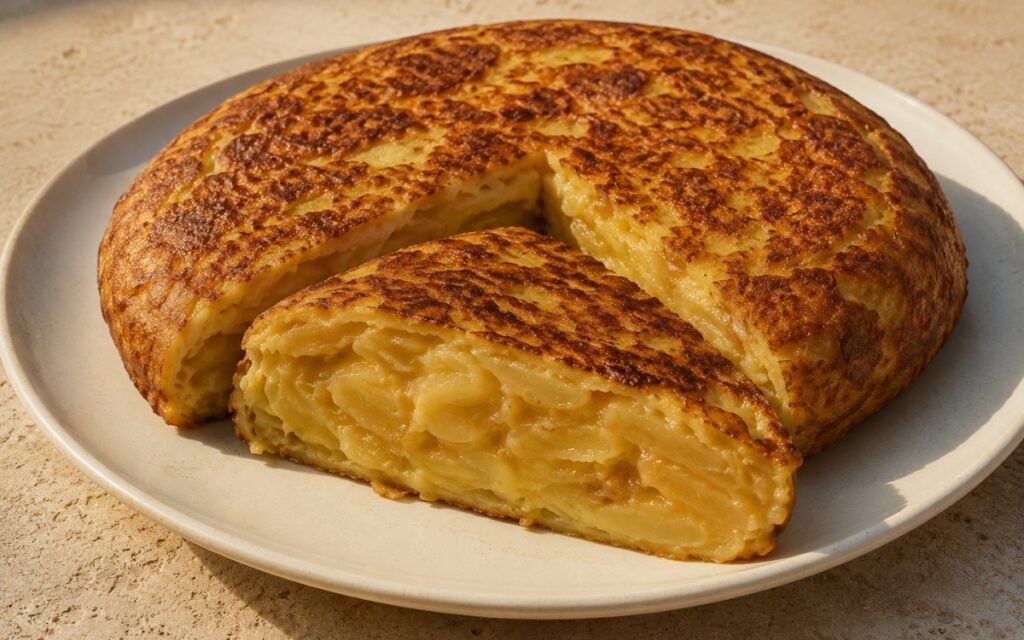
Spanish Tortilla / Tortilla Española
Thin potato slices gently cooked in olive oil, folded into beaten eggs, and cooked slowly for a golden exterior and soft, custardy centre.
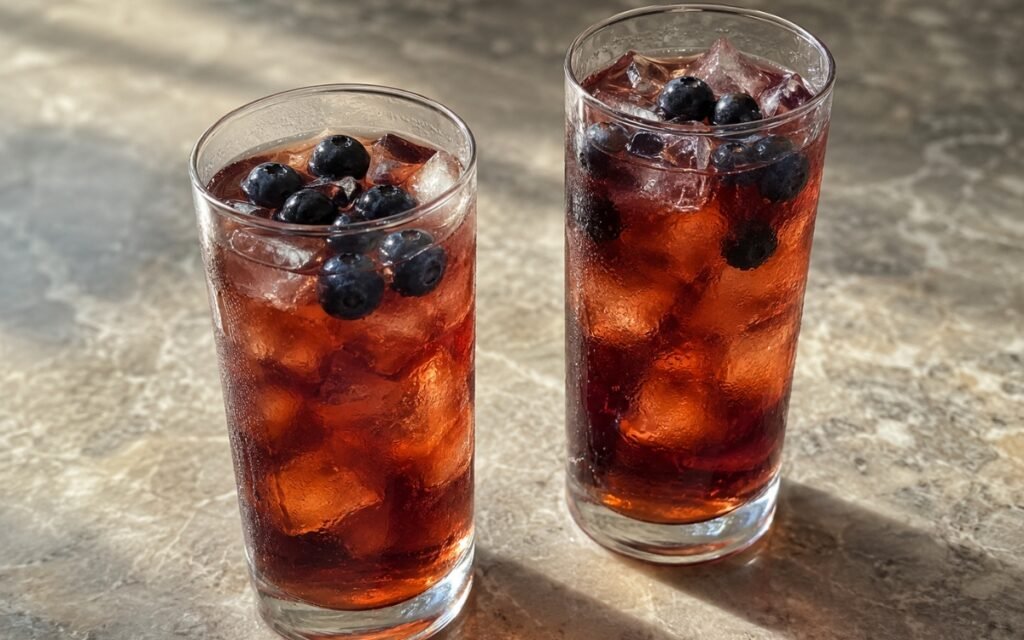
Blueberry Black Iced Tea
Black tea at 90–95°C for 2½–3 minutes, lemon peel infused cold, blueberries gently fork-mashed and lightly strained — added gradually, chilled. Bright and tea-forward.
You might also like
You might also like
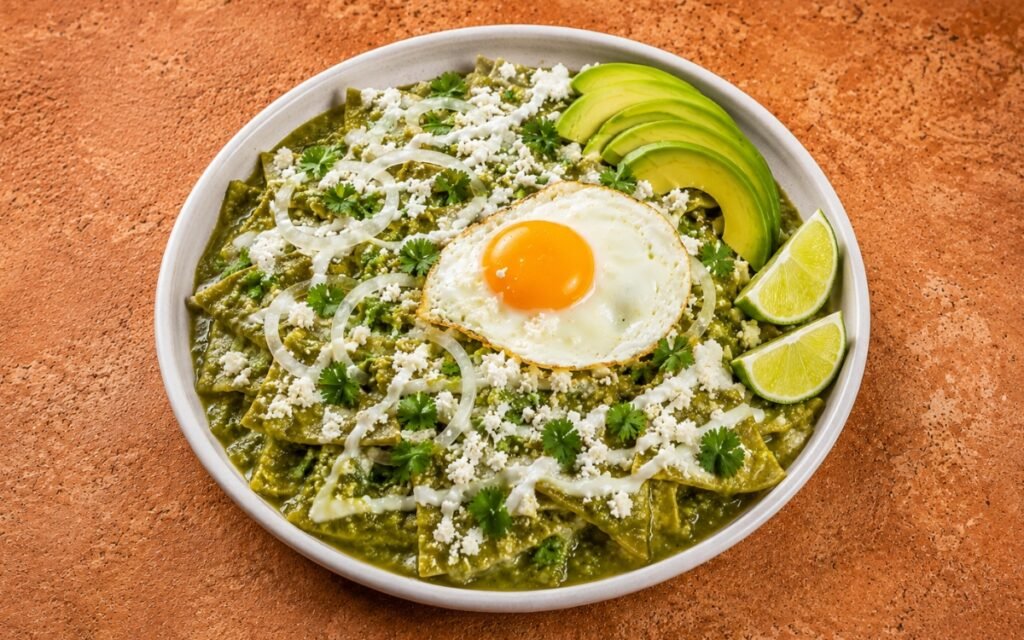
Chilaquiles Verdes
Crispy tortilla chips folded into hot, broiled salsa verde, topped with a runny-yolk fried egg, avocado, cotija, and crema drizzle.
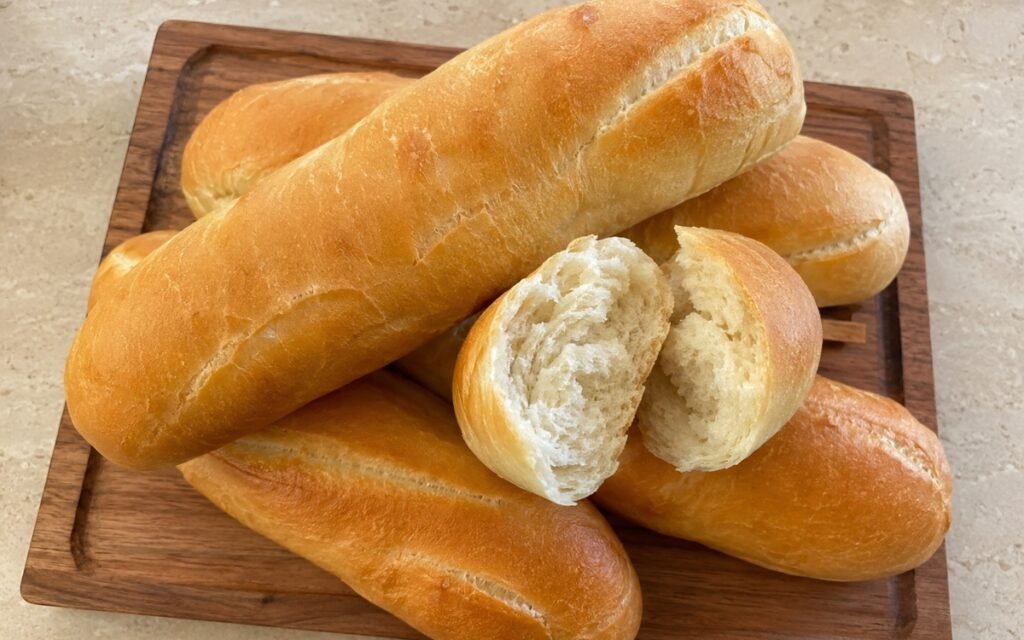
Long French Rolls
Soft homemade long French sandwich rolls with a smooth golden top, thin tender crust, and pale fluffy interior.
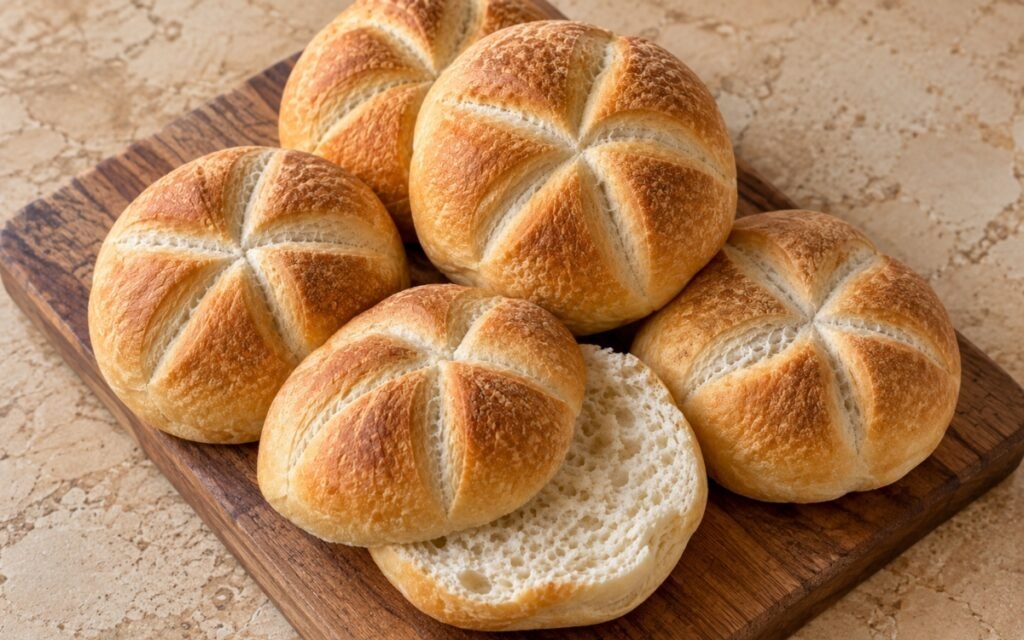
Homemade Kaiser Rolls
Classic homemade Kaiser rolls with a clearly defined five-point star top, a thin tender crust, and a soft airy sandwich crumb.
Classic Pavlova
Ingredients
Method
- Preheat the oven to 130°C fan / 150°C conventional / 300°F. Line a baking tray with parchment paper. Draw a 23cm / 9-inch circle on the parchment as a guide, then turn the parchment upside down so the ink or pencil does not touch the meringue. Pavlova needs a low oven and gentle, even baking. Avoid strong top heat. That deliberately low oven temperature is what allows the meringue to dry out slowly and evenly, rather than setting a hard, browned exterior too quickly while the interior remains uncooked.
- Place the room-temperature egg whites and pinch of salt in a very clean, grease-free bowl. Whip on medium speed until foamy, then continue whipping until the whites reach soft peaks. Begin adding the sugar gradually, 1 tablespoon at a time, while whipping continuously. Do not rush this step. Once all the sugar is in, keep whipping until the meringue is very thick, glossy, smooth, and holding firm stiff peaks. Rub a little meringue between your fingers. It should feel almost smooth, not grainy. If the sugar is added too quickly, or the meringue is under-whipped, the pavlova may weep, spread too much, or collapse badly. That gradual, patient sugar addition gives every granule genuine time to dissolve fully into the whipped whites — sugar added too fast simply wouldn’t have that same time to dissolve, leaving the meringue grainy and structurally weaker.
- Sprinkle over the cornstarch, then add the vinegar and vanilla. Fold gently with a spatula just until incorporated. Cornstarch and vinegar help create the classic pavlova texture — crisp outside, marshmallow-soft inside. That combination works together chemically to stabilize the meringue’s own protein structure just enough to protect the interior from drying out fully, while the exterior still sets crisp.
- Pile the meringue onto the prepared circle. Shape it into a tall round about 23cm / 9 inches across. Use a spatula to create a slightly taller outer edge, and a shallow dip in the center to hold the cream later. Keep the top rustic rather than perfectly smooth. Target look: thick sides, slight height, and a natural “nest” shape. That deliberately built dip and taller outer edge give the finished shell real, functional structure — a shape genuinely designed to hold the generous mound of cream still to come rather than simply being decorative.
- Place in the oven and immediately reduce the temperature to 120°C fan / 140°C conventional / 285°F. Bake for 1 hour 20 minutes to 1 hour 30 minutes, until the outside is dry to the touch, the shell looks crisp and pale cream-white, and there may be a few light cracks. Do not aim for strong browning. Then turn the oven off, leave the door closed or slightly ajar, and let the pavlova cool inside for at least 2 hours, preferably longer. Slow cooling prevents major collapse and cracking. Some cracking is normal and desirable. That gradual, oven-contained cooling protects the meringue from the sudden temperature shock a rapid cool-down would cause — a shock genuinely severe enough to crack and collapse the shell far more dramatically than the light, desirable cracking this slow method allows.
- If the strawberries are large, halve or quarter them. Leave the raspberries and blueberries whole. Cut the passion fruit in half and scoop out the pulp. Keep the fruit fresh and minimally handled so it stays vivid and glossy. If desired, toss only the strawberries lightly with 1–2 tsp lemon juice. Do not sugar the berries too early or they will release too much liquid and make the pavlova soggy. That deliberate restraint from sugaring the fruit protects the finished pavlova from a real, specific risk — any real release of berry juice would soak directly into the meringue’s own delicate, marshmallow-soft interior.
- Just before assembling, whip the cold heavy cream, powdered sugar, and vanilla to soft-medium peaks. The cream should be billowy and spoonable, not overly stiff. Over-whipped cream looks heavy and won’t give that soft, cloud-like pavlova finish. That deliberate stopping point, soft-medium rather than stiff, protects the cream’s own light, billowy texture — whipped further, it would turn dense and heavy, working against the airy, cloud-like presentation this dessert depends on.
- Transfer the cooled pavlova carefully to a serving plate or cake stand. Pile the whipped cream generously into the center, letting it mound high and slightly spill toward the edges. Top abundantly with strawberries, raspberries, blueberries, and passion fruit pulp spooned over and between the berries. A few berries can sit near the edge or tumble slightly down the cracked sides, matching the hero-image style. Serve immediately after assembly, or within 1–2 hours. Serving within this genuinely narrow window is what protects the pavlova’s own contrast between crisp shell and soft interior — the cream and fruit’s own moisture will begin softening the meringue noticeably the longer it sits assembled.