
Hibiscus and Orange Poached Pears with Vanilla Ice Cream
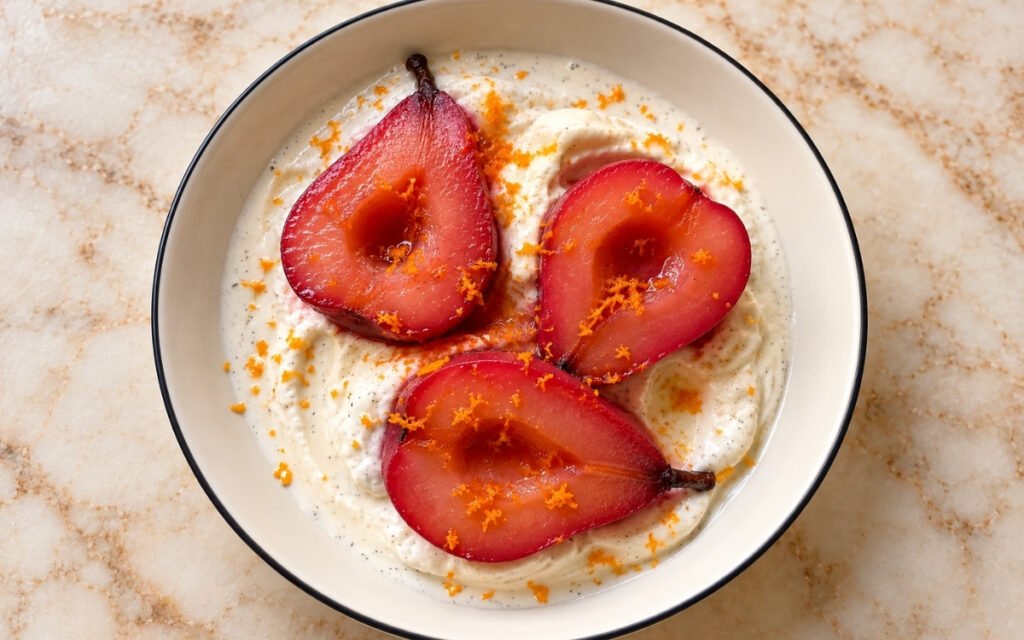
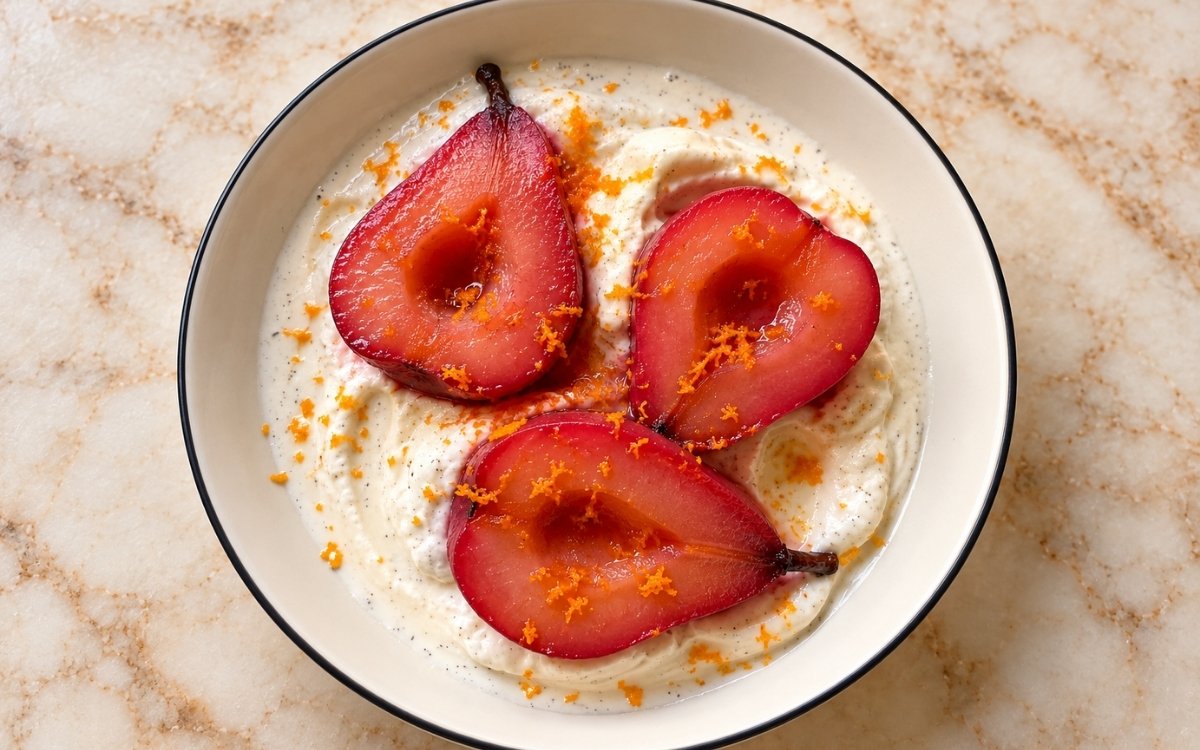
Firm pears are peeled, halved, and gently poached in a vivid hibiscus-orange syrup until tender and deeply stained pink-magenta, cooled in the poaching liquid for full colour penetration, then served three halves per bowl over a generous swirl of vanilla bean ice cream with plenty of fresh orange zest. Choosing genuinely firm pears, rather than ripe ones, is the technique this whole dessert depends on for holding clean, elegant halves — overripe pears collapse during poaching instead of staying intact, the same firm-fruit-for-poaching principle used elsewhere in this collection whenever a whole or halved fruit’s own final shape depends on real structural firmness rather than the softer, more fragile texture ripeness would bring. Poaching gently, never at a hard boil, is what keeps the pears intact and glossy rather than breaking apart into ragged edges. Cooling the pears in their own poaching liquid for an extended period is what gives them that deeper magenta-pink staining and gradual colour gradient from edge to centre. The payoff is a dessert with real, vivid contrast — glossy, deeply pink-stained pear halves over a generous swirl of vanilla bean ice cream, finished with bright orange zest.
Prep Time : 20 min
Cook Time : 25–35 min
Servings : 4
20 min
25–35 min
4
Ingredients
For the Pears
• 6 medium firm-ripe pears (Bosc or Anjou preferred), peeled and halved lengthwise
• 1 lemon, halved, for rubbing the pears after peeling
For the Hibiscus-Orange Poaching Liquid
• 1.5 liters water
• 30g dried hibiscus flowers (or 6–8 hibiscus tea bags) — this one on Amazon
• 220g granulated sugar
• 240ml fresh orange juice
• Finely peeled zest of 1 orange, in wide strips
• 1 cinnamon stick
• 1 vanilla bean, split and scraped, or 1 tsp vanilla extract — this one on Amazon
• 1–2 tbsp lemon juice, to balance the syrup
For Serving
• 800–1000ml good-quality vanilla bean ice cream — this one on Amazon
• Finely grated fresh zest of 1–2 oranges
• A few spoonfuls of reduced poaching syrup, optional but recommended
This post may contain affiliate links. As an Amazon Associate I earn from qualifying purchases, at no additional cost to you.
Directions
- Prep the Pears
Peel the pears, cut them in half lengthwise, and use a melon baller or small spoon to remove the cores neatly. Rub the cut surfaces lightly with lemon to limit browning while you finish prepping the rest. Use pears that are still firm. If they are too ripe, they will collapse during poaching instead of holding clean, elegant halves. That genuine firmness is exactly what gives the pears the structural integrity to survive real, sustained simmering without breaking down into something soft and shapeless. - Build the Poaching Liquid
In a wide saucepan or deep sauté pan, combine the water, dried hibiscus, sugar, orange juice, orange zest, cinnamon stick, and vanilla bean plus seeds if using. Bring just to a simmer, then reduce the heat and simmer gently for 5 minutes so the hibiscus fully infuses and the sugar dissolves. Taste the liquid. It should be bright, floral, citrusy, and clearly sweet. Add 1–2 tbsp lemon juice if it needs more sharpness. The liquid should already be a vivid ruby-red before the pears go in. That specific, checkable colour confirms the hibiscus has fully released its own real pigment into the liquid before the pears ever join it — a paler liquid at this stage simply hasn’t extracted enough colour yet. - Poach the Pears Gently
Lower the pear halves into the liquid in a single snug layer if possible. The cut side can face down or sideways, but the pears should be mostly submerged. Cover the surface with a round of parchment paper if needed to keep them under the liquid, then simmer very gently for 15–25 minutes, turning once or twice for even colouring. The pears are done when a knife slips in with light resistance at the thickest part. Do not boil hard. A fast boil breaks the fruit and gives ragged edges. Gentle poaching keeps the pears intact and glossy. Cooking time depends entirely on pear variety and ripeness. Start checking early. That genuinely gentle simmer, rather than a hard boil, protects the pears’ own delicate structure from the physical agitation a stronger boil would introduce, keeping every halve intact and clean-edged. - Cool the Pears in the Liquid
Remove the pan from the heat and let the pears cool in the poaching liquid. For the best colour, transfer the pears and liquid to a container and chill for at least 1 hour, ideally 3–4 hours or overnight. This resting step is what gives the pears that deeper magenta-pink staining and slight colour gradient from edge to centre. That extended cooling period, still fully submerged in the pigmented liquid, gives the hibiscus dye real, continued time to penetrate deeper into the fruit’s own flesh, well beyond what the active poaching stage alone could achieve. - Reduce the Syrup
Lift the pears out carefully and set aside. Strain the poaching liquid, discarding the solids, then return the liquid to the pan. Simmer until reduced to a lightly syrupy consistency, usually 10–15 minutes. It should coat the back of a spoon lightly, not become sticky like caramel. Cool the syrup. The reduced syrup should remain bright and glossy, not dull or over-thick. That specific, checkable reduction target protects the finished syrup from crossing into a heavier, caramel-like consistency — reduced past that point, it would lose exactly the bright, glossy quality that pairs so well with the pears and ice cream. - Plate the Dessert
For each serving, spoon a generous swirl of vanilla bean ice cream into a wide shallow dessert bowl. Arrange 3 pear halves on top of the ice cream. Spoon over a little hibiscus-orange syrup if using. Finish with a generous scattering of fresh orange zest over the pears and ice cream. Serve immediately so the ice cream softens slightly at the edges but still holds shape. That immediate serving is what captures the intended contrast between the ice cream’s own real, cold structure and its slightly softened edges — waiting any longer would let it melt considerably further, losing that specific balance.
*Notes :
- Choosing genuinely firm pears, rather than ripe ones, deserves recognition as the technique most directly responsible for whether this dessert achieves clean, elegant halves. The recipe’s own explicit warning that overripe pears “will collapse during poaching instead of holding clean, elegant halves” reflects a real, common failure point — that firmness is the foundational structural quality this whole dish depends on.
- Poaching the pears at a genuinely gentle simmer, never a hard boil, deserves the same attention this technique receives throughout this collection’s other poached fruit preparations. The recipe’s own explicit warning that “a fast boil breaks the fruit and gives ragged edges” reflects real understanding of how directly the poaching liquid’s own agitation affects the pears’ fragile, softening structure.
- Cooling the pears in their own poaching liquid for an extended period deserves genuine respect as the technique responsible for this dessert’s whole vivid, characteristic colour. The recipe’s own explicit note that this resting step “gives the pears that deeper magenta-pink staining and slight colour gradient” reflects real, continued dye penetration that happens well beyond the active poaching stage alone.
- Reducing the finished syrup only to a specific, light consistency, rather than pushing it further, deserves attention as a real, deliberate technique protecting the syrup’s own bright, glossy character. Pushed past that point, it would tighten into something closer to caramel, losing exactly the fluid, vibrant quality this dessert’s finishing drizzle depends on.
Why This Recipe Works
This recipe works because genuinely firm pears are chosen specifically for their ability to hold clean, intact halves through the poaching process. The pears are poached gently, never boiled hard, protecting their delicate structure from ragged edges.
Cooling them in the poaching liquid for an extended period gives the hibiscus real, continued time to stain the fruit deeply.The syrup is reduced to a specific, light consistency, staying bright and glossy rather than heavy.
Serving immediately, with the ice cream still holding its own shape while softening slightly at the edges, delivers the dish at exactly its intended balance.
Ingredient Breakdown
Genuinely Firm Pears
The critical ingredient choice — real structural firmness protects against collapse during poaching.
Vivid, Fully Infused Poaching Liquid
The critical technique — a checkable ruby-red colour confirms the hibiscus has fully released its own pigment.
Genuinely Gentle Poaching (No Hard Boil)
The critical technique — protects the pears’ delicate structure from the ragged edges aggressive boiling would cause.
Extended Cooling in the Poaching Liquid
The critical technique — gives the hibiscus real, continued time to stain the fruit deeply, producing the characteristic magenta gradient.
Reduced, Not Over-Reduced Syrup
The critical technique — protects the finishing syrup’s own bright, glossy character from turning heavy or caramel-like.
Immediately Served, Slightly Softened Ice Cream
The finishing technique — captures the intended balance between structure and softness before further melting.
Flavor Structure Explained
This hibiscus and orange poached pear dessert follows a layered balance model:
- Creamy, neutral foundation (vanilla bean ice cream)
- Tender, jewel-toned centrepiece (hibiscus-orange poached pears)
- Bright, floral depth (hibiscus, orange juice, vanilla bean)
- Glossy, concentrated finish (reduced poaching syrup)
- Fresh citrus lift (fresh orange zest)
Vanilla bean ice cream provides this dessert’s creamy, neutral foundation, its structure protected through immediate serving. Hibiscus-orange poached pears serve as the tender, jewel-toned centrepiece, their colour and texture built through careful poaching and extended cooling. Hibiscus, orange juice, and vanilla bean together contribute bright, floral depth to the whole poaching liquid. A reduced, glossy syrup finishes the pears with concentrated flavour, and a final scattering of fresh orange zest adds bright, aromatic citrus lift that ties the whole vivid, elegant dessert together.
Common Mistakes to Avoid
- Using Overripe Pears – This causes them to collapse during poaching rather than holding clean, elegant halves. Always choose genuinely firm fruit.
- Boiling the Poaching Liquid Hard – This breaks the pears and gives ragged edges. Always maintain a genuinely gentle simmer.
- Skipping the Extended Cooling Period in the Liquid – This misses the deeper magenta staining and colour gradient this dish is known for. Always let the pears cool, ideally for several hours, in their own poaching liquid.
- Over-Reducing the Syrup – This turns it heavy and caramel-like rather than bright and glossy. Always stop once it lightly coats the back of a spoon.
- Letting the Assembled Dessert Sit Too Long Before Serving – This lets the ice cream melt past its intended structure. Always serve immediately.
Variations
Bosc Pear Version
Use Bosc pears specifically, per the recipe’s own note on it giving the cleanest shape and holding up especially well, though Anjou also works very well as an alternative.
Longer-Steep Version
Chill the pears overnight in their poaching liquid, per the recipe’s own guidance, for even deeper, more pronounced magenta staining than a shorter cool would produce.
Make-Ahead Version
Poach the pears a day in advance and store them in their liquid, per the recipe’s own suggestion, reducing the syrup and assembling only just before serving.
Extra-Citrus Version
Increase the fresh orange zest scattered over the finished dessert for a more pronounced, aromatic citrus note against the floral hibiscus.
Storage & Make-Ahead
Bosc pears give the cleanest shape and hold up especially well through the poaching process, though Anjou also works very well as a reliable alternative for this recipe.
Hibiscus is genuinely the main source of the vivid pink-magenta tone here, and a longer cool steep in the poaching liquid gives noticeably stronger staining than a shorter rest would produce.
Do not overpoach the pears; they should stay tender but genuinely sliceable and structured, never mushy, and if the pears float during poaching, cover them with parchment or a small plate, since exposed fruit colours unevenly.
Fresh orange zest added at the very end is genuinely important, giving the dish its bright orange aroma and the exact pink-orange-white contrast this dessert is built around, and using true vanilla bean ice cream with visible specks gives the best visual and flavour result.
Pears can be poached a full day in advance and stored in their liquid, with the syrup reduced and the dessert assembled only just before serving, and if the syrup becomes too thick, loosen it with a tablespoon or two of water or a splash of orange juice.
Frequently Asked Questions
Why do the pears need to be genuinely firm rather than ripe?
Ripe pears collapse during poaching rather than holding clean, elegant halves. Genuine firmness is the real, structural foundation that lets the fruit survive gentle simmering while staying intact and glossy.
Why does the poaching liquid need to reach a vivid ruby-red colour before the pears go in?
That specific, checkable colour confirms the hibiscus has fully released its own pigment into the liquid. A paler liquid simply hasn’t extracted enough colour yet to properly stain the pears once they’re added.
Why can’t the pears be boiled hard rather than gently poached?
A fast, hard boil physically agitates the pears enough to break them apart and produce ragged edges. Gentle poaching protects their delicate structure, keeping every halve intact and glossy.
Why do the pears need to cool in their poaching liquid for an extended period?
That extended time, still fully submerged, gives the hibiscus dye real, continued opportunity to penetrate deeper into the fruit. The active poaching stage alone doesn’t achieve nearly the same depth of colour.
Are there other classic chilled dessert, meringue, or citrus drink recipes worth trying?
Panna Cotta offers another classic, elegant chilled dessert worth exploring. Classic Pavlova and Lemon Posset Brûlée in Lemon Shells are also worth trying for other classic fruit-forward and citrus desserts, and Pear Ginger Sparkler Mocktail and Orange Jasmine Iced Tea offer other bright, fruit-forward drinks worth exploring alongside this dessert.
Nutrition Facts
( Per Serving — 3 pear halves with ice cream )
Calories
~420 kcal
Protein
6 g
Fat
16 g
Carbs
68 g
Calories
~420 kcal
Protein
6 g
Fat
16 g
Carbs
68 g
Related Recipes
Related Recipes

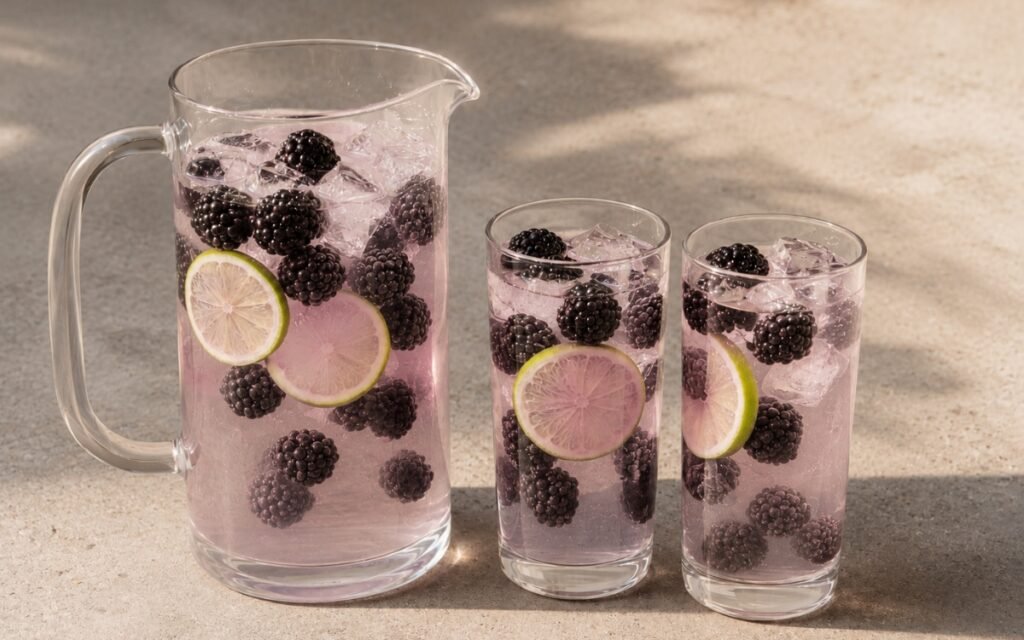
Blackberry Lime Infused Water
Blackberries mashed by cracking the skin without crushing seeds, whole blackberries and lime slices cold-infused in 3L water — removed after 4 hours. Dark purple and quietly complex.
Green Tea Citrus Pitcher
Green tea at 75–80°C for 2–2½ minutes, dual citrus zest off heat — 500ml orange juice for body, lemon juice, salt, cold water, chilled. Delicate and citrus-bright.
Tamarind Chili Agua Fresca Mocktail
Tamarind and chili with lime over crushed ice, partial chili-salt rim — bold and Mexican.
You might also like
You might also like
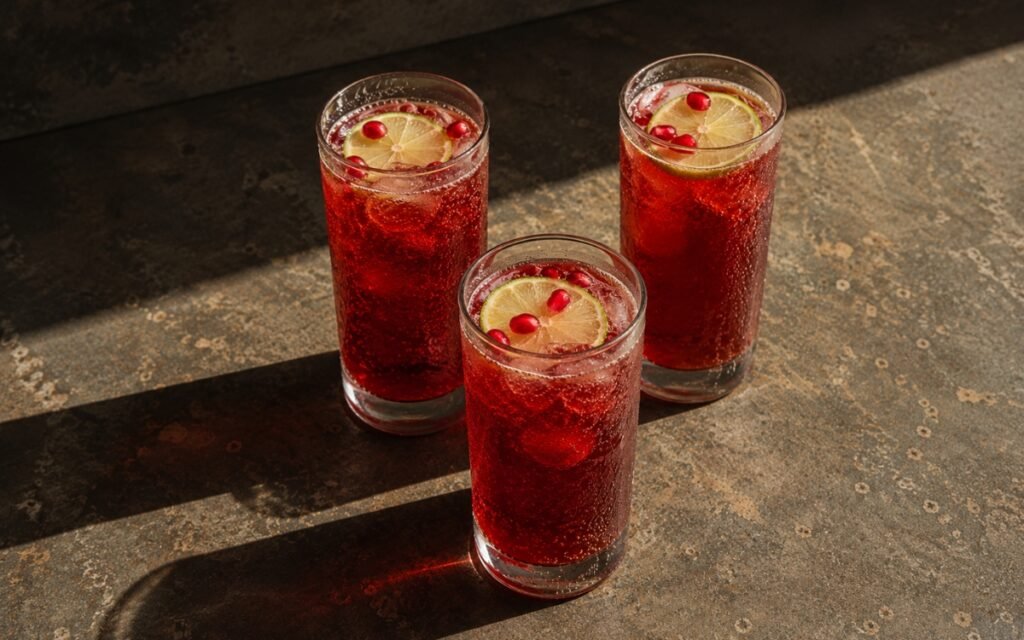
Pomegranate Ginger Sparkler Mocktail
Deep ruby pomegranate and rounded ginger warmth with lime over club soda — tart and dramatic.
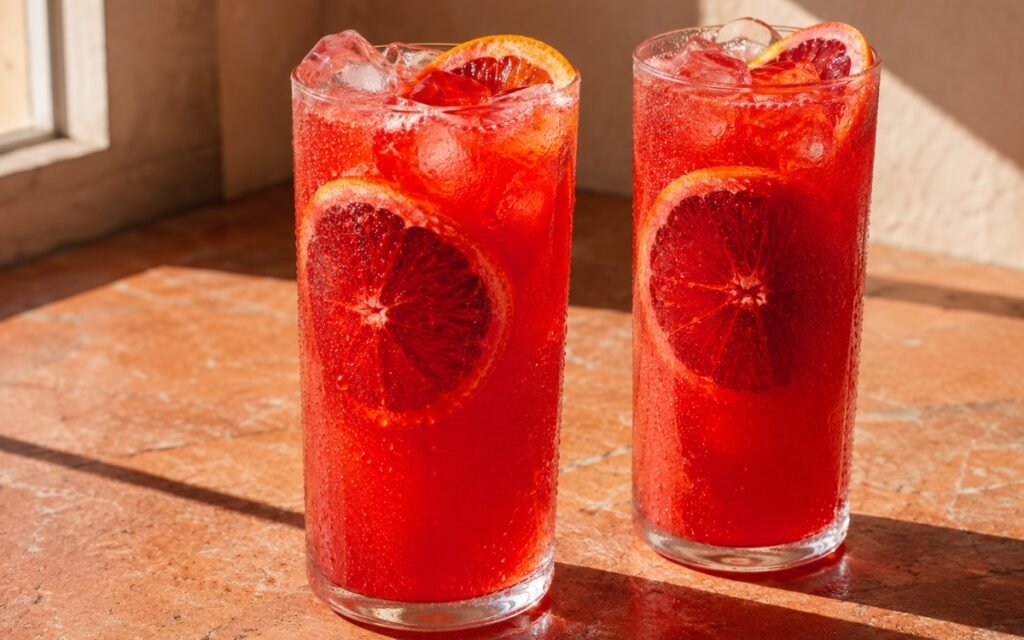
Blood Orange Lemonade
Orange and lemon peels steeped off heat exactly 10–12 minutes, pulp mashed in pitcher — blood orange juice, optional lemon, salt, cold water. Vivid ruby and citrusy.
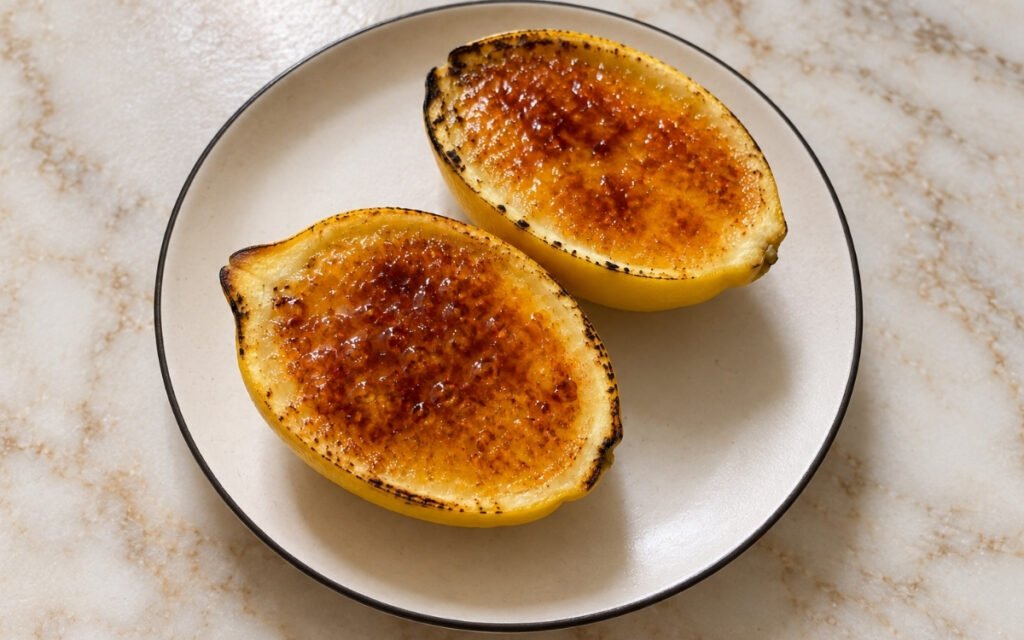
Lemon Posset Brûlée in Lemon Shells
Creamy lemon posset set inside hollowed lemon shells, finished with a thin brûléed sugar crust for crackly caramelized contrast.
Hibiscus and Orange Poached Pears with Vanilla Ice Cream
Ingredients
Method
- Peel the pears, cut them in half lengthwise, and use a melon baller or small spoon to remove the cores neatly. Rub the cut surfaces lightly with lemon to limit browning while you finish prepping the rest. Use pears that are still firm. If they are too ripe, they will collapse during poaching instead of holding clean, elegant halves. That genuine firmness is exactly what gives the pears the structural integrity to survive real, sustained simmering without breaking down into something soft and shapeless.
- In a wide saucepan or deep sauté pan, combine the water, dried hibiscus, sugar, orange juice, orange zest, cinnamon stick, and vanilla bean plus seeds if using. Bring just to a simmer, then reduce the heat and simmer gently for 5 minutes so the hibiscus fully infuses and the sugar dissolves. Taste the liquid. It should be bright, floral, citrusy, and clearly sweet. Add 1–2 tbsp lemon juice if it needs more sharpness. The liquid should already be a vivid ruby-red before the pears go in. That specific, checkable colour confirms the hibiscus has fully released its own real pigment into the liquid before the pears ever join it — a paler liquid at this stage simply hasn’t extracted enough colour yet.
- Lower the pear halves into the liquid in a single snug layer if possible. The cut side can face down or sideways, but the pears should be mostly submerged. Cover the surface with a round of parchment paper if needed to keep them under the liquid, then simmer very gently for 15–25 minutes, turning once or twice for even colouring. The pears are done when a knife slips in with light resistance at the thickest part. Do not boil hard. A fast boil breaks the fruit and gives ragged edges. Gentle poaching keeps the pears intact and glossy. Cooking time depends entirely on pear variety and ripeness. Start checking early. That genuinely gentle simmer, rather than a hard boil, protects the pears’ own delicate structure from the physical agitation a stronger boil would introduce, keeping every halve intact and clean-edged.
- Remove the pan from the heat and let the pears cool in the poaching liquid. For the best colour, transfer the pears and liquid to a container and chill for at least 1 hour, ideally 3–4 hours or overnight. This resting step is what gives the pears that deeper magenta-pink staining and slight colour gradient from edge to centre. That extended cooling period, still fully submerged in the pigmented liquid, gives the hibiscus dye real, continued time to penetrate deeper into the fruit’s own flesh, well beyond what the active poaching stage alone could achieve.
- Lift the pears out carefully and set aside. Strain the poaching liquid, discarding the solids, then return the liquid to the pan. Simmer until reduced to a lightly syrupy consistency, usually 10–15 minutes. It should coat the back of a spoon lightly, not become sticky like caramel. Cool the syrup. The reduced syrup should remain bright and glossy, not dull or over-thick. That specific, checkable reduction target protects the finished syrup from crossing into a heavier, caramel-like consistency — reduced past that point, it would lose exactly the bright, glossy quality that pairs so well with the pears and ice cream.
- For each serving, spoon a generous swirl of vanilla bean ice cream into a wide shallow dessert bowl. Arrange 3 pear halves on top of the ice cream. Spoon over a little hibiscus-orange syrup if using. Finish with a generous scattering of fresh orange zest over the pears and ice cream. Serve immediately so the ice cream softens slightly at the edges but still holds shape. That immediate serving is what captures the intended contrast between the ice cream’s own real, cold structure and its slightly softened edges — waiting any longer would let it melt considerably further, losing that specific balance.