
Challah Bread
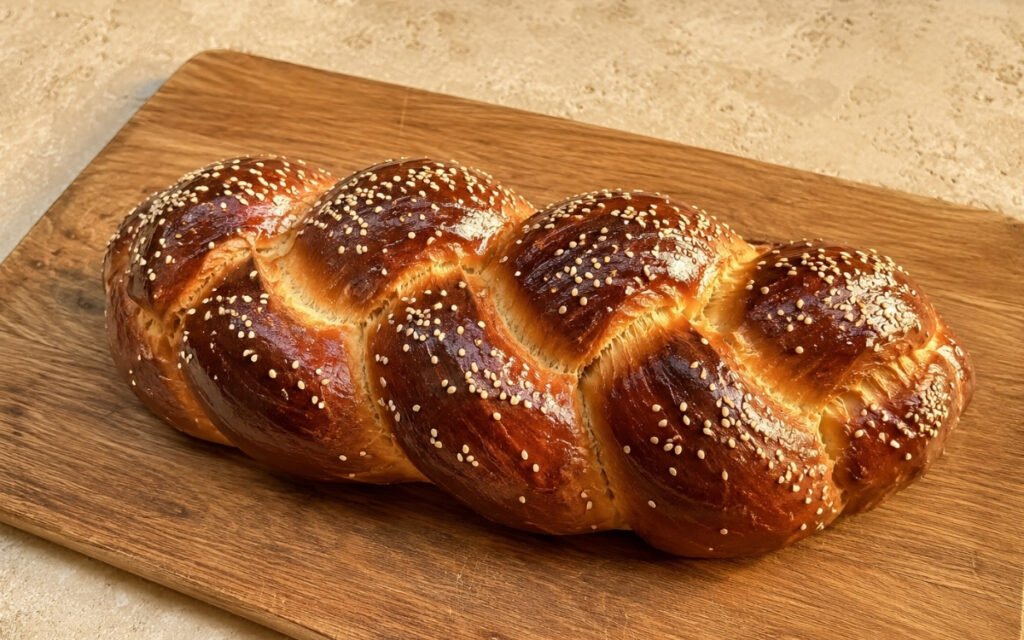
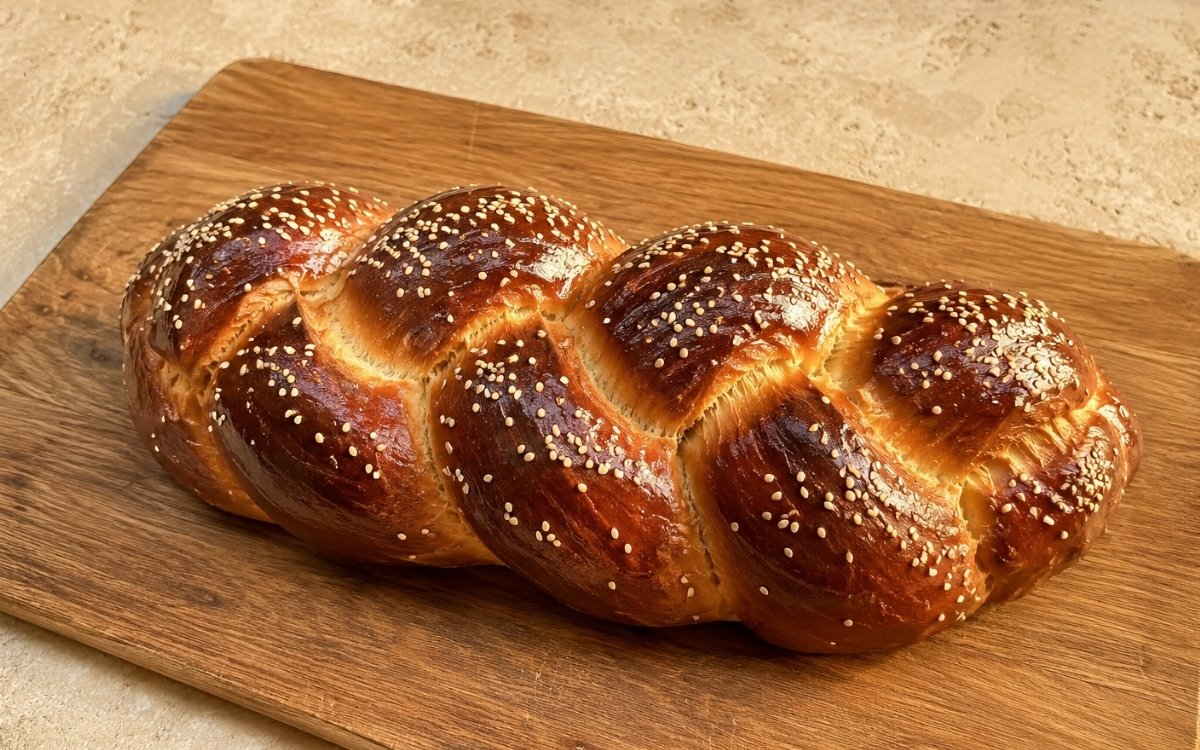
Challah is an enriched bread built on oil and eggs rather than butter — the distinction that produces a crumb that is simultaneously lighter, more structured, and more specifically chewy than brioche, while sharing the golden colour and slightly sweet richness of any egg-enriched dough. The dough kneaded for a full 10–12 minutes to develop the strong, extensible gluten network that a three-strand braid requires to hold its form through proofing and baking without losing definition. The braid executed with even tension throughout — neither too tight, which prevents the final proof’s expansion, nor too loose, which produces a braid that splays open during baking. A thorough egg wash applied into every crevice between the braid’s sections, not only across the peaks, so the entire surface emerges from the oven a uniformly deep, lacquered amber. The Shabbat loaf that makes French toast, breakfast toast, and the simplest dinner of warm bread with salted butter and honey all specifically better.
Prep Time : 30 min
Cook Time : 30–38 min
Servings : 12 slices
30 min
30–38 min
12 slices
Ingredients
For the Challah Dough
• 500g all-purpose flour
• 8g fine sea salt
• 45g granulated sugar
• 7g instant dry yeast
• 12g honey — this one on Amazon
• 140g warm water — 24–27°C
• 2 whole eggs
• 1 egg yolk
• 55g neutral oil — vegetable, sunflower, or canola
For the Egg Wash
• 1 whole egg
• 1 tbsp water
Optional Toppings
• Sesame seeds, poppy seeds, or a combination
This post may contain affiliate links. As an Amazon Associate I earn from qualifying purchases, at no additional cost to you.
Directions
- Activate the Yeast and Build the Wet Mixture
In a large mixing bowl, combine the 140g of warm water — measured specifically at 24–27°C, the range at which instant yeast activates vigorously without the heat damage that begins above 43°C — with the 12g of honey and 7g of instant yeast. Stir briefly to distribute and allow to sit for 5 minutes. After 5 minutes the surface should show a visible foam or bubbling activity — the reliable indicator that the yeast is active and the fermentation will proceed correctly. Inactive yeast at this stage means the water was too hot or the yeast is old — discard and begin again rather than proceeding with dead yeast that will produce a dense, flat loaf regardless of technique. Add the 2 whole eggs, 1 egg yolk, and 55g of neutral oil to the foamy yeast mixture. Whisk until completely smooth and uniform — no visible yolk streaks remaining. The oil-and-egg enrichment without butter is the specific composition that distinguishes challah from brioche. Oil’s pure fat lacks butter’s water and milk solids — it coats the gluten strands without contributing the richness and dairy depth of butter, producing a crumb that is lighter, more elastic, and more chewy than brioche. The three eggs (two whole plus one yolk) provide the golden colour — yolk carotenoids — and the specific richness that makes challah noticeably more flavourful and more golden than a lean bread without approaching brioche’s heaviness. - Combine and Knead to Full Development
In a separate bowl, whisk together the 500g of flour, 45g of sugar, and 8g of salt until evenly combined. Add the dry mixture to the wet mixture and stir until a rough, shaggy dough forms. Turn the dough onto a lightly floured surface and begin kneading. Knead continuously for 10–12 minutes until the dough transforms from the initial rough mass into something smooth, elastic, and slightly tacky — it will pull away from the work surface cleanly and stretch without tearing when a piece is pulled. Challah dough should feel specifically lighter, less rich, and more structured than brioche dough. Where brioche dough has a soft, almost slack quality from its high butter content, challah dough is firmer, more responsive, and more clearly extensible — it springs back visibly when pressed and stretches into longer ropes without immediate tearing. This structural firmness is what produces the braid’s definition and the final loaf’s slightly chewy crumb. Under-kneaded challah produces a braid that loses definition during proofing as the weak gluten cannot hold the shaped structure; fully developed challah holds its braid shape clearly through the entire proofing and baking sequence. Perform the windowpane test before accepting the dough as ready: stretch a small piece slowly between your fingers. Fully developed dough stretches into a thin, translucent membrane without tearing. Dough that tears without thinning needs additional kneading. - First Rise
Transfer the kneaded dough to a lightly oiled bowl, turning to coat all surfaces. Cover tightly with plastic wrap or a clean damp cloth. Place in a warm spot — 24–27°C ambient temperature, such as a slightly warm oven with only the light on, or near a warm stovetop. Allow to rise for 1½–2 hours, or until the dough has genuinely doubled in volume. Watch the dough rather than the clock — ambient temperature, yeast activity, and humidity all affect rising time. A correctly proofed first rise will have visibly doubled, feel pillowy when lightly pressed, and show a dough that has pulled slightly away from the bowl’s sides. Under-proofed dough produces a dense loaf; over-proofed dough has exhausted the yeast’s available sugars and will have weakened gluten — producing a flat, slightly sour loaf without the oven spring that makes challah’s crown impressive. - Divide, Roll, and Braid
Gently punch down the risen dough to release the accumulated gas. Turn onto a lightly floured surface and divide into exactly 3 equal portions — use a kitchen scale for precise equal portions, as unequal strands produce a braid that tapers unevenly. Take each portion and roll it beneath your palms on the work surface into an even rope approximately 35–40cm long. Roll from the centre outward toward the ends — this technique produces ropes that are even in thickness throughout rather than thicker at the centre. If the dough springs back and resists rolling to length, allow it to rest uncovered for 5 minutes to relax the gluten before continuing. Ropes rolled to the correct length without force will hold their length more reliably during proofing and baking. Line up the three ropes parallel to each other on the work surface. Pinch the top ends together firmly — this anchor point is where the braid’s structural integrity originates. Braid in the standard three-strand sequence: bring the right rope over the centre, then the left rope over the new centre, alternating right-over-centre, left-over-centre for the length of the ropes. Maintain even, moderate tension throughout — enough to produce a clearly defined braid with visible strand separation, not so tight that the strands are compressed against each other and cannot expand freely during proofing. Pinch the bottom ends together and tuck both the top and bottom pinched ends under the loaf — this tucking produces the characteristic rounded end shape and prevents the ends from splaying during baking. - Transfer and Final Proof
Transfer the braided loaf carefully onto a parchment-lined baking tray — parchment rather than a greased tray allows the base of the challah to bake rather than fry, producing a more even bottom crust. Cover loosely with lightly greased plastic wrap or a clean cloth — the cover should not touch the dough’s surface as it proofs and expands. Allow to proof at room temperature for 45–75 minutes, until visibly puffy and approximately 1.5 times larger than the just-shaped loaf. The poke test is the most reliable indicator: press one finger 1cm into the dough at the loaf’s side. A correctly proofed challah will spring back slowly over 3–4 seconds and leave a slight remaining indentation — the gluten has relaxed sufficiently for the final proof but retains enough strength for oven spring. Dough that springs back immediately is under-proofed; dough that shows no spring-back and retains the full finger impression is over-proofed. Preheat the oven to 175°C during the final proof period — the oven must be fully at temperature before the challah enters. - Egg Wash and Bake
Whisk together the egg and 1 tbsp of water until completely smooth and uniform. Using a pastry brush, apply the egg wash across the entire surface of the proofed loaf — brushing not only across the tops of the braid’s peaks but working the brush carefully into every crevice and gap between the strands. The crevices are the areas most visible on the finished baked loaf, and pale, unwashed surfaces in those gaps produce an uneven, patchy appearance that the careful crevice-brushing prevents. If using seeds, scatter the sesame or poppy seeds evenly across the top immediately after egg washing — the egg wash is the adhesive that holds them against the surface during baking. Place in the preheated 175°C oven. Bake for 30–38 minutes until the entire surface is a deep, uniform amber-brown and the internal temperature reads 88–92°C at the loaf’s centre, inserted from the side. The relatively lower internal temperature threshold compared to a lean bread reflects challah’s enriched composition — the oil and eggs produce a fully cooked crumb at a slightly lower temperature than a lean bread’s starch requires. At 88°C the crumb is fully set, moist, and slightly chewy; above 95°C it begins drying. If the surface is browning significantly before 25 minutes, loosely tent a sheet of aluminium foil over the loaf for the remainder of the baking time. - Cool Before Slicing
Remove from the oven and allow the challah to cool fully on the baking tray or transferred to a wire rack — a minimum of 45 minutes to 1 hour. Hot challah sliced immediately produces a gummy, slightly compressed crumb that tears rather than cutting cleanly. Fully cooled challah slices cleanly with a serrated bread knife, producing even 2cm slices with visible, soft crumb structure and the characteristic slightly chewy, golden interior that identifies a correctly baked challah.
*Notes :
- The braiding technique’s even tension is the most nuanced aspect of this recipe and the most directly visible in the finished loaf. A braid braided with consistent, moderate tension produces defined strands that retain their separation through proofing and baking — each strand remains clearly distinct on the finished surface. A braid braided unevenly — some sections tight, some loose — expands unpredictably during proofing, producing a finished loaf where some sections have blurred strand definition and others remain compressed. Practising the tension consistency on the work surface before committing to the shaped loaf is worth the 3–4 minutes; a second braiding attempt takes only this time and produces a noticeably better result.
- Oil-enriched doughs behave differently from butter-enriched doughs in one important respect during proofing: they are significantly more tolerant of slightly warmer proofing environments. Where butter can liquefy and pool within a dough if proofed above 27°C, oil remains distributed throughout the dough structure at higher temperatures. Challah can proof in a slightly warmer environment than brioche — up to 29–30°C — without the same risk of structural fat separation.
Why This Recipe Works
This recipe works because the 10–12 minute knead develops the strong, extensible gluten that a braided loaf requires to hold its shape — a shorter knead produces a braid that loses definition during proofing.
The thorough egg wash applied into every crevice produces the uniformly deep golden, lacquered surface rather than pale gaps between the braid sections. And the internal temperature target of 88–92°C ensures a fully cooked, moist, slightly chewy crumb without the dryness that over-baking produces.
Ingredient Breakdown
Neutral Oil (Rather Than Butter)
The defining composition decision — oil produces a lighter, more structured, more chewy crumb than butter while maintaining the richness and moisture of an enriched bread.
Three Eggs (Two Whole, One Yolk)
The colour and richness system — yolk carotenoids produce the golden crumb colour; combined egg and yolk provide the flavour richness without the butter-weight of brioche.
Sugar and Honey Combined
The sweetness system — honey’s fructose and glucose for the yeast’s initial vigorous fermentation activity and its floral aromatic contribution; granulated sugar for the balanced, clean background sweetness.
10–12 Minute Knead
The structural requirement — the full knead develops the extensible gluten network that holds the braid’s definition and produces the characteristic slightly chewy crumb.
Even Braid Tension
The technique that determines the finished loaf’s appearance — consistent moderate tension produces clear, defined strand separation; uneven tension produces blurred, irregular braid definition.
Egg Wash into Every Crevice
The finish technique — reaching between the braid sections produces the uniformly glossy amber surface rather than patchy alternating dark and pale areas.
Flavor Structure Explained
This challah bread follows a layered balance model:
- Egg-rich core (enriched dough)
- Gentle sweetness (sugar, honey)
- Floral aromatic depth (honey)
- Soft-chewy texture contrast (developed crumb)
- Balanced richness (oil instead of butter)
Eggs define the primary character with golden richness and subtle custard-like depth that give challah its unmistakable identity. Sugar and honey provide sweetness that is noticeable but restrained, allowing the bread to work equally well in sweet and savory applications. Honey contributes a quiet floral complexity underneath the main flavor structure, adding dimension beyond plain sweetness. Oil enrichment creates softness without the heavy dairy richness of brioche, while strong gluten development gives the crumb its characteristic slight chew. The result is a bread balanced between richness and lightness, sweetness and neutrality.
Common Mistakes to Avoid
- Under-Kneading – The most structural error — a 6-minute knead on a dough that needs 10–12 produces a weak gluten network that cannot hold the braid’s definition. Always knead the full time and verify with the windowpane test.
- Tight Braiding – A braid braided too tightly prevents expansion during the final proof — producing a loaf that bursts between the strands rather than rising evenly. Always moderate tension that allows the strands to push apart slightly during proofing.
- Applying Egg Wash Only to the Peaks – The crevices between strands receive the most visual attention on the finished loaf. Always brush into every gap with deliberate attention.
- Not Monitoring the First Rise – Over-proofed first-rise dough has exhausted the yeast and weakened gluten — the final loaf loses oven spring and may be flat or slightly sour. Always double-check by volume rather than relying solely on the clock.
- Slicing Hot – Always cool fully before slicing. Hot challah tears rather than slicing cleanly and the crumb compresses under the knife.
Variations
Four-Strand Braid
Divide the dough into 4 equal portions for a more complex braid — the four-strand pattern produces a wider, flatter loaf with more visible strand detail. The technique requires slightly more practice but produces a more dramatic presentation.
Six-Strand Braid
Divide into 6 equal portions for the traditional Shabbat challah. The six-strand braid produces the most visually impressive loaf and is worth attempting once the basic three-strand technique is comfortable.
Challah With Raisins
Knead 80g of raisins into the dough during the final minute of kneading — their sweetness pairs specifically well with the challah’s honey character.
Overnight Version
After the initial knead, place the covered dough in the refrigerator overnight (8–12 hours) for cold fermentation — the slower rise produces more flavour complexity and a firmer dough that is easier to roll into even ropes. Allow to warm at room temperature for 30 minutes before shaping.
Storage & Make-Ahead
At room temperature, challah can be stored wrapped in a clean cloth or sealed bag for up to 3 days. Its oil content helps keep the crumb moist much longer than lean breads.
For longer storage, slice the challah once it has cooled completely, wrap each slice individually, and freeze for up to 1 month. The slices can be toasted directly from frozen or thawed at room temperature for about 20 minutes.
The shaped but unbaked loaf can also be prepared ahead of time. After braiding, place it on a parchment-lined tray, cover it tightly, and refrigerate it overnight before baking. The next day, remove it from the refrigerator about 30 minutes before baking, preheat the oven, apply the egg wash, and bake as directed. This is the most practical method for serving freshly baked challah in the morning.
Frequently Asked Questions
Why oil rather than butter?
Oil produces challah’s characteristically lighter, chewier crumb — the traditional composition. Butter would produce a result closer to brioche. Oil’s pure fat also makes challah pareve (containing neither dairy nor meat) in the Jewish dietary tradition, making it suitable to serve alongside both dairy and meat meals.
Why does the braid need even tension?
Even tension across all sections of the braid produces consistent strand expansion during proofing — every section of the braid rises at the same rate and maintains its definition. Tight sections restrict local expansion while loose sections puff unpredictably, producing an irregular, blurred braid in the finished loaf.
How do I get an even, glossy surface?
Two things: thoroughly whisk the egg and water until completely smooth — any yolk streaks produce patchy colour — and brush deliberately into every crevice between the braid strands rather than only across the surface peaks.
What is the difference between challah and brioche?
Both are enriched breads but their fat sources and enrichment levels differ fundamentally. Challah uses oil and three eggs — producing a lighter, chewier, more structured crumb. Brioche uses a large quantity of butter (110g for the same flour weight) and four eggs — producing a richer, softer, more tender, more cake-like crumb. Challah is also traditionally pareve (no dairy), while brioche is dairy.
Why is the internal temperature target slightly lower than brioche?
Challah’s oil and egg composition produces a fully set, moist crumb at 88–92°C because the oil’s pure fat remains distributed and moist at lower temperatures than the starch requires in a lean bread. Above 95°C challah begins losing moisture rapidly and the crumb dries noticeably.
Nutrition Facts
( Per Serving — 1 slice )
Calories
~230 kcal
Protein
6 g
Fat
7 g
Carbs
36 g
Calories
~230 kcal
Protein
6 g
Fat
7 g
Carbs
36 g
Related Recipes
Related Recipes

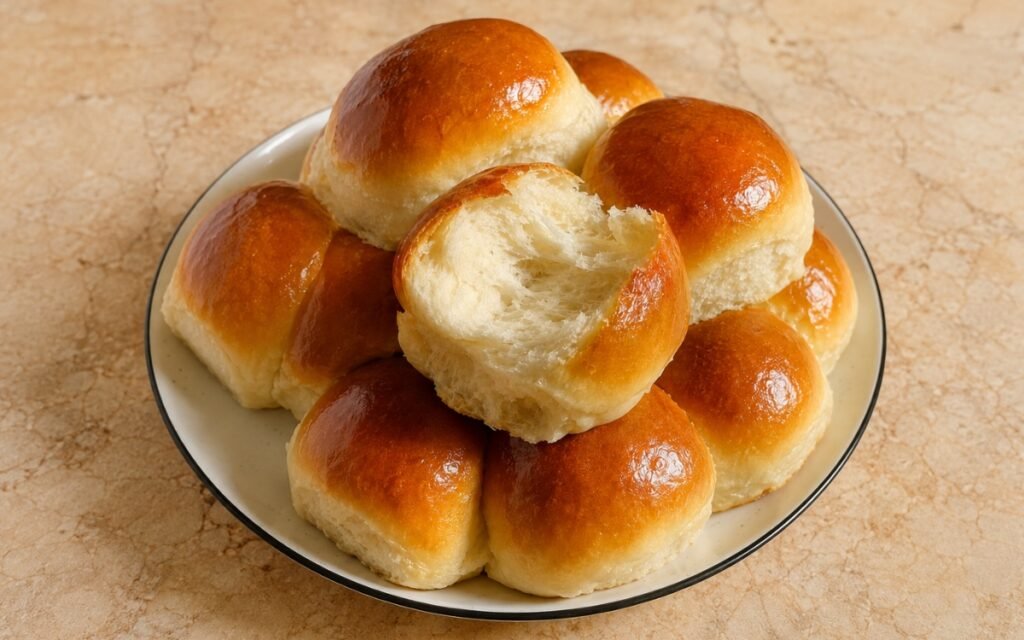
The Softest Homemade Milk Buns
Small tangzhong-enriched milk buns with glossy golden tops and a soft, cottony interior that pulls apart into fine tender strands.
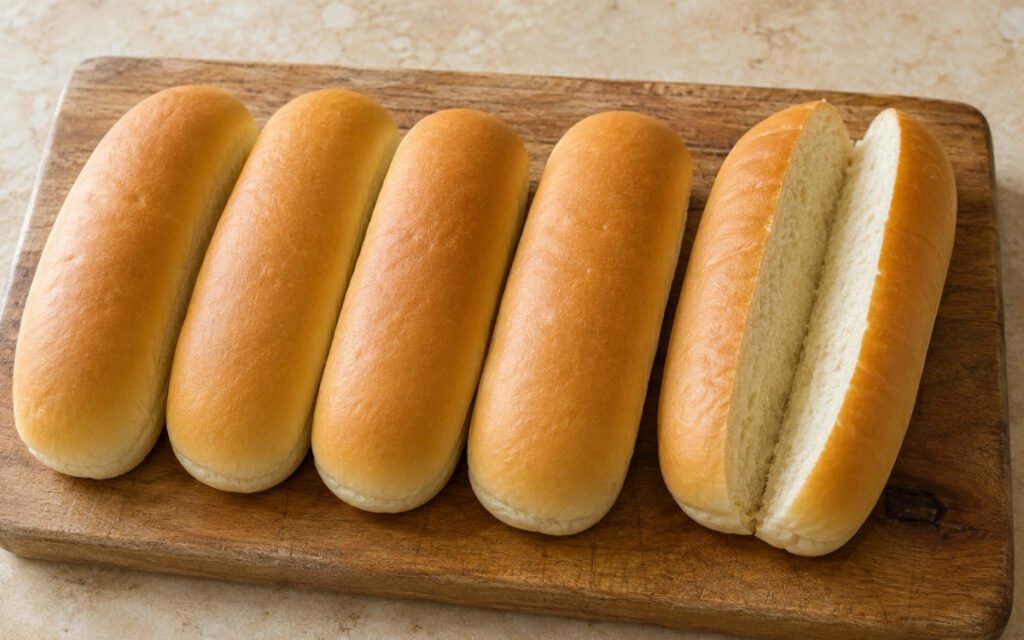
Classic Hot Dog Buns
All-purpose flour dough rolled into even logs and milk-washed for a soft, pale golden crust — the classic neutral hot dog bun for everyday use, ready in 2.5 hours.
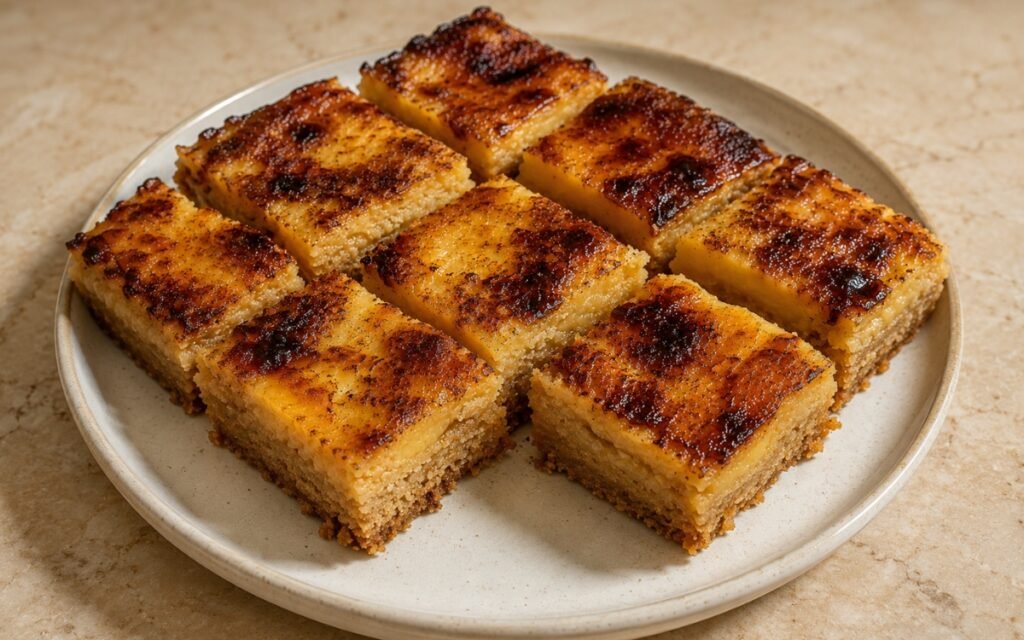
Pastel de Nata Blondies
A brown-butter blondie base topped with silky cinnamon-lemon custard, broiled until deeply caramelised and spotted, sliced into thick squares.
You might also like
You might also like
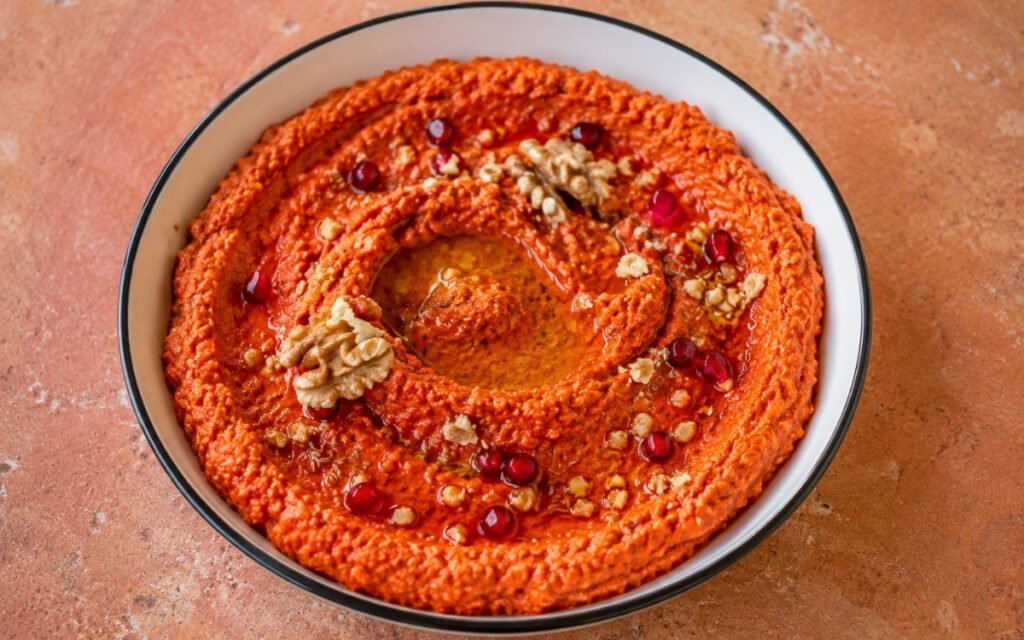
Muhammara
Charred red peppers, toasted walnuts, pomegranate molasses, and Aleppo pepper pulsed into a thick, deeply flavoured Syrian dip — smoky, sweet, sour, nutty, and warmly spiced in 35 minutes.
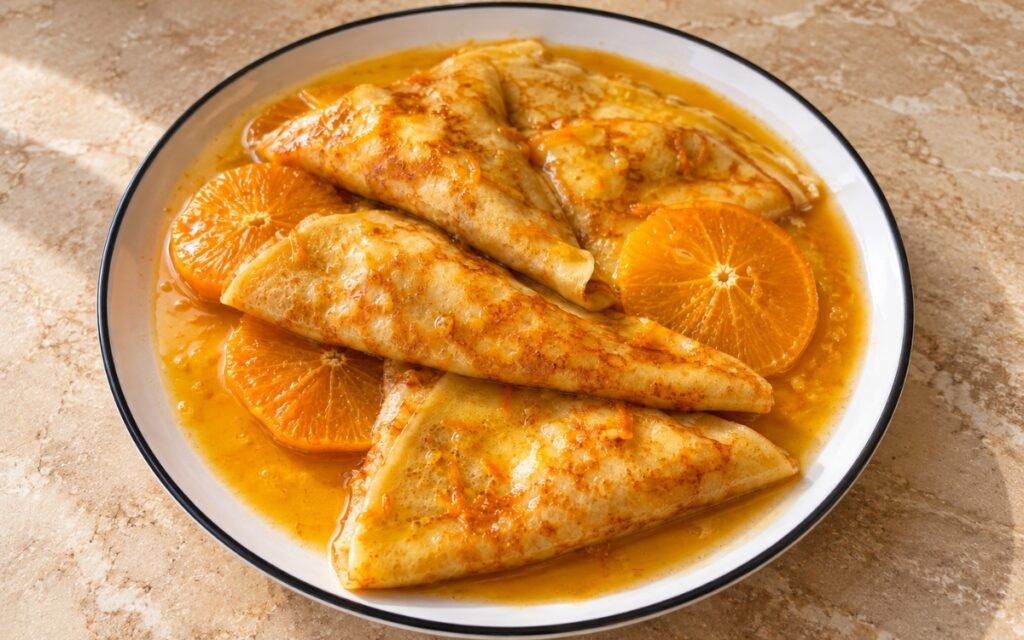
Crêpes Suzette
Delicate French crêpes folded into triangles and coated in a glossy orange-butter Suzette sauce with fresh orange juice and zest.
Classic Hot Dog Buns
All-purpose flour dough rolled into even logs and milk-washed for a soft, pale golden crust — the classic neutral hot dog bun for everyday use, ready in 2.5 hours.
Challah Bread
Ingredients
Method
- In a large mixing bowl, combine the 140g of warm water — measured specifically at 24–27°C, the range at which instant yeast activates vigorously without the heat damage that begins above 43°C — with the 12g of honey and 7g of instant yeast. Stir briefly to distribute and allow to sit for 5 minutes. After 5 minutes the surface should show a visible foam or bubbling activity — the reliable indicator that the yeast is active and the fermentation will proceed correctly. Inactive yeast at this stage means the water was too hot or the yeast is old — discard and begin again rather than proceeding with dead yeast that will produce a dense, flat loaf regardless of technique. Add the 2 whole eggs, 1 egg yolk, and 55g of neutral oil to the foamy yeast mixture. Whisk until completely smooth and uniform — no visible yolk streaks remaining. The oil-and-egg enrichment without butter is the specific composition that distinguishes challah from brioche. Oil’s pure fat lacks butter’s water and milk solids — it coats the gluten strands without contributing the richness and dairy depth of butter, producing a crumb that is lighter, more elastic, and more chewy than brioche. The three eggs (two whole plus one yolk) provide the golden colour — yolk carotenoids — and the specific richness that makes challah noticeably more flavourful and more golden than a lean bread without approaching brioche’s heaviness.
- In a separate bowl, whisk together the 500g of flour, 45g of sugar, and 8g of salt until evenly combined. Add the dry mixture to the wet mixture and stir until a rough, shaggy dough forms. Turn the dough onto a lightly floured surface and begin kneading. Knead continuously for 10–12 minutes until the dough transforms from the initial rough mass into something smooth, elastic, and slightly tacky — it will pull away from the work surface cleanly and stretch without tearing when a piece is pulled. Challah dough should feel specifically lighter, less rich, and more structured than brioche dough. Where brioche dough has a soft, almost slack quality from its high butter content, challah dough is firmer, more responsive, and more clearly extensible — it springs back visibly when pressed and stretches into longer ropes without immediate tearing. This structural firmness is what produces the braid’s definition and the final loaf’s slightly chewy crumb. Under-kneaded challah produces a braid that loses definition during proofing as the weak gluten cannot hold the shaped structure; fully developed challah holds its braid shape clearly through the entire proofing and baking sequence. Perform the windowpane test before accepting the dough as ready: stretch a small piece slowly between your fingers. Fully developed dough stretches into a thin, translucent membrane without tearing. Dough that tears without thinning needs additional kneading.
- Transfer the kneaded dough to a lightly oiled bowl, turning to coat all surfaces. Cover tightly with plastic wrap or a clean damp cloth. Place in a warm spot — 24–27°C ambient temperature, such as a slightly warm oven with only the light on, or near a warm stovetop. Allow to rise for 1½–2 hours, or until the dough has genuinely doubled in volume. Watch the dough rather than the clock — ambient temperature, yeast activity, and humidity all affect rising time. A correctly proofed first rise will have visibly doubled, feel pillowy when lightly pressed, and show a dough that has pulled slightly away from the bowl’s sides. Under-proofed dough produces a dense loaf; over-proofed dough has exhausted the yeast’s available sugars and will have weakened gluten — producing a flat, slightly sour loaf without the oven spring that makes challah’s crown impressive.
- Gently punch down the risen dough to release the accumulated gas. Turn onto a lightly floured surface and divide into exactly 3 equal portions — use a kitchen scale for precise equal portions, as unequal strands produce a braid that tapers unevenly. Take each portion and roll it beneath your palms on the work surface into an even rope approximately 35–40cm long. Roll from the centre outward toward the ends — this technique produces ropes that are even in thickness throughout rather than thicker at the centre. If the dough springs back and resists rolling to length, allow it to rest uncovered for 5 minutes to relax the gluten before continuing. Ropes rolled to the correct length without force will hold their length more reliably during proofing and baking. Line up the three ropes parallel to each other on the work surface. Pinch the top ends together firmly — this anchor point is where the braid’s structural integrity originates. Braid in the standard three-strand sequence: bring the right rope over the centre, then the left rope over the new centre, alternating right-over-centre, left-over-centre for the length of the ropes. Maintain even, moderate tension throughout — enough to produce a clearly defined braid with visible strand separation, not so tight that the strands are compressed against each other and cannot expand freely during proofing. Pinch the bottom ends together and tuck both the top and bottom pinched ends under the loaf — this tucking produces the characteristic rounded end shape and prevents the ends from splaying during baking.
- Transfer the braided loaf carefully onto a parchment-lined baking tray — parchment rather than a greased tray allows the base of the challah to bake rather than fry, producing a more even bottom crust. Cover loosely with lightly greased plastic wrap or a clean cloth — the cover should not touch the dough’s surface as it proofs and expands. Allow to proof at room temperature for 45–75 minutes, until visibly puffy and approximately 1.5 times larger than the just-shaped loaf. The poke test is the most reliable indicator: press one finger 1cm into the dough at the loaf’s side. A correctly proofed challah will spring back slowly over 3–4 seconds and leave a slight remaining indentation — the gluten has relaxed sufficiently for the final proof but retains enough strength for oven spring. Dough that springs back immediately is under-proofed; dough that shows no spring-back and retains the full finger impression is over-proofed. Preheat the oven to 175°C during the final proof period — the oven must be fully at temperature before the challah enters.
- Whisk together the egg and 1 tbsp of water until completely smooth and uniform. Using a pastry brush, apply the egg wash across the entire surface of the proofed loaf — brushing not only across the tops of the braid’s peaks but working the brush carefully into every crevice and gap between the strands. The crevices are the areas most visible on the finished baked loaf, and pale, unwashed surfaces in those gaps produce an uneven, patchy appearance that the careful crevice-brushing prevents. If using seeds, scatter the sesame or poppy seeds evenly across the top immediately after egg washing — the egg wash is the adhesive that holds them against the surface during baking. Place in the preheated 175°C oven. Bake for 30–38 minutes until the entire surface is a deep, uniform amber-brown and the internal temperature reads 88–92°C at the loaf’s centre, inserted from the side. The relatively lower internal temperature threshold compared to a lean bread reflects challah’s enriched composition — the oil and eggs produce a fully cooked crumb at a slightly lower temperature than a lean bread’s starch requires. At 88°C the crumb is fully set, moist, and slightly chewy; above 95°C it begins drying. If the surface is browning significantly before 25 minutes, loosely tent a sheet of aluminium foil over the loaf for the remainder of the baking time.
- Remove from the oven and allow the challah to cool fully on the baking tray or transferred to a wire rack — a minimum of 45 minutes to 1 hour. Hot challah sliced immediately produces a gummy, slightly compressed crumb that tears rather than cutting cleanly. Fully cooled challah slices cleanly with a serrated bread knife, producing even 2cm slices with visible, soft crumb structure and the characteristic slightly chewy, golden interior that identifies a correctly baked challah.