
Brown Butter Blondies
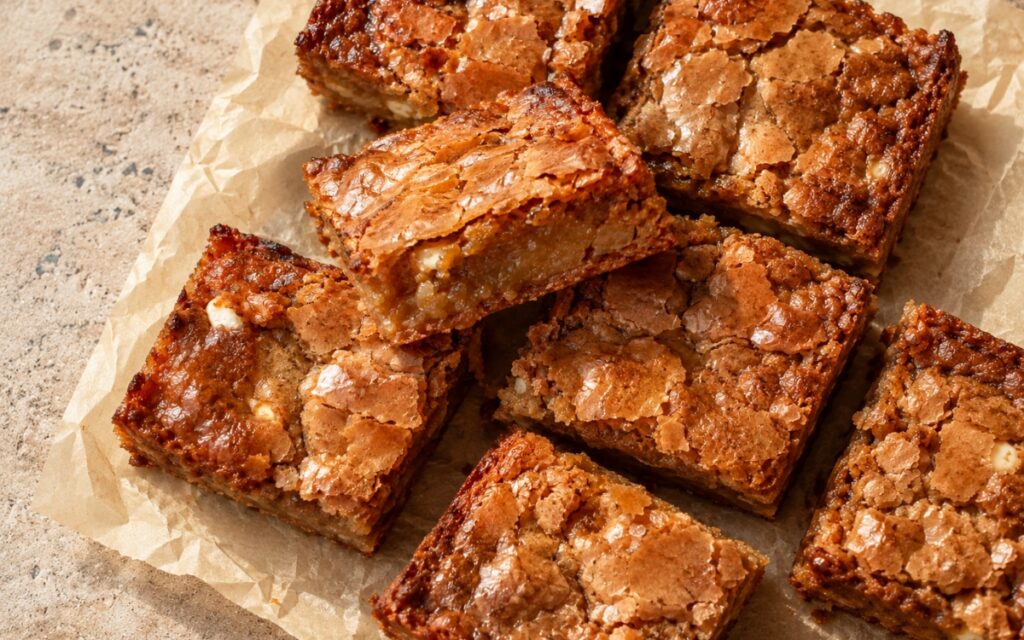
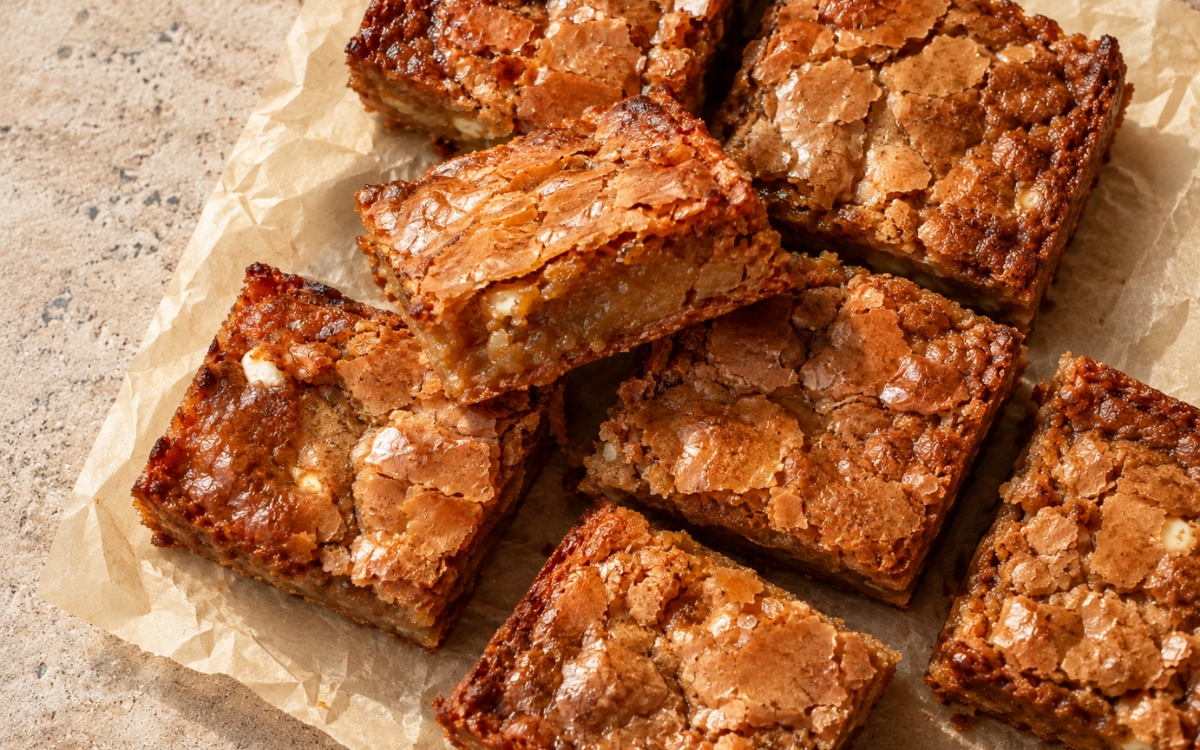
Classic brown butter blondies baked thick and cut into squares, with shiny crackly tops, deep caramel-butterscotch flavor, browned edges, and a dense, chewy golden interior. Browning the butter until the milk solids turn deep golden and smell nutty is the step the entire flavor profile depends on — the same toast-it-first technique used elsewhere in this collection whenever a basic fat needs real depth rather than plain richness. Whisking the sugar into the still-warm browned butter, rather than cooled butter, is what gives the top its glossy, crackly finish, and pulling the blondies from the oven while the center still has a faint softness is what keeps them fudgy rather than dry — they continue setting fully as they cool.
Prep Time : 20 min
Total Time : 2 hr 20 min
Servings : 16
20 min
2 hr 20 min
16
Ingredients
Blondie Batter
• 170 g unsalted butter
• 250 g light brown sugar, packed
• 100 g granulated sugar
• 2 large eggs, room temperature
• 1 large egg yolk, room temperature
• 2 tsp vanilla extract
• ½ tsp fine sea salt
• 240 g all-purpose flour
• ½ tsp baking powder
Optional Mix-Ins (for a more bakery-style blondie, use one or both)
• 100–120 g white chocolate chunks or chips
• 80–100 g chopped toasted pecans or walnuts
For the Pan
• Butter or neutral oil, for greasing
• Parchment paper
Directions
- Prepare the Pan and Oven
Heat the oven to 175°C / 350°F. Grease an 8×8-inch pan for thicker blondies or a 9×9-inch pan for slightly thinner ones, then line it with parchment, leaving overhang on two sides for easy lifting. That parchment overhang makes clean removal much easier later and helps preserve the crackly top when it’s time to slice. - Brown the Butter
Add the butter to a light-colored saucepan or skillet over medium heat, melt it fully, then continue cooking, stirring often, until it foams, the milk solids turn deep golden brown, and it smells nutty and toasted. Remove from the heat immediately and scrape all of the browned milk solids into a mixing bowl, then let it cool for 8 to 10 minutes, until warm but not hot. Don’t leave the dark specks behind in the pan — they carry a significant amount of the flavor this recipe is built around. The finished butter should look amber-gold and smell fragrant rather than dark brown or bitter. - Build the Sugar Base
Add the brown sugar and granulated sugar to the warm browned butter and whisk well until glossy and mostly smooth, then let the mixture sit for 2 to 3 minutes before whisking again to help the sugar dissolve and improve the shine on top. Add the eggs and egg yolk one at a time, whisking well after each addition, then whisk in the vanilla and salt. Whisking thoroughly at this stage matters — a well-emulsified butter-sugar-egg base is what produces a better crackly top and a smoother, denser crumb. - Add the Dry Ingredients
Whisk together the flour and baking powder in a separate bowl, then add them to the wet mixture and fold with a spatula just until no dry streaks remain, folding in any mix-ins at the end. Don’t overmix once the flour is added — overmixing develops gluten and makes the blondies tougher and more cakey instead of dense and chewy. - Pan and Bake
Spread the batter evenly in the prepared pan — it will be thick — and bake for 28 to 34 minutes depending on the pan size, usually 31 to 34 minutes for an 8×8-inch pan or 28 to 32 minutes for a 9×9-inch pan. The blondies are done when the top is shiny, crackly, and set, the edges are browned and pulling very slightly from the pan, the center looks just set rather than wet, and a toothpick inserted in the center comes out with moist crumbs rather than raw batter. A slightly underbaked center is correct here — pull them when a faint softness remains, since they keep setting as they cool, and overbaking trades that fudgy chew for a drier, more cakey texture. - Cool Fully Before Cutting
Cool in the pan for 20 to 30 minutes, then lift out using the parchment and transfer to a rack or leave on the counter until fully cooled, about 1 hour more. Cooling completely before cutting matters for getting clean, dense slices — a blondie cut too early will seem too soft in the interior and may tear instead of showing its proper chewy crumb. - Slice
Use a sharp knife to cut into 16 squares, wiping the blade between cuts for the cleanest edges. For very neat bakery-style squares, chill the blondies for 20 to 30 minutes after cooling, then slice.
*Notes :
- Browning the butter does more than add flavor — it also reduces some of the butter’s moisture content, which concentrates the toasted flavor further and improves the final chew. That’s part of why brown butter blondies end up denser and more flavorful than a standard blondie made with plain melted butter.
- Letting the browned butter cool slightly before the eggs go in isn’t optional if a smooth batter is the goal. Butter straight off the heat is hot enough to partially cook the eggs on contact, which would leave small curdled streaks through the batter instead of a uniform, glossy base.
- Whisking the sugar into the butter while it’s still warm, rather than after it’s fully cooled, is specifically what produces the thin, glossy, crackly top these blondies are known for. A cooled butter base doesn’t dissolve the sugar the same way, and the finished top tends to look duller as a result.
- Resisting the urge to bake until the toothpick comes out completely clean protects the texture this recipe depends on. Blondies pulled at that stage have already overbaked past the fudgy interior the recipe is aiming for, and there’s no way to recover that chew once it’s gone.
Why This Recipe Works
This recipe works because browning the butter concentrates its flavor into something toasted and nutty that plain melted butter can’t replicate, and whisking the sugar into that butter while it’s still warm is what gives the top its signature glossy, crackly finish. Folding the dry ingredients in just until combined keeps gluten development minimal, which is exactly what produces a dense, chewy crumb instead of a cakey one. Pulling the blondies from the oven while the center still has a faint softness lets them finish setting during the cooling time, and cooling them completely before slicing is what delivers clean, dense squares instead of ones that tear.
Ingredient Breakdown
Browned Butter
The critical flavor technique — toasting the milk solids gives a nutty, caramel depth plain butter can’t provide.
Light Brown Sugar
The classic flavor base — dark brown sugar would push the flavor toward molasses and darken the color.
Extra Egg Yolk
The richness booster — adds fat and helps create a chewier, denser interior.
All-Purpose Flour
The structural ingredient — folded in minimally to keep the crumb dense rather than cakey.
White Chocolate or Toasted Nuts
The optional bakery-style add-ins — used in moderation so the base still bakes up dense.
Flaky Salt (optional)
The finishing touch — a pinch added right after baking sharpens the caramel-butterscotch flavor.
Flavor Structure Explained
This brown butter blondie follows a layered balance model:
- Toasted, nutty foundation (browned butter)
- Deep caramel-butterscotch core (brown sugar, granulated sugar)
- Rich, chewy body (extra egg yolk, minimal flour mixing)
- Glossy crackly top (warm butter-sugar emulsification)
- Optional textural finish (white chocolate, toasted nuts, flaky salt)
Browned butter forms the toasted, nutty foundation of these blondies, while brown and granulated sugar together build the deep caramel-butterscotch flavor at the core. The extra egg yolk and careful, minimal mixing keep the body rich and chewy rather than cakey, the warm butter-sugar base produces the glossy crackly top on the surface, and optional white chocolate, toasted nuts, or a finishing pinch of flaky salt round out the texture for a more bakery-style result.
Common Mistakes to Avoid
- Leaving the Browned Milk Solids in the Pan – This discards much of the flavor this recipe is built around. Always scrape every browned fleck into the mixing bowl.
- Adding Eggs to Hot Butter – This scrambles the eggs on contact. Always let the browned butter cool for 8 to 10 minutes first.
- Overmixing After the Flour Is Added – This develops gluten and produces a tougher, more cakey texture. Always fold just until no dry streaks remain.
- Baking Until the Toothpick Comes Out Completely Clean – This overbakes the blondies past their fudgy texture. Always pull them while the center still looks just set with moist crumbs.
- Cutting Before the Blondies Have Fully Cooled – This tears the interior instead of showing a clean, dense crumb. Always cool completely, about 1 hour past the initial pan rest, before slicing.
Variations
Pecan or Walnut Version
Fold in 80–100 g of chopped toasted pecans or walnuts at the end of mixing, per the recipe’s own optional mix-in guidance, for a nuttier flavor and extra textural contrast against the dense, chewy base.
White Chocolate Version
Fold in 100–120 g of white chocolate chunks or chips along with or instead of the nuts for a sweeter, more bakery-style blondie. Keep the total mix-ins moderate so the base still bakes up dense rather than overloaded.
Dark Brown Sugar Version
Replace the light brown sugar with an equal amount of dark brown sugar for a deeper molasses note and a darker finished color. The texture stays the same, but the flavor shifts noticeably richer.
Flaky Salt Finish
Sprinkle a pinch of flaky sea salt over the top immediately after baking, per the recipe’s own suggested finish, for a sharper contrast against the caramel-butterscotch flavor underneath.
Storage & Make-Ahead
These blondies store exceptionally well, which makes them a genuinely practical make-ahead dessert rather than one best eaten the same day. Keep them in an airtight container at room temperature for 3 to 4 days, and don’t be surprised if they taste even better on the second day, once the flavors have had more time to settle.
If you want the cleanest bakery-style squares for serving or gifting, chill the fully cooled blondies for 20 to 30 minutes before the final slicing step. This firms up the dense interior just enough to produce sharper edges than slicing them at room temperature would.
For longer storage, these freeze well. Wrap the squares tightly, whether individually or in a single sealed container with parchment between layers, and freeze for up to 2 months. Thaw at room temperature for about an hour before serving, and the texture comes back close to fresh.
The parchment overhang used when lining the pan is worth keeping in mind for the whole process, not just the baking step. It makes lifting the entire slab out for cooling and slicing far easier than trying to maneuver a knife directly in the pan.
Frequently Asked Questions
Why is my browned butter bitter instead of nutty?
This happens when the butter is left on the heat too long after the milk solids turn golden, pushing them from toasted into burnt. Watch closely once foaming starts, and remove the pan from the heat as soon as the solids turn deep amber-gold and smell nutty rather than sharp.
Can I skip browning the butter and just use melted butter?
You can, but the blondies will lose the deep, toasted caramel flavor that defines this recipe. Browning only takes a few extra minutes and is the single step most responsible for how these blondies taste different from a standard version.
Why did my blondies turn out dry and cakey instead of dense and chewy?
This usually comes from either overmixing once the flour was added or baking past the point where the center still looked slightly underset. Fold the dry ingredients in minimally, and pull the pan from the oven while a faint softness remains in the center.
Can I make these ahead of time?
Yes, they store exceptionally well at room temperature for 3 to 4 days and often taste better on the second day. They also freeze well for up to 2 months if wrapped tightly, making them a convenient make-ahead treat.
What other desserts and drinks pair well with this one?
Pastel de Nata Blondies, Brown Butter Pistachio Chocolate Chunk Cookies, Brown Butter Date Banana Oatmeal Cookies, Iced Caramel Macchiato, and Sticky Toffee Pudding all share similar brown butter, caramel, or bakery-style techniques and make good options to try next.
Nutrition Facts
( Per Serving — 1 blondie square )
Calories
~210 kcal
Protein
3 g
Fat
9 g
Carbs
30 g
Calories
~210 kcal
Protein
3 g
Fat
9 g
Carbs
30 g
Related Recipes
Related Recipes
-

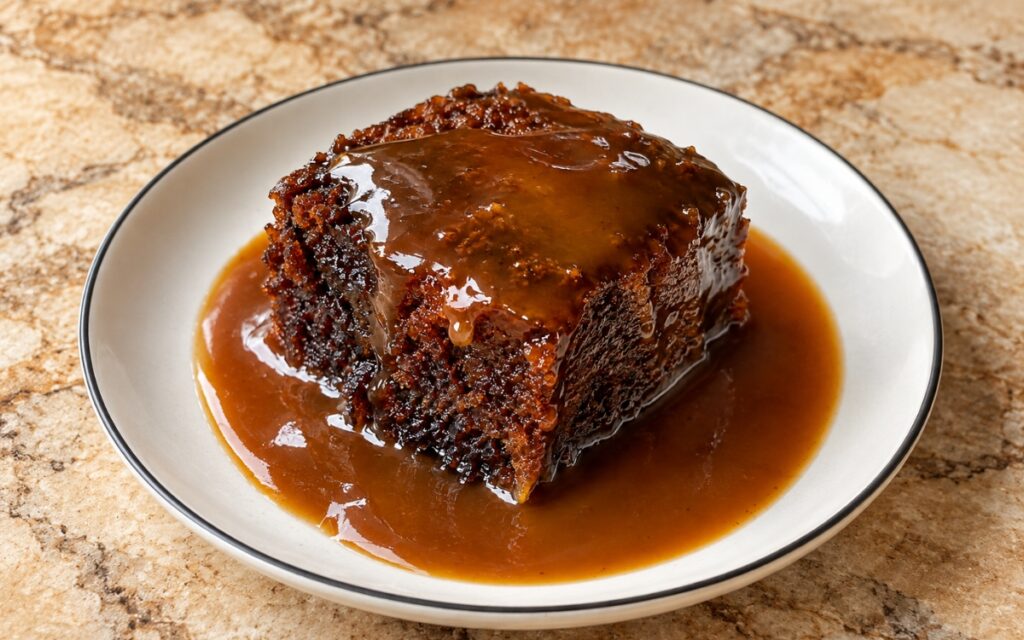
Sticky Toffee Pudding
A classic British sticky toffee pudding with a moist date sponge and rich buttery toffee sauce, soaked warm and finished with a generous pour.
-
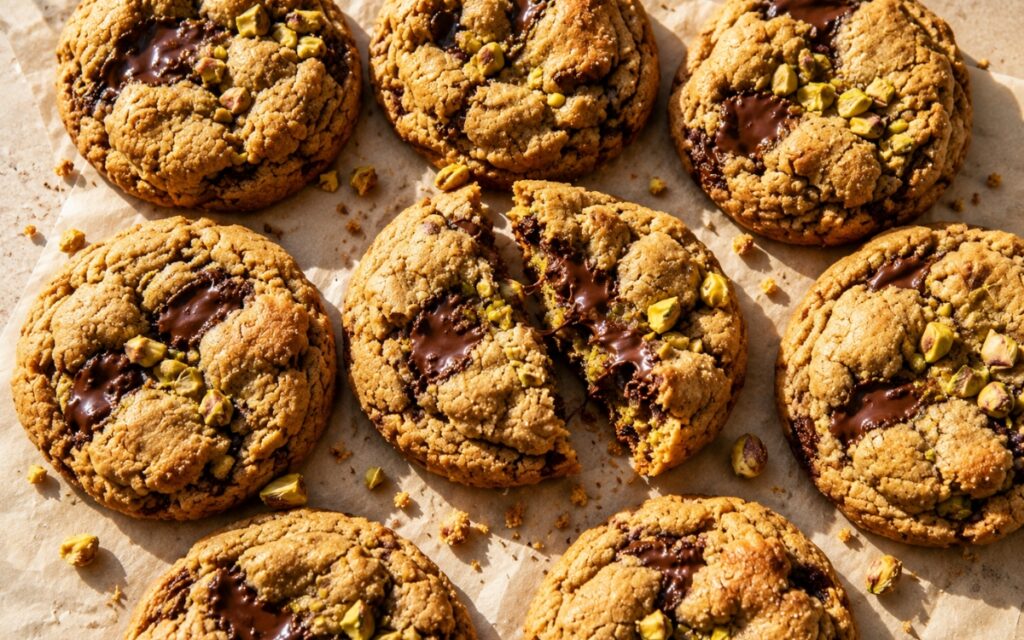
Brown Butter Pistachio Chocolate Chunk Cookies
Thick brown butter cookies with chopped pistachios and large melted dark chocolate chunks.
-
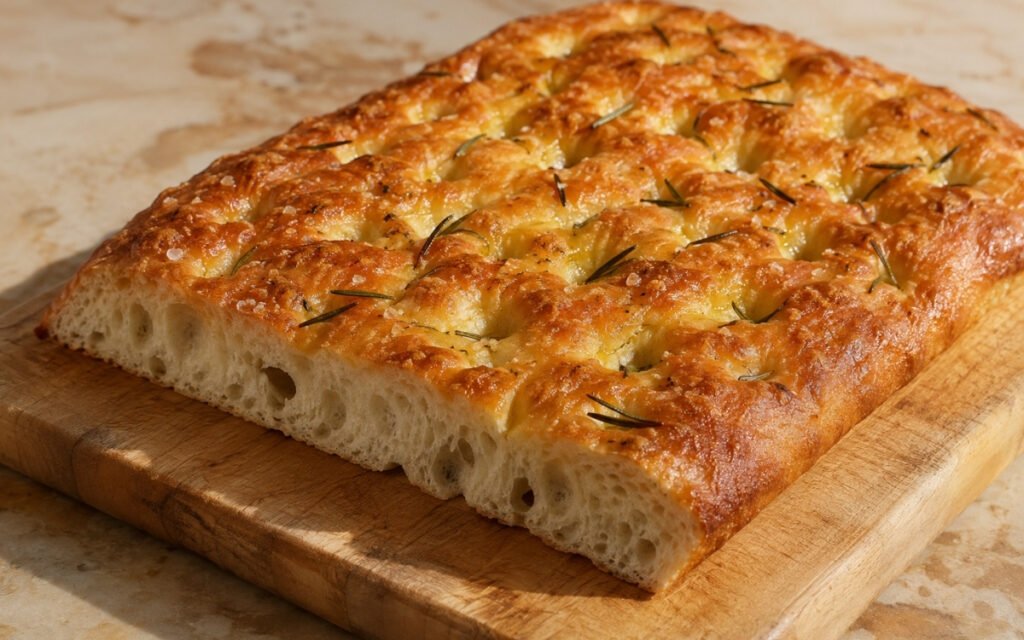
Focaccia
Golden, olive-oil-crisp focaccia with a cloud-soft open crumb, topped with za’atar, rosemary and flaky sea salt.
You might also like
You might also like
-
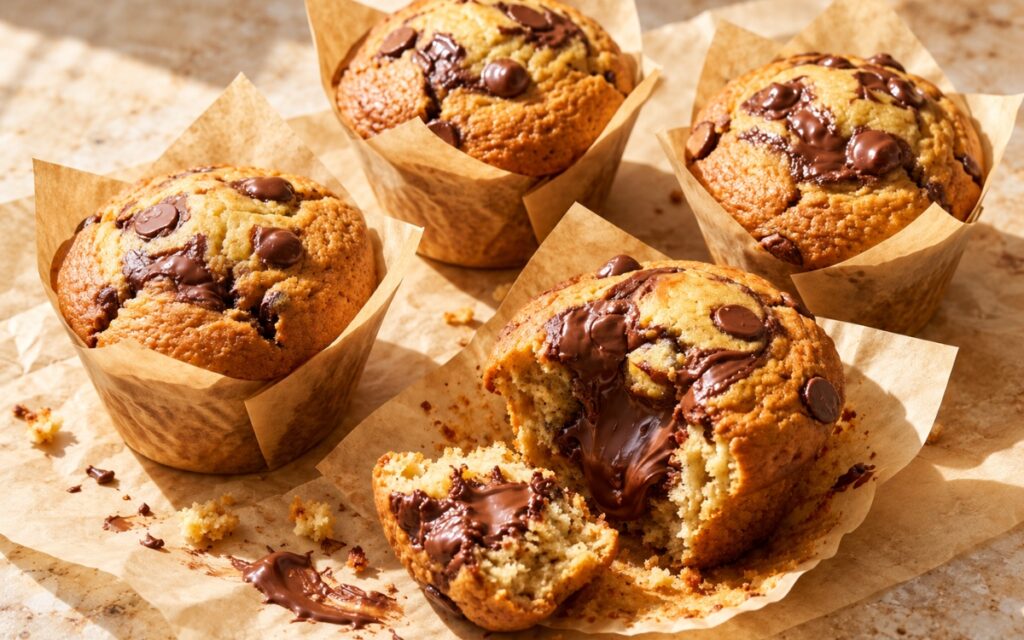
Nutella Chocolate Chip Muffins
Bakery-style muffins with chocolate chips and a soft, gooey Nutella center.
-
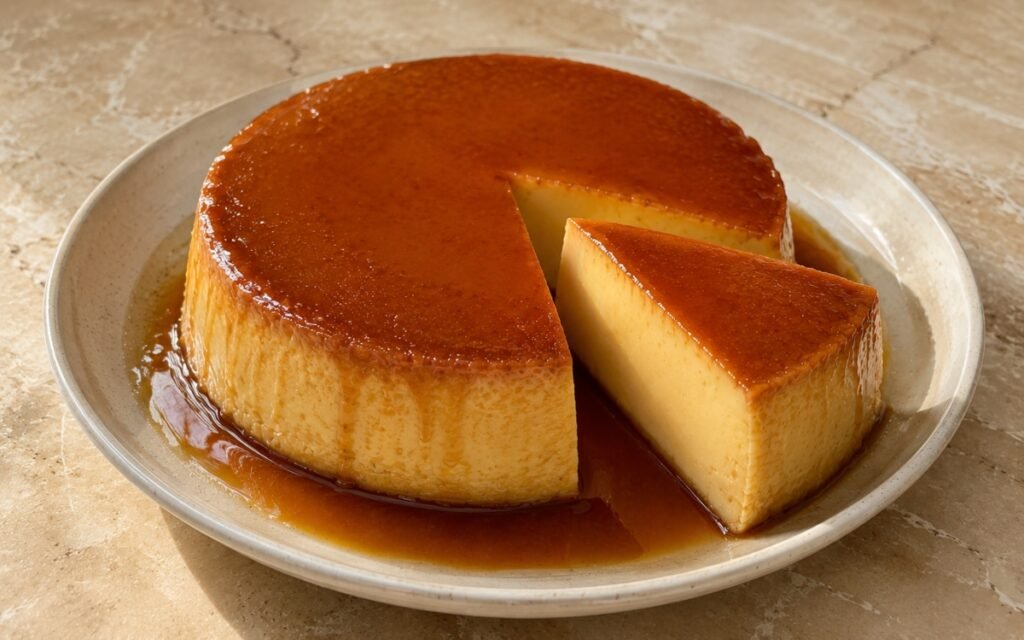
Flan Round Cake
A silky three-milk custard baked gently in a water bath over deep amber caramel, chilled overnight, and unmoulded glossy and smooth.
-
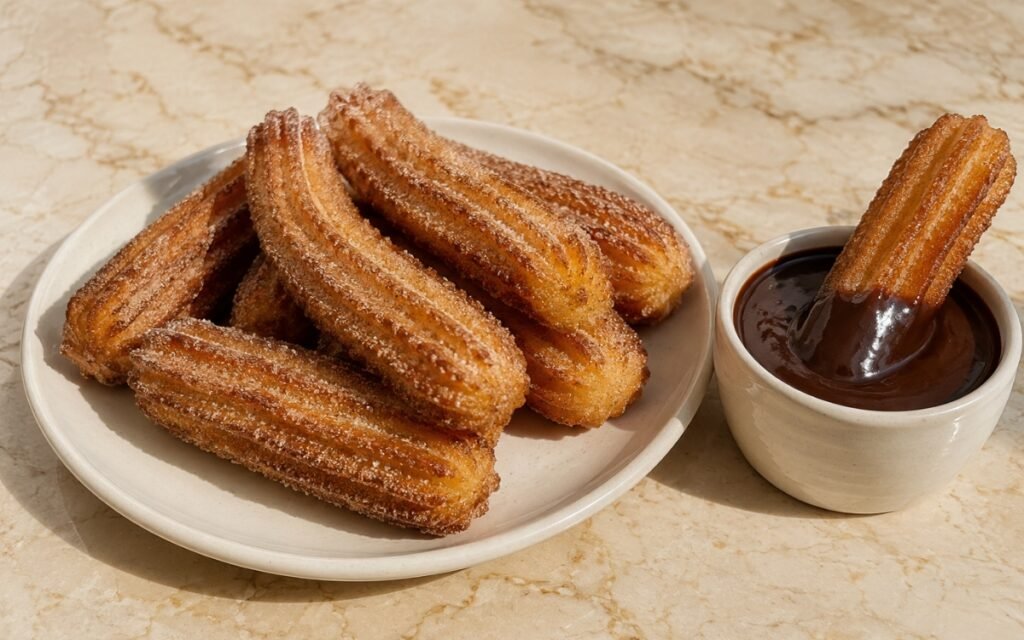
Homemade Churros with Chocolate Sauce
Piped churro dough cooked for real structure, fried until deeply golden and ridged, tossed in cinnamon sugar, and served with rich chocolate sauce.
Brown Butter Blondies
Ingredients
Method
- Heat the oven to 175°C / 350°F. Grease an 8×8-inch pan for thicker blondies or a 9×9-inch pan for slightly thinner ones, then line it with parchment, leaving overhang on two sides for easy lifting. That parchment overhang makes clean removal much easier later and helps preserve the crackly top when it’s time to slice.
- Add the butter to a light-colored saucepan or skillet over medium heat, melt it fully, then continue cooking, stirring often, until it foams, the milk solids turn deep golden brown, and it smells nutty and toasted. Remove from the heat immediately and scrape all of the browned milk solids into a mixing bowl, then let it cool for 8 to 10 minutes, until warm but not hot. Don’t leave the dark specks behind in the pan — they carry a significant amount of the flavor this recipe is built around. The finished butter should look amber-gold and smell fragrant rather than dark brown or bitter.
- Add the brown sugar and granulated sugar to the warm browned butter and whisk well until glossy and mostly smooth, then let the mixture sit for 2 to 3 minutes before whisking again to help the sugar dissolve and improve the shine on top. Add the eggs and egg yolk one at a time, whisking well after each addition, then whisk in the vanilla and salt. Whisking thoroughly at this stage matters — a well-emulsified butter-sugar-egg base is what produces a better crackly top and a smoother, denser crumb.
- Whisk together the flour and baking powder in a separate bowl, then add them to the wet mixture and fold with a spatula just until no dry streaks remain, folding in any mix-ins at the end. Don’t overmix once the flour is added — overmixing develops gluten and makes the blondies tougher and more cakey instead of dense and chewy.
- Spread the batter evenly in the prepared pan — it will be thick — and bake for 28 to 34 minutes depending on the pan size, usually 31 to 34 minutes for an 8×8-inch pan or 28 to 32 minutes for a 9×9-inch pan. The blondies are done when the top is shiny, crackly, and set, the edges are browned and pulling very slightly from the pan, the center looks just set rather than wet, and a toothpick inserted in the center comes out with moist crumbs rather than raw batter. A slightly underbaked center is correct here — pull them when a faint softness remains, since they keep setting as they cool, and overbaking trades that fudgy chew for a drier, more cakey texture.
- Cool in the pan for 20 to 30 minutes, then lift out using the parchment and transfer to a rack or leave on the counter until fully cooled, about 1 hour more. Cooling completely before cutting matters for getting clean, dense slices — a blondie cut too early will seem too soft in the interior and may tear instead of showing its proper chewy crumb.
- Use a sharp knife to cut into 16 squares, wiping the blade between cuts for the cleanest edges. For very neat bakery-style squares, chill the blondies for 20 to 30 minutes after cooling, then slice.