
Pav Bhaji
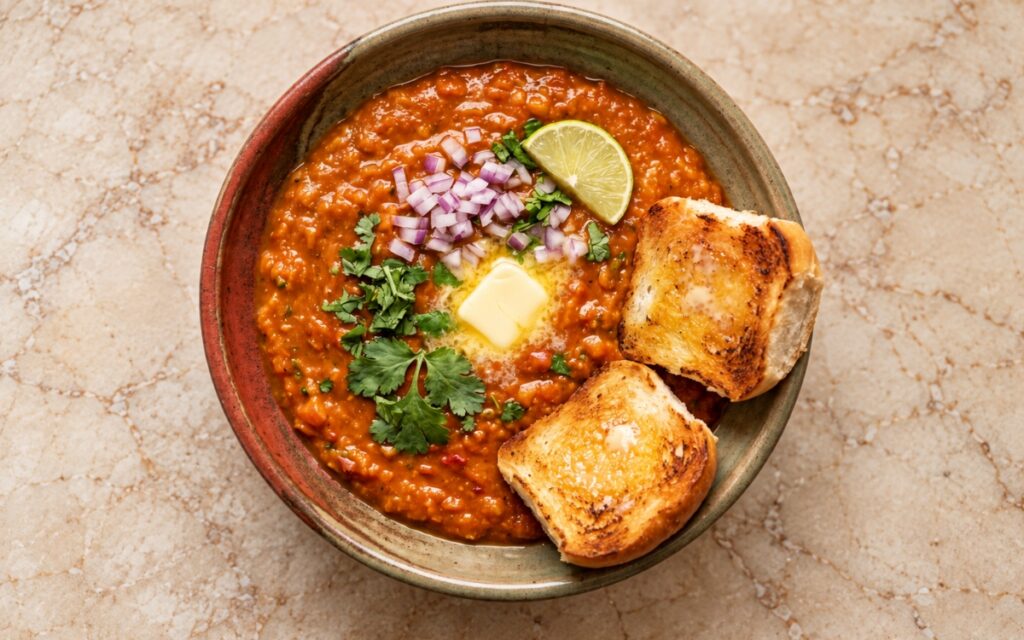
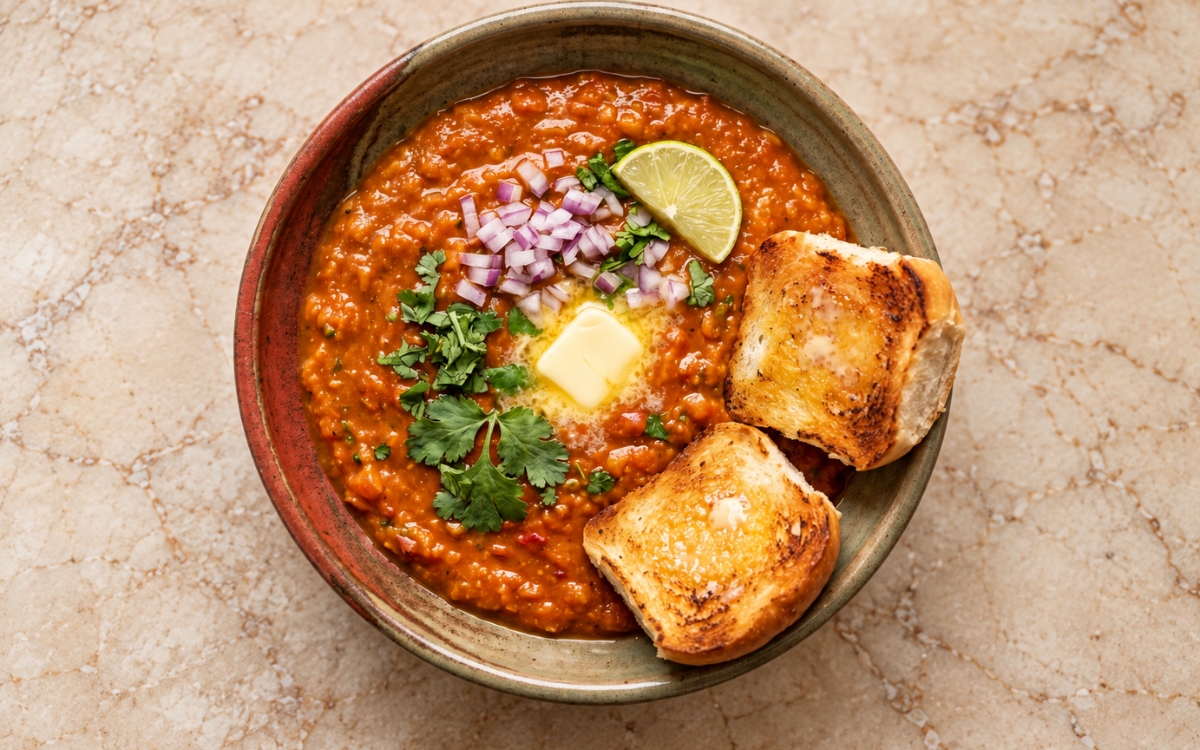
A classic Mumbai-style pav bhaji — a thick, glossy, orange-red mash of potato, cauliflower, peas and green bell pepper cooked down in butter with onion, tomato and pav bhaji masala, served with soft pav toasted golden in butter, the key being a bhaji that is smooth and spreadable yet still carries a little vegetable body. Cooking the onion, capsicum and tomatoes down until the butter separates at the edges, rather than adding the mashed vegetables to a wet, half-cooked base, is the technique this whole bhaji depends on for its depth and gloss — raw tomato carries a sharp, watery edge that no amount of later simmering fully erases, the same cook-the-base-down principle used elsewhere in this collection whenever a sauce must be fully developed before its main ingredients go in. Mashing the softened vegetables directly in the pan while adding hot water gradually is what gives the bhaji its thick, slowly spreading texture. Toasting the split pav cut side down in butter over medium heat is what keeps the bread golden outside and genuinely soft within. The payoff is a pav bhaji with real, street-style richness — buttery, gently spiced bhaji, brightened with lime and raw onion, scooped up with hot, crisp-edged pav.
Prep Time : 25 min
Total Time : 1 hr 10 min
Servings : 4
25 min
1 hr 10 min
4
Ingredients
For the Bhaji Vegetables
• 500g potatoes, peeled and cut into medium chunks
• 250g cauliflower florets
• 120g green peas, fresh or frozen
• 1 tbsp water, if needed for pressure cooking
For the Bhaji Base
• 3 tbsp butter, plus more as needed
• 1 tbsp neutral oil
• 1 large onion, finely diced
• 1 green bell pepper (capsicum), finely diced
• 1 tbsp ginger-garlic paste
• 3 medium tomatoes, finely chopped, or 300g crushed tomatoes
• 2–3 green chillies, finely chopped
• 2½ tbsp pav bhaji masala, plus more to adjust
• 1 tsp Kashmiri chilli powder
• ¼ tsp ground turmeric
• 1 tsp cumin seeds
• 1–1¼ tsp salt, or to taste
• 1–2 tsp lemon juice, to taste
• 350–500ml hot water, as needed
• 2 tbsp chopped cilantro
For the Bhaji Finish
• 1–2 tbsp butter
• 1 tbsp chopped cilantro
• 1 tbsp finely chopped onion, optional
For the Pav and Toppings
• 8 pav buns
• 3–4 tbsp butter, for toasting the pav
• 1 tsp pav bhaji masala, for sprinkling while toasting, optional
• 20g butter, cut into 4 small pieces, for topping
• 1 small red onion, finely diced
• 1 small bunch cilantro, chopped
• 2 limes, cut into wedges
Directions
- Boil the Vegetables
Place the 500g potatoes, 250g cauliflower florets and 120g peas in a pressure cooker or a large pot. For the pressure cooker, add the 1 tbsp water, or the minimum your cooker requires, and cook for 2 whistles, until fully tender but not waterlogged. For the pot, cover the vegetables with water, bring to a boil, then simmer for 15–20 minutes until the potatoes and cauliflower are very soft. A knife should meet no resistance in the potato, and a floret should crush easily against the side of the pot. Drain off any excess water, reserving a little of the cooking liquid, and mash the vegetables roughly while still hot, then set aside. That full tenderness is what lets the vegetables mash smoothly into the bhaji later, since firm potato or undercooked cauliflower stays lumpy however long it is worked. - Build the Masala Base
Heat the 3 tbsp butter and 1 tbsp oil together in a wide pan or kadai over medium heat. Add the cumin seeds and let them sizzle for a few seconds. Add the diced onion and cook for 5–7 minutes until softened and lightly golden, then add the bell pepper and cook for another 3–4 minutes until soft. Stir in the ginger-garlic paste and green chillies and cook for 1 minute, stirring constantly so the paste does not catch. Add the tomatoes and cook for 8–10 minutes, stirring and pressing them down, until they break down completely, lose their raw smell and the butter starts to separate lightly at the edges. Add the 2½ tbsp pav bhaji masala, the Kashmiri chilli powder, the turmeric and 1 tsp of the salt, and cook for 30–60 seconds to bloom the spices. The base should look thick and glossy, with no watery pooling. That thorough cook-down is what removes the raw, sharp edge of the tomato before the vegetables go in, since it can no longer be cooked out properly once the base is diluted. - Mash Into Bhaji
Add the mashed potato, cauliflower and pea mixture to the pan and mix it thoroughly into the masala base. Pour in 350ml of the hot water, using the reserved cooking liquid as part of it, and mash everything together with a potato masher directly in the pan. Keep mashing and stirring over medium-low heat for 8–12 minutes, adding more hot water as needed, up to 500ml in total, until the bhaji is thick, smooth and scoopable — never stiff like mashed potato and never soupy. Stir in 1 tsp of the lemon juice, then taste and adjust with the remaining salt, a little more pav bhaji masala or the remaining lemon juice. Stir in the 2 tbsp chopped cilantro. Mash firmly, but stop short of a purée, so a little genuine vegetable body remains. That gradual addition of hot water is what lets the bhaji reach a glossy, slowly spreading consistency, because pouring it all in at once makes the right thickness impossible to judge. - Finish the Bhaji
Add the 1–2 tbsp butter for finishing and let it melt into the bhaji, then simmer for 2–3 minutes more, stirring, until rich and glossy. Stir in the 1 tbsp chopped cilantro and the 1 tbsp finely chopped onion, if using. The finished bhaji should be orange-red, buttery and thick enough to hold its shape on a spoon while still soft and spreadable. If it thickens too much while resting, loosen it with a splash of hot water just before serving. Keep it warm over the lowest heat while the pav are toasted. That final butter, stirred in after the mashing rather than cooked in from the start, is what gives the bhaji its glossy surface and genuinely rounded richness. - Toast the Pav
Slice each pav horizontally, keeping it hinged on one side if preferred. Heat a griddle or skillet over medium heat and add about 1 tbsp of the butter for toasting, sprinkling a little of the 1 tsp pav bhaji masala into it, if using. Place the pav cut side down in the butter and toast for about 1–2 minutes, until golden, buttery and lightly crisp on the surface but still soft inside. Toast the outer side briefly if desired. Repeat in batches with the remaining butter, masala and pav until all 8 are done. If the butter darkens before the bread warms through, lower the heat. That moderate heat is what lets the butter soak into the crumb and turn it golden, since high heat burns the butter long before the pav is warmed through. - Serve
Divide the hot bhaji between 4 plates or shallow bowls. Top each portion with a piece of the 20g butter, a spoonful of the diced red onion and some of the chopped cilantro, and set 2 lime wedges on each plate. Serve 2 toasted pav per plate alongside the bhaji. The butter should just begin melting into the bhaji as it reaches the table, with the pav still hot and soft. Squeeze the lime over the bhaji at the table and scoop it up with torn pieces of pav. That last-minute toasting is what keeps the bread hot, soft and buttery on the plate, since pav toasted ahead turns dry and firm as it cools.
*Notes :
- Cooking the tomatoes down until the butter separates at the edges deserves genuine recognition as the technique most directly responsible for whether this bhaji tastes deep and rounded or flat and sharp. Tomatoes that go in with the mashed vegetables while still watery never lose their raw acidity — the potato starch absorbs the liquid before it can reduce, locking a thin, tinny edge into the whole pan.
- Mashing directly in the pan with hot water added gradually deserves the same attention this technique receives throughout this collection’s other slow-cooked, spiced vegetable dishes. Mashing in the masala works the spiced butter into every bit of potato, while adding water in stages lets the texture be judged as it develops — a single large pour leaves a soupy pan that must then be cooked down again.
- The green bell pepper deserves genuine respect as the detail most directly responsible for the bhaji’s characteristic background flavour. The recipe’s own note that it “is classical and important” reflects how its grassy, faintly bitter sweetness sits beneath the spice blend — without it, the bhaji reads as a spiced potato mash rather than the recognisable Mumbai street dish.
- The bhaji’s final texture — thick enough to hold its shape on a spoon, yet soft enough to spread slowly on the plate — deserves attention as a genuine, checkable readiness cue rather than a loose approximation. Hot water, butter and resting time all shift it, so the cue is checked again after the finishing butter and just before serving, when a splash of hot water restores a bhaji that has tightened.
Why This Recipe Works
This recipe works because the potatoes, cauliflower and peas are cooked until fully soft, so they mash evenly instead of staying lumpy. The onion, bell pepper and tomatoes are then cooked down in butter until the fat separates, and the pav bhaji masala is bloomed in that fat before any vegetables go in. Mashing directly in the pan while hot water is added in stages builds a thick, glossy texture that can be judged as it forms. Finishing butter, lemon juice and cilantro round out and brighten the bhaji, and pav toasted last over medium heat arrives golden, buttery and genuinely soft.
Ingredient Breakdown
Fully Cooked-Down Tomato Base
The critical technique — cooked until the butter separates, it loses raw acidity and gives real depth and gloss.
In-Pan Mashing With Hot Water
The critical technique — gradual hot water and firm mashing build a smooth, scoopable bhaji with some body.
Thoroughly Softened Vegetables
The structural foundation — very soft potatoes and cauliflower mash evenly, while peas add sweetness and texture.
Green Bell Pepper (Capsicum)
The defining flavour ingredient — its grassy, faintly bitter sweetness gives pav bhaji its genuinely characteristic background flavour.
Pav Bhaji Masala and Kashmiri Chilli
The flavour foundation — bloomed in butter, the masala gives warmth while the chilli adds orange-red colour, not heat.
Lemon Juice to Finish
The finishing touch — a final squeeze brightens the rich, buttery bhaji, especially when the tomatoes are mild or canned.
Butter-Toasted Pav (Medium Heat)
The finishing technique — moderate heat turns the cut surfaces golden and lightly crisp while the inside stays soft.
Flavor Structure Explained
This pav bhaji follows a layered balance model:
- Soft, earthy foundation (potatoes, cauliflower, green peas)
- Deep, savoury base (butter, onion, tomatoes, ginger-garlic paste)
- Warm, aromatic spice (pav bhaji masala, Kashmiri chilli powder, cumin seeds, turmeric, green chillies)
- Grassy background note (green bell pepper)
- Fresh, sharp finish (lemon juice, lime, red onion, cilantro)
- Buttery, toasted contrast (butter-toasted pav)
Potatoes, cauliflower and peas, mashed soft, give this bhaji its earthy, spoonable foundation. Butter, onion, tomato and ginger-garlic paste, cooked down until glossy, build the deep, savoury base that carries everything else. Pav bhaji masala, Kashmiri chilli, cumin, turmeric and green chillies add warm, aromatic spice, while the bell pepper sits quietly beneath as a grassy background note. Lemon, lime, raw red onion and cilantro sharpen and freshen each mouthful, and the butter-toasted pav supplies the soft, golden contrast that ties this pav bhaji together.
Common Mistakes to Avoid
- Adding the Vegetables to an Undercooked Tomato Base – This locks a raw, watery tomato edge into the bhaji that later simmering cannot remove. Always cook the tomatoes until the butter separates at the edges.
- Mashing Undercooked Potatoes and Cauliflower – This leaves hard lumps that never blend into the bhaji, however long it is mashed. Always boil the vegetables until a knife meets no resistance.
- Adding All the Water at Once – This turns the bhaji soupy and makes the right consistency impossible to judge. Always start with 350ml and add more hot water gradually while mashing.
- Puréeing the Bhaji Completely Smooth – This removes the little vegetable body that gives classical pav bhaji its character. Always mash firmly but stop before the mixture turns into a purée.
- Toasting the Pav Over High Heat – This burns the butter before the bread warms through, leaving the pav scorched outside and dry. Always toast it cut side down over medium heat.
Variations
Street-Style Tawa Version
Mash the bhaji continuously on a wide tawa or pan while adding small splashes of hot water and butter, per the recipe’s own note, until it turns very cohesive and glossy.
Milder Version
Reduce the green chillies to one and keep the Kashmiri chilli powder, which supplies colour rather than real heat, for a gentler bhaji that keeps its bright orange-red finish and full masala flavour.
Canned Tomato Version
Use 300g crushed tomatoes in place of fresh, adding the full 2 tsp lemon juice at the end, per the recipe’s own note, to brighten a base that would otherwise taste flat.
Masala Pav Version
Sprinkle the optional pav bhaji masala into the toasting butter for every batch, so each pav picks up a spiced, reddish-golden crust that echoes the bhaji it is served with.
Storage & Make-Ahead
The bhaji can be made ahead and refrigerated in a covered container for up to 3 days, then reheated gently in a pan with a little hot water, per the recipe’s own note, until it is thick, glossy and spreadable again.
The bhaji also freezes well in portions for up to 2 months, then can be thawed overnight in the refrigerator and reheated with a splash of hot water and a little butter to restore its gloss.
The vegetables can be boiled and roughly mashed up to a day ahead and refrigerated, which genuinely cuts the cooking on the day to the masala base, the in-pan mash and the final butter finish.
Toast the pav only after the bhaji is fully finished, as the recipe’s own note on serving rhythm advises, so the bread stays hot, soft and buttery when it reaches the plate rather than drying out.
Store any leftover untoasted pav airtight at room temperature for a day or two and toast it fresh in butter only when serving, since toasted pav turns firm and dry within minutes of cooling.
Frequently Asked Questions
Why do the tomatoes need to cook until the butter separates?
Separating butter shows that the tomato water has evaporated and the raw acidity has cooked out. Added to the vegetables any earlier, the base stays watery and sharp, and that edge cannot be cooked out once the potato starch absorbs it.
Why is the bhaji mashed in the pan rather than puréed in a blender?
Mashing in the pan works the spiced butter into every bit of vegetable while leaving a little body, which classical pav bhaji should keep. A blender produces a gluey, uniform purée that loses that genuine street-style texture.
Why is Kashmiri chilli powder used alongside the green chillies?
Kashmiri chilli powder gives the bhaji its bright orange-red colour without making it too hot, while the green chillies supply the real heat. Together they let colour and spice level be controlled separately.
Why does the bhaji need lemon juice at the end?
Butter, potato and masala make a rich, heavy base that can taste flat on its own. A final squeeze of lemon sharpens every flavour, which matters most when the tomatoes are canned or naturally mild.
Are there other classic Mumbai street food, chaat, or soft bread dishes worth trying?
Vada Pav offers another classic Mumbai street food direction worth exploring, and The Softest Homemade Milk Buns are worth trying for a soft, homemade bread direction. Aloo Tikki Chaat is also worth trying for another spiced-potato street snack, and Bombay Sandwich and Samosa Chaat offer other popular Indian street food dishes worth exploring.
Nutrition Facts
( Per Serving — 1 plate of bhaji with 2 pav )
Calories
~680 kcal
Protein
15 g
Fat
34 g
Carbs
77 g
Calories
~680 kcal
Protein
15 g
Fat
34 g
Carbs
77 g
Related Recipes
Related Recipes
-

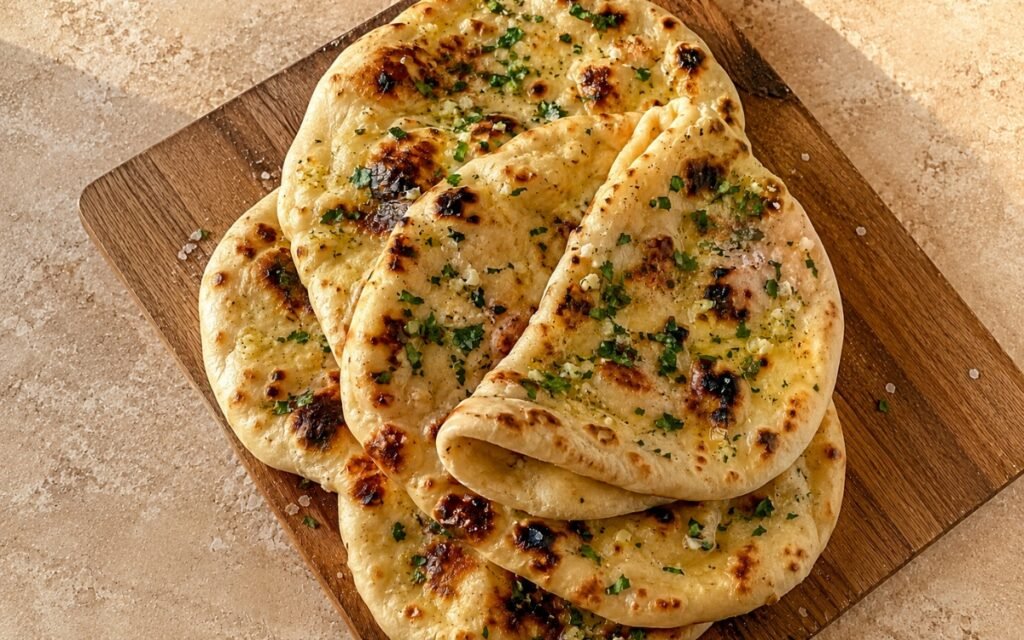
Homemade Garlic Butter Naan
Soft homemade naan cooked in a hot skillet until puffed, blistered, and lightly charred, then brushed with glossy garlic butter.
-
Pork Tamales with Salsa Verde
Red chile pork wrapped in tender masa and steamed in corn husks, served with a bright, tangy salsa verde.
-
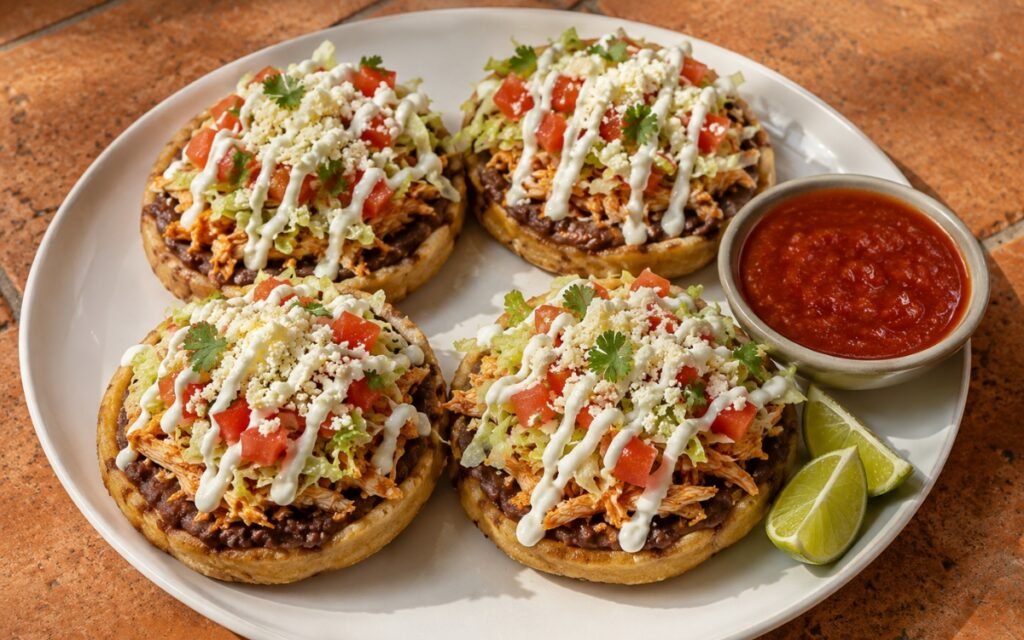
Pollo Sopes with Refried Beans
Thick masa sopes shaped with a raised rim, fried golden, and layered with refried black beans, adobo-simmered shredded chicken, lettuce, tomato, and crema.

You might also like
You might also like
-
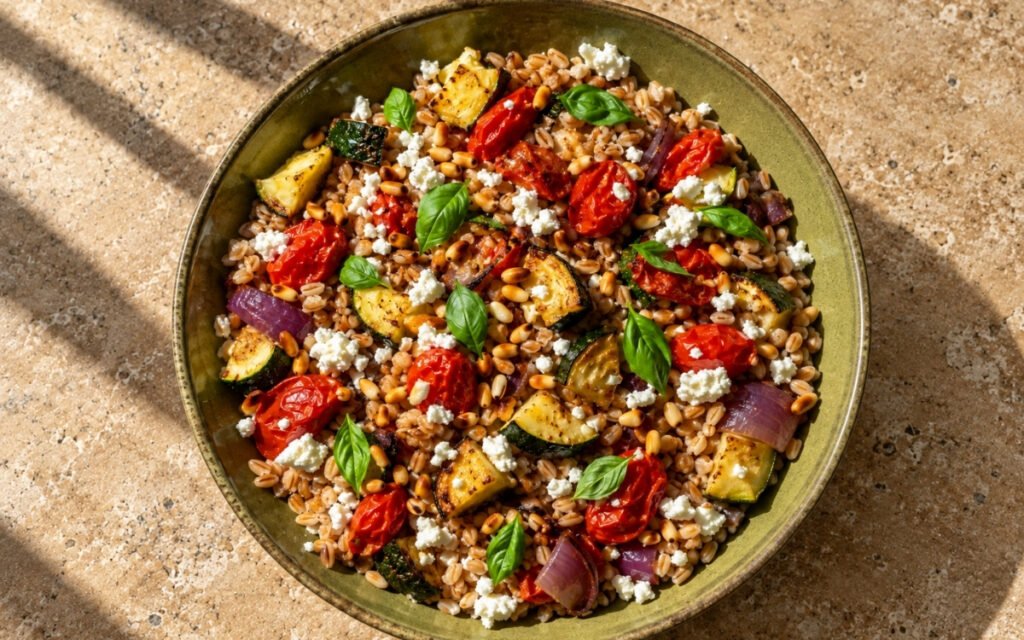
Italian Farro Salad with Roasted Vegetables
Chewy nutty farro with roasted zucchini, burst cherry tomatoes, roasted red onion, fresh basil, toasted pine nuts, and crumbled ricotta salata.
-
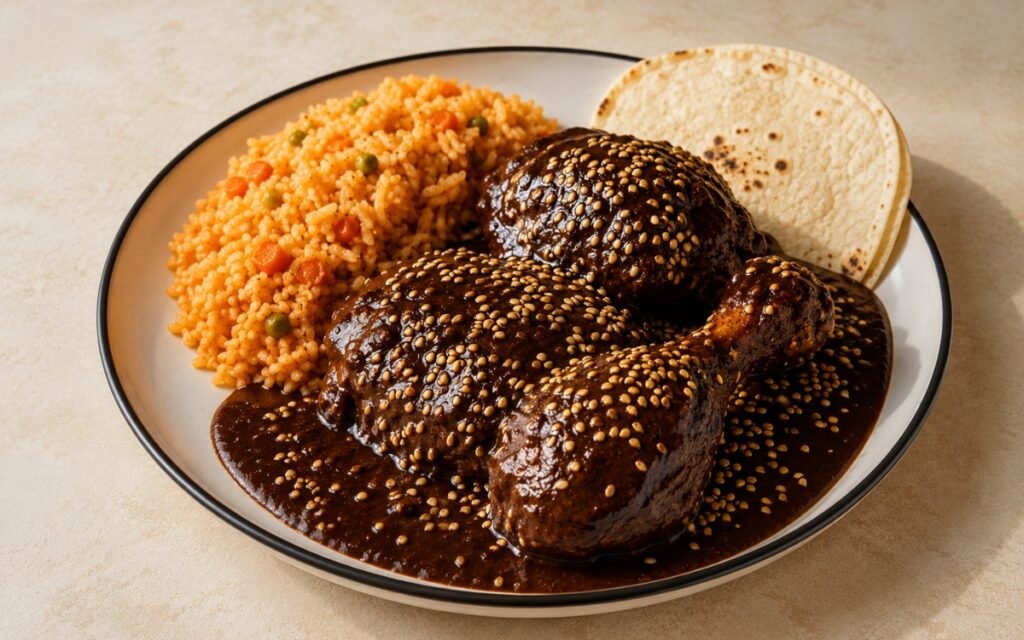
Chicken Mole Poblano
Gently poached chicken finished in deep, glossy mole poblano sauce, topped with toasted sesame seeds, served with Mexican rice and warm tortillas.
-
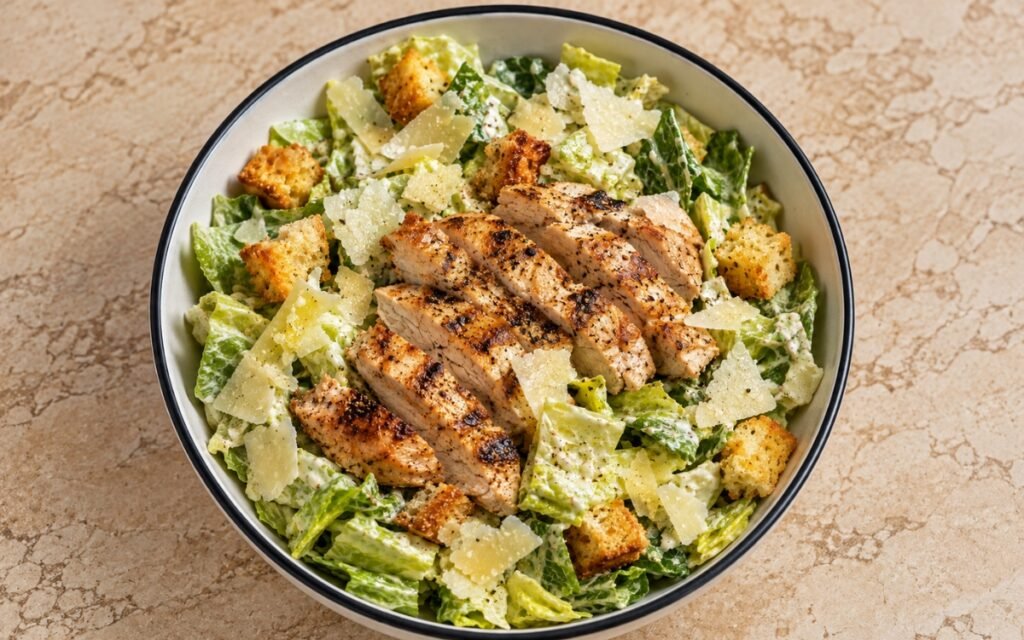
Grilled Chicken Caesar Salad
Grilled chicken breast, crisp romaine, golden croutons, shaved Parmesan, and a proper old-school Caesar dressing with no cream or mayonnaise.
Pav Bhaji
Ingredients
Method
- Place the 500g potatoes, 250g cauliflower florets and 120g peas in a pressure cooker or a large pot. For the pressure cooker, add the 1 tbsp water, or the minimum your cooker requires, and cook for 2 whistles, until fully tender but not waterlogged. For the pot, cover the vegetables with water, bring to a boil, then simmer for 15–20 minutes until the potatoes and cauliflower are very soft. A knife should meet no resistance in the potato, and a floret should crush easily against the side of the pot. Drain off any excess water, reserving a little of the cooking liquid, and mash the vegetables roughly while still hot, then set aside. That full tenderness is what lets the vegetables mash smoothly into the bhaji later, since firm potato or undercooked cauliflower stays lumpy however long it is worked.
- Heat the 3 tbsp butter and 1 tbsp oil together in a wide pan or kadai over medium heat. Add the cumin seeds and let them sizzle for a few seconds. Add the diced onion and cook for 5–7 minutes until softened and lightly golden, then add the bell pepper and cook for another 3–4 minutes until soft. Stir in the ginger-garlic paste and green chillies and cook for 1 minute, stirring constantly so the paste does not catch. Add the tomatoes and cook for 8–10 minutes, stirring and pressing them down, until they break down completely, lose their raw smell and the butter starts to separate lightly at the edges. Add the 2½ tbsp pav bhaji masala, the Kashmiri chilli powder, the turmeric and 1 tsp of the salt, and cook for 30–60 seconds to bloom the spices. The base should look thick and glossy, with no watery pooling. That thorough cook-down is what removes the raw, sharp edge of the tomato before the vegetables go in, since it can no longer be cooked out properly once the base is diluted.
- Add the mashed potato, cauliflower and pea mixture to the pan and mix it thoroughly into the masala base. Pour in 350ml of the hot water, using the reserved cooking liquid as part of it, and mash everything together with a potato masher directly in the pan. Keep mashing and stirring over medium-low heat for 8–12 minutes, adding more hot water as needed, up to 500ml in total, until the bhaji is thick, smooth and scoopable — never stiff like mashed potato and never soupy. Stir in 1 tsp of the lemon juice, then taste and adjust with the remaining salt, a little more pav bhaji masala or the remaining lemon juice. Stir in the 2 tbsp chopped cilantro. Mash firmly, but stop short of a purée, so a little genuine vegetable body remains. That gradual addition of hot water is what lets the bhaji reach a glossy, slowly spreading consistency, because pouring it all in at once makes the right thickness impossible to judge.
- Add the 1–2 tbsp butter for finishing and let it melt into the bhaji, then simmer for 2–3 minutes more, stirring, until rich and glossy. Stir in the 1 tbsp chopped cilantro and the 1 tbsp finely chopped onion, if using. The finished bhaji should be orange-red, buttery and thick enough to hold its shape on a spoon while still soft and spreadable. If it thickens too much while resting, loosen it with a splash of hot water just before serving. Keep it warm over the lowest heat while the pav are toasted. That final butter, stirred in after the mashing rather than cooked in from the start, is what gives the bhaji its glossy surface and genuinely rounded richness.
- Slice each pav horizontally, keeping it hinged on one side if preferred. Heat a griddle or skillet over medium heat and add about 1 tbsp of the butter for toasting, sprinkling a little of the 1 tsp pav bhaji masala into it, if using. Place the pav cut side down in the butter and toast for about 1–2 minutes, until golden, buttery and lightly crisp on the surface but still soft inside. Toast the outer side briefly if desired. Repeat in batches with the remaining butter, masala and pav until all 8 are done. If the butter darkens before the bread warms through, lower the heat. That moderate heat is what lets the butter soak into the crumb and turn it golden, since high heat burns the butter long before the pav is warmed through.
- Divide the hot bhaji between 4 plates or shallow bowls. Top each portion with a piece of the 20g butter, a spoonful of the diced red onion and some of the chopped cilantro, and set 2 lime wedges on each plate. Serve 2 toasted pav per plate alongside the bhaji. The butter should just begin melting into the bhaji as it reaches the table, with the pav still hot and soft. Squeeze the lime over the bhaji at the table and scoop it up with torn pieces of pav. That last-minute toasting is what keeps the bread hot, soft and buttery on the plate, since pav toasted ahead turns dry and firm as it cools.