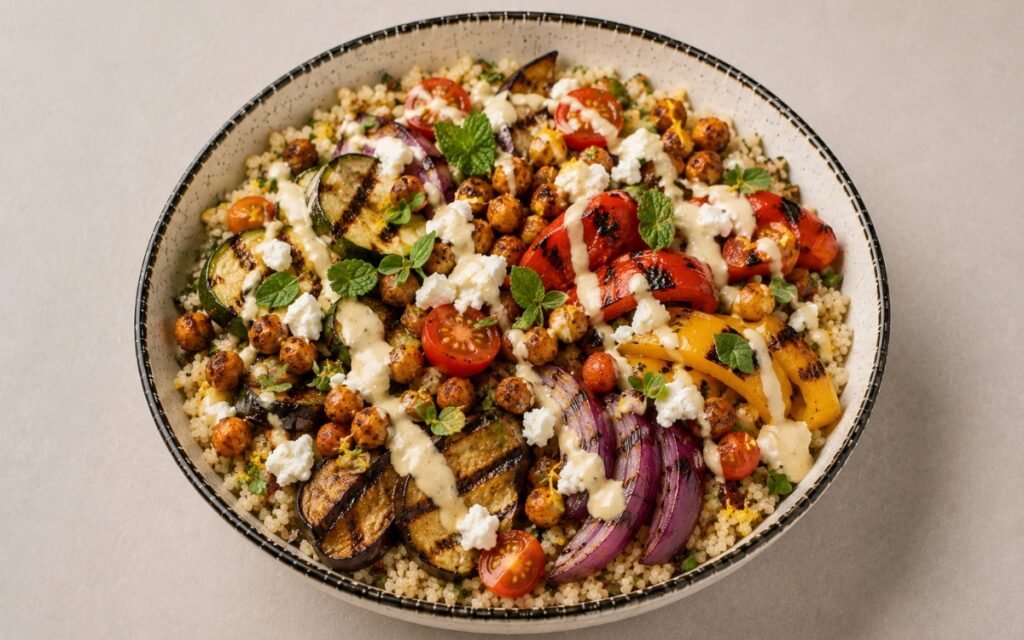
Grilled Mediterranean Veggie Bowl
A vibrant Mediterranean feast featuring smoky grilled vegetables, fluffy lemon-herb quinoa, creamy tahini-yogurt sauce, and crispy spiced chickpeas. This nourishing Mediterranean veggie bowl celebrates the sun-drenched flavors of the Mediterranean coast with every colorful, satisfying bite.
Prep Time : 20 min
Cook Time : 25 min
Servings : 4
20 min
25 min
4
Ingredients
For the Quinoa
• 200g quinoa, uncooked — this one on Amazon
• 400ml water
• 3g salt
• Zest of 1 lemon
• 15ml fresh lemon juice
• 20g fresh parsley, chopped
For the Roasted Chickpeas
• 240g canned chickpeas, drained weight
• 15g olive oil
• 5g smoked paprika
• 3g ground cumin
• Salt to taste
For the Grilled Vegetables
• 300g zucchini (about 2 medium)
• 250g eggplant (about 1 small)
• 200g red bell peppers (about 1 large)
• 200g yellow bell peppers (about 1 large)
• 150g red onion (about 1 medium)
• 30g olive oil
• 10g balsamic vinegar — this one on Amazon
• Salt and freshly ground black pepper to taste
For the Tahini-Yogurt Sauce
• 80g tahini paste — this one on Amazon
• 120g plain Greek yogurt (full-fat)
• 15ml fresh lemon juice
• 2 garlic cloves, minced (about 6g)
• 45-60ml cold water
• Salt to taste
For the Veggie Bowl
• 200g cherry tomatoes
• 100g feta cheese, crumbled — this one on Amazon
• 15g fresh mint leaves, torn
• 10g fresh oregano leaves
• 15ml extra virgin olive oil
This post may contain affiliate links. As an Amazon Associate I earn from qualifying purchases, at no additional cost to you.
Directions
- Roast the Chickpeas
Preheat the oven to 220°C (425°F). Drain the canned chickpeas thoroughly and spread them on a clean kitchen towel or multiple layers of paper towels. Pat the surface of every chickpea firmly and repeatedly — this drying step is the single most important factor in achieving genuinely crispy roasted chickpeas rather than ones that are soft and chewy at the center with merely a dried exterior. Moisture trapped inside the chickpea creates steam during roasting that prevents the outer shell from crisping. Allow them to dry for a full 5 minutes after patting. Transfer to a large bowl and toss with olive oil, smoked paprika, ground cumin, and salt, ensuring every chickpea is evenly coated. Spread on a rimmed baking sheet in a single layer with space between each chickpea — crowding causes steaming rather than roasting. Roast for 20–25 minutes, shaking the pan once halfway through to ensure even browning on all sides, until the chickpeas are golden, deeply colored, and audibly crisp when you shake the tray. They will crisp further as they cool. Set aside at room temperature — do not cover, as trapping steam will immediately soften them. - Cook the Lemon-Herb Quinoa
While the chickpeas roast, rinse the quinoa thoroughly under cold running water in a fine mesh strainer for at least 60 seconds, working the grains with your fingers. Quinoa has a natural coating of saponins — mildly bitter, soapy compounds that the plant produces as a pest deterrent. Rinsing removes them and is the reason that properly rinsed quinoa tastes clean and nutty while unrinsed quinoa tastes bitter and slightly soapy. In a medium saucepan, combine the rinsed quinoa, water, and salt. Bring to a boil over high heat, then reduce to the lowest possible heat, cover tightly, and simmer for 15 minutes until all the water is absorbed and you can see the characteristic spiral germ detaching from each grain — this visible separation is the visual sign that quinoa is correctly cooked. Remove from heat and rest covered for 5 minutes. Fluff with a fork using gentle, lifting strokes. Fold in the lemon zest, fresh lemon juice, and chopped parsley immediately while the quinoa is still warm — warm quinoa absorbs the lemon and herb flavors more readily than cold, and the residual heat wilts the parsley just enough to release its aromatic oils without cooking it. Keep covered and warm. - Prepare the Vegetables
Preheat your grill or grill pan to medium-high heat — hot enough to develop char marks and char-caramelised surfaces but not so hot that the vegetables burn on the outside before cooking through to the center. Cut the zucchini into 1cm thick rounds or lengthwise slices — rounds are easier to manage on a grill pan while lengthwise slices produce a more dramatic visual presentation. Cut the eggplant into 1cm thick rounds — eggplant at this thickness cooks through to a soft, yielding interior while the outside develops char. Cut the red and yellow bell peppers into wide strips — wide enough to lie flat on the grill surface. Halve the red onion through the root and cut each half into thick wedges, keeping the root intact to hold the layers together during grilling. Brush all vegetables generously and thoroughly with olive oil on all surfaces. The olive oil has two roles: it prevents sticking to the grill surface and it conducts heat evenly across the cut surfaces to promote even caramelisation. Season all surfaces with salt and freshly ground black pepper. Organize the vegetables by cooking time — peppers and zucchini are fastest, eggplant takes longer, onion is in between. - Grill the Vegetables
Grill in batches, placing each type of vegetable separately so you can manage their different cooking times accurately. Lay each piece flat on the hot grill surface and leave undisturbed for 3–4 minutes — the char marks form only where the vegetable maintains direct, uninterrupted contact with the grill grates or grill pan surface. Moving them before the char has set disrupts the caramelisation and produces pale, unmarked vegetables that lack the smoky sweetness that defines this bowl’s character. Flip once, cook for another 3–4 minutes on the second side, and transfer to a serving platter as each batch finishes. Eggplant requires the full 4 minutes per side to cook through completely — undercooked eggplant has an unpleasant, spongy texture. Peppers and zucchini may be ready in 3 minutes per side. While the vegetables are still hot, drizzle them with the balsamic vinegar and allow it to soak in for at least 10 minutes before assembly if time permits — the residual heat opens the surface of the vegetables and allows the balsamic’s sweet-acidic depth to penetrate rather than simply coat the surface. - Make the Tahini-Yogurt Sauce
In a medium bowl, combine the tahini paste and Greek yogurt. Whisk them together first before adding any other liquid — at this stage the mixture will be very thick and slightly grainy as the tahini’s dense fat-protein structure meets the yogurt’s proteins. Add the lemon juice and minced garlic and whisk to incorporate. Now begin adding the cold water in small increments — 15ml at a time — whisking vigorously after each addition. As the water is incorporated, the sauce will transform from thick and clumped to smooth, creamy, and pourable. Cold water specifically is important: warm water can cause the tahini to seize rather than emulsify. The amount of water needed depends on the specific tahini brand — thicker tahini needs more water, thinner tahini needs less. The target consistency is pourable but substantial — it should coat a spoon and flow in a steady ribbon when drizzled rather than running thin as water. Taste and season with salt. The finished sauce should taste nutty, tangy from both the tahini and the yogurt, bright from the lemon, and garlicky with a mellow savory warmth. - Assemble the Bowls
Divide the warm lemon-herb quinoa among four wide, shallow bowls — the wide, shallow format allows all components to be visible simultaneously rather than buried under each other. Arrange the grilled vegetables over the quinoa in an attractive composition — vary colors and shapes intentionally, placing contrasting colors adjacent to each other. Add the halved cherry tomatoes in a section alongside the vegetables. Scatter the crumbled feta directly over the vegetables and tomatoes — its creamy, salty character is most effective when it makes contact with the warm vegetables and begins to soften very slightly. Add a generous portion of the roasted chickpeas across the bowl — distribute them evenly so every portion has the same crunch. Drizzle the tahini-yogurt sauce generously over the entire surface, allowing it to pool into the quinoa and coat the vegetables. Scatter the torn fresh mint and oregano leaves across the top — these fresh herbs are not garnish but essential flavor components that provide the clean, aromatic top note the bowl needs. Finish with a light drizzle of extra-virgin olive oil over everything. Serve immediately.
*Notes :
- Eggplant requires specific attention in this recipe because it is the vegetable most often mishandled on a grill. Its high water content and dense, porous flesh mean it needs full cooking time to reach the soft, yielding, almost creamy interior texture that makes grilled eggplant exceptional. Undercooked eggplant is spongy and bitter — an unpleasant texture that no seasoning can improve. The 1cm thickness specified is important: thinner slices cook too quickly and dry out before the interior softens; thicker slices can char heavily on the outside before the center reaches the correct texture. A properly grilled eggplant round should be completely soft when pressed gently, with visible char marks on both sides and a rich, slightly smoky flavor.
- The chickpea drying step deserves emphasis because it is consistently underestimated. Truly crispy chickpeas require the moisture to escape from inside the bean during roasting, and if the outside is even slightly wet when it hits the oven, the moisture creates a steam barrier that prevents the outer shell from ever crisping properly. Spending 5 minutes ensuring the chickpeas are genuinely dry is what separates properly crispy chickpeas from the soft, disappointing versions that discourage people from making them again.
- Balsamic vinegar drizzled while the vegetables are hot is not interchangeable with balsamic added cold before cooking or after cooling. Hot vegetable surfaces are porous and actively absorbing — the balsamic penetrates into the flesh and melds with the caramelised sugars on the surface, creating a sweet, tangy, slightly complex glaze rather than a surface coating. This technique produces depth in the vegetables that transforms them from simply charred and oiled to genuinely complex in flavor.
Why This Recipe Works
This bowl works because each of its five main components contributes something none of the others do. The quinoa provides the herby, lemony, protein-rich grain base. The grilled vegetables provide smoky char, sweetness, and the visual drama of multiple colors and textures. The chickpeas provide crunch — the textural element that prevents the bowl from being uniformly soft. The tahini-yogurt sauce provides rich, creamy, garlicky depth that ties all components together. Fresh mint, oregano, and cherry tomatoes provide the bright, clean, raw freshness that keeps the bowl from feeling heavy. Remove any single component and the bowl is noticeably diminished — each element earns its place.
Ingredient Breakdown
Quinoa
A complete protein grain base — all nine essential amino acids, lemon and parsley seasoned, nutty and fluffy.
Smoked Paprika and Cumin (Chickpeas)
The spice combination that gives the roasted chickpeas their Mediterranean-warm character and the deep reddish color that makes them visually striking
Eggplant
The richest, most substantive vegetable in the mix — its creamy, yielding interior after proper grilling provides the bowl’s most satisfying bite.
Balsamic Vinegar
The post-grill finishing acid that penetrates hot vegetable surfaces and adds sweet, slightly tannic complexity to the char.
Tahini-Yogurt Sauce
The rich, creamy binding element — tahini’s nutty depth and yogurt’s tang working together to create a more interesting and complex sauce than either alone.
Feta Cheese
Salty, creamy, slightly tangy — softens against warm vegetables and provides the Mediterranean dairy note that grounds the bowl’s flavor identity.
Fresh Mint and Oregano
The aromatic top notes — clean, cooling, and distinctly Mediterranean. Essential flavor contributors rather than garnish.
Flavor Structure Explained
This bowl follows a layered balance model:
- Warm herby base (lemon-parsley quinoa)
- Smoky sweet-acidic layer (balsamic grilled vegetables)
- Spiced crunch (roasted chickpeas)
- Creamy nutty richness (tahini-yogurt sauce)
- Salty-bright accents (feta, cherry tomatoes)
Quinoa establishes the foundation with a warm, lightly herbed structure that carries the rest of the bowl. Grilled vegetables define the primary layer, delivering smoky depth balanced by balsamic sweetness and acidity. Chickpeas add texture and spice, preventing the bowl from feeling soft or one-dimensional. Tahini-yogurt sauce brings body and cohesion, introducing creamy, garlicky richness that makes the dish satisfying. Feta punctuates with salt, while cherry tomatoes add bursts of freshness and acidity. Mint and oregano finish the profile with a clean, aromatic lift that defines the final impression and drives repeat bites.
Common Mistakes to Avoid
- Not Drying the Chickpeas Thoroughly – Surface or internal moisture prevents crisping entirely. Dry thoroughly and allow 5 minutes of air-drying before oiling.
- Moving Vegetables Too Soon on the Grill – Char marks require undisturbed contact time. Leave the vegetables alone for the full 3–4 minutes before checking — if they stick when you attempt to lift, they need more time.
- Under-cooking the Eggplant – Eggplant must be completely soft all the way through. Press gently — if there is any firm resistance, it needs more time on each side.
- Adding Lemon to the Quinoa During Cooking – Always add the lemon juice and zest after fluffing, off-heat. Acid during cooking dulls the fresh citrus character entirely.
- Making the Tahini Sauce Too Thick – A sauce that is too thick will not drizzle or distribute across the bowl. Add cold water incrementally until it flows in a steady ribbon from a spoon.
- Covering the Chickpeas After Roasting – Steam from covering will immediately soften them. Always cool uncovered and add to the bowl at the last possible moment before serving.
Variations
Halloumi Addition
Add 200g of sliced halloumi grilled alongside the vegetables for an additional salty, squeaky-textured protein element with particular affinity for balsamic.
Grain Swap
Replace quinoa with freekeh or bulgur wheat for a nuttier, chewier grain base with a slightly different nutritional profile and a more robust earthy character.
Extra Protein Version
Add 2 soft-boiled eggs per bowl, halved, for an additional protein layer — the jammy yolk mixes beautifully with the tahini-yogurt sauce.
Roasted Vegetable Version
If a grill is unavailable, roast all vegetables at 230°C on two baking sheets with space between each piece for 20–25 minutes, turning once. A broiler finish for the last 3–4 minutes adds the char element the oven alone cannot provide.
Harissa Version
Replace the balsamic drizzle with a thin spread of rose harissa on the grilled vegetables for a North African-spiced heat dimension that complements the tahini sauce naturally.
Storage & Make-Ahead
Roasted chickpeas are best on the day they are made. They can be stored uncovered at room temperature for up to 24 hours. Although they will soften slightly, they will still be usable. Do not refrigerate them, as moisture will completely ruin their texture.
Lemon-herb quinoa can be refrigerated for up to 4 days. Reheat it covered with a splash of water, then add a fresh squeeze of lemon juice and a little extra parsley after reheating to restore its bright flavor.
Grilled vegetables can be refrigerated for up to 3 days. They are excellent served at room temperature, which makes them an ideal make-ahead component. If they look dry before serving, drizzle them with a small amount of olive oil.
Tahini-yogurt sauce can be refrigerated in an airtight container for up to 3 days. It will thicken considerably when cold, so let it sit at room temperature for about 15 minutes before serving. Then thin it with a tablespoon of cold water and stir well.
For meal prep, cook the quinoa and grill the vegetables ahead of time. Roast the chickpeas on the day of serving for the best crispness, and make the tahini sauce up to 3 days in advance. Assemble everything fresh, adding the cherry tomatoes, feta, and herbs just before serving.
Frequently Asked Questions
Can I use canned chickpeas without draining all the liquid?
The chickpeas must be thoroughly drained and dried before roasting — any retained liquid prevents crisping. The liquid itself (aquafaba) can be saved and used as an egg substitute in other recipes.
What is the difference between tahini paste and tahini sauce?
Tahini paste is pure ground sesame seeds — thick, dense, and slightly bitter raw. Tahini sauce is the diluted, seasoned preparation made from the paste with water, lemon, and garlic. This recipe uses tahini paste as an ingredient to make the sauce component.
My grilled vegetables are watery — what went wrong?
Either the grill was not hot enough, causing steaming rather than searing, or the vegetables were cut too thin. Both produce watery results. Ensure medium-high heat and stick to the 1cm thickness.
Can I make this vegan?
Replace the Greek yogurt in the tahini sauce with a thick coconut or cashew yogurt and omit the feta or replace with a plant-based feta alternative. All other components are already vegan.
How do I prevent the quinoa from becoming mushy?
The most common cause is too much water or too much cooking time. Use exactly the 2.4:1 water-to-quinoa ratio specified, and pull from heat the moment the water is absorbed and the spiral germ is visible — continuing to cook after this point makes quinoa waterlogged and heavy.
Nutrition Facts
( per serving )
Calories
~780 kcal
Protein
26 g
Fat
38 g
Carbs
78 g
Calories
~780 kcal
Protein
26 g
Fat
38 g
Carbs
78 g
Related Recipes
Related Recipes

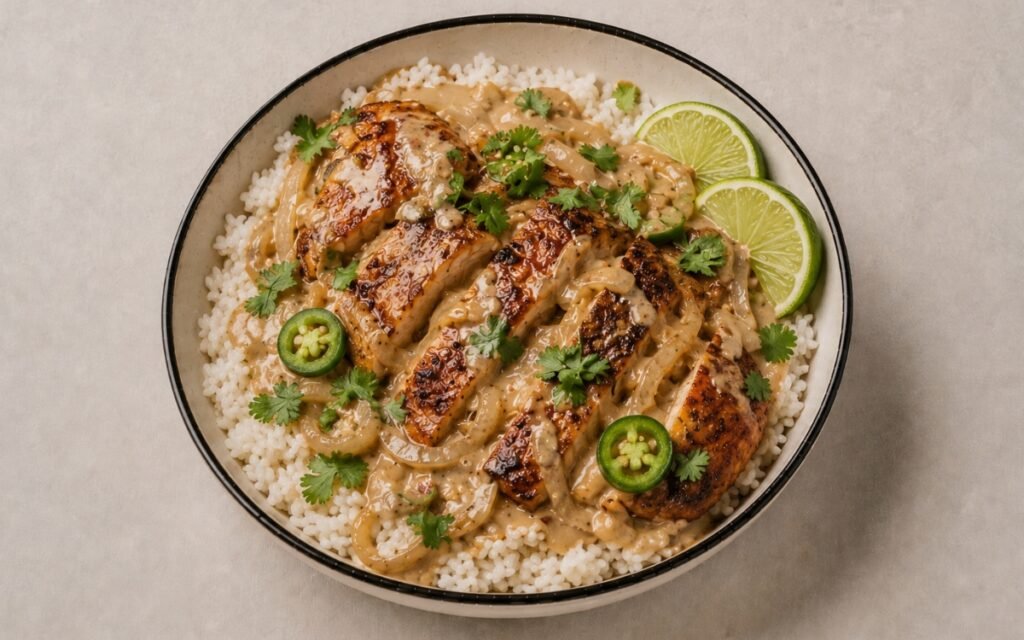
Creamy Coconut Chicken Rice Bowl
Seared chicken thighs simmered in coconut cream, ginger, lime, and soy sauce built in the same skillet — over coconut-lime jasmine rice. 45 minutes and better the next day.
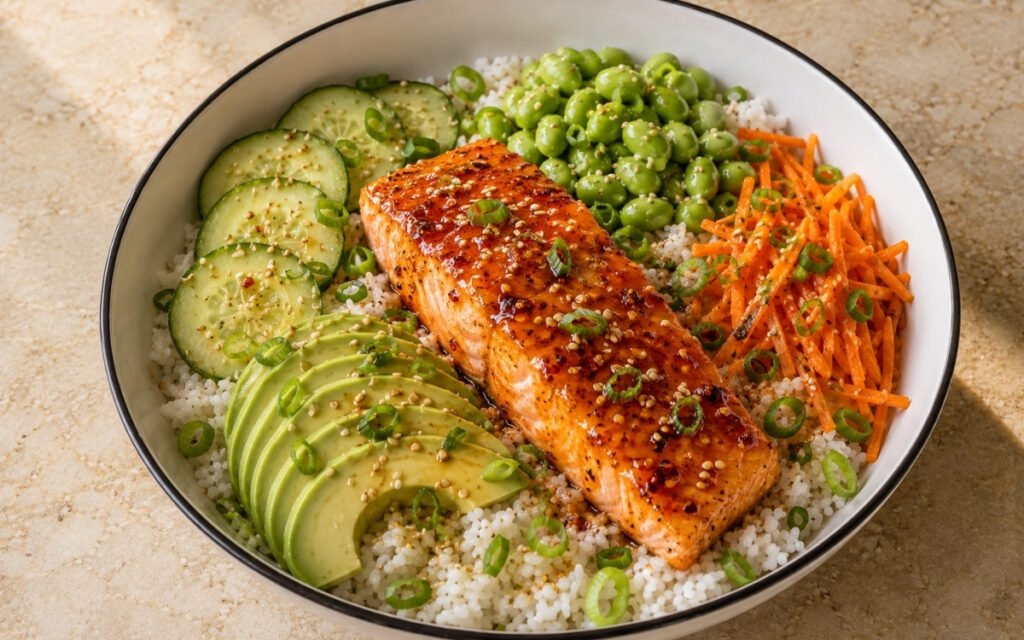
Hot Honey Salmon Rice Bowl
Salmon seared in sesame oil and glazed with gochugaru hot honey in the final minute — over jasmine rice with pickled carrots, avocado, and soy sauce. 35 minutes.
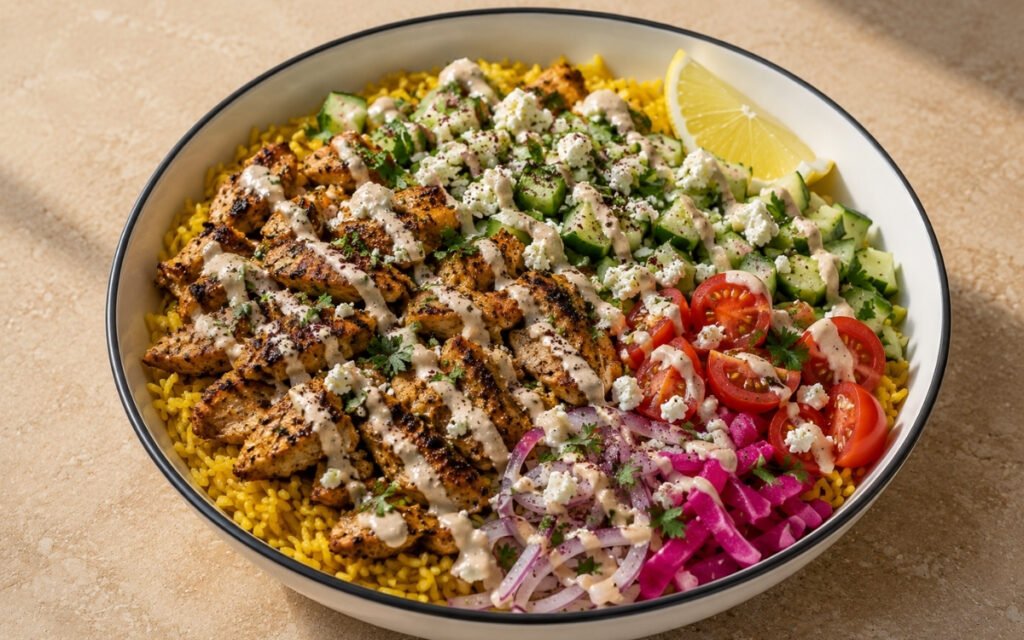
Lebanese Chicken Shawarma Rice Bowl
Chicken thighs marinated in yogurt and seven Lebanese spices, charred undisturbed in cast iron — over turmeric rice with cold-whisked tahini sauce and pickled turnips. 45 minutes.
You might also like
You might also like
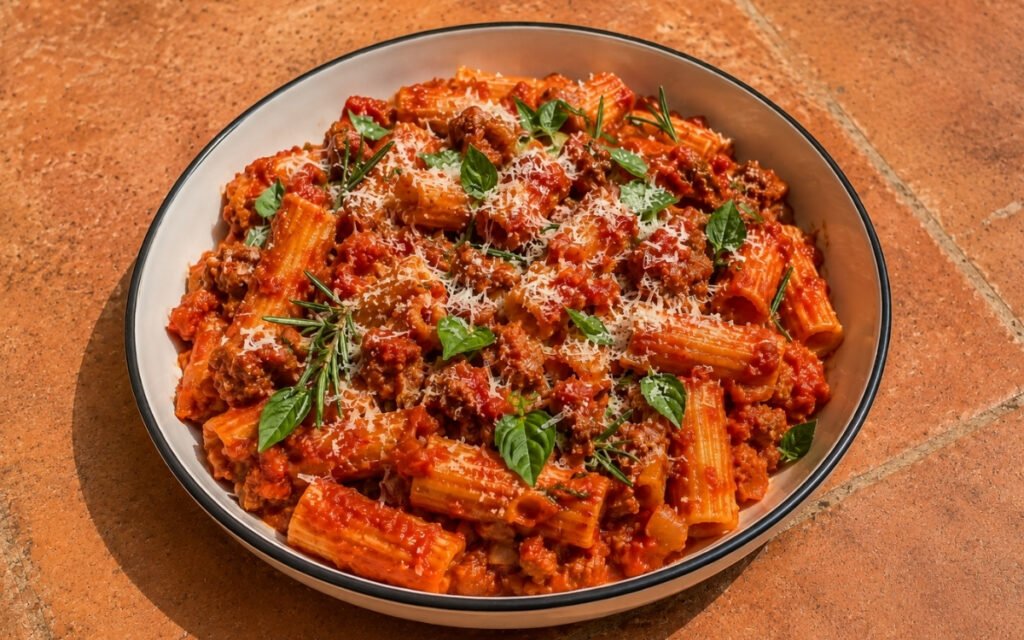
One-Pan Sausage Tomato Pasta
Rigatoni cooked directly in sausage and San Marzano tomato sauce — the pasta’s own starch creates a glossy coating without cream. One pan, 35 minutes.
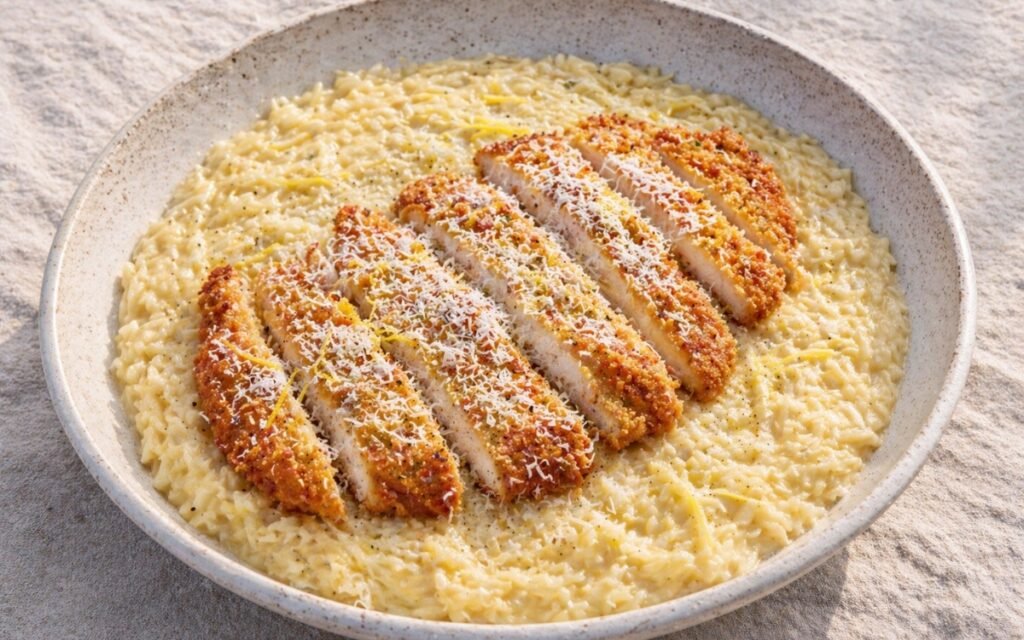
Lemon Chicken Cutlet Orzo
Crispy Parmesan-breaded cutlets sliced over creamy caramelised onion, double lemon, and ricotta orzo — 55 minutes.
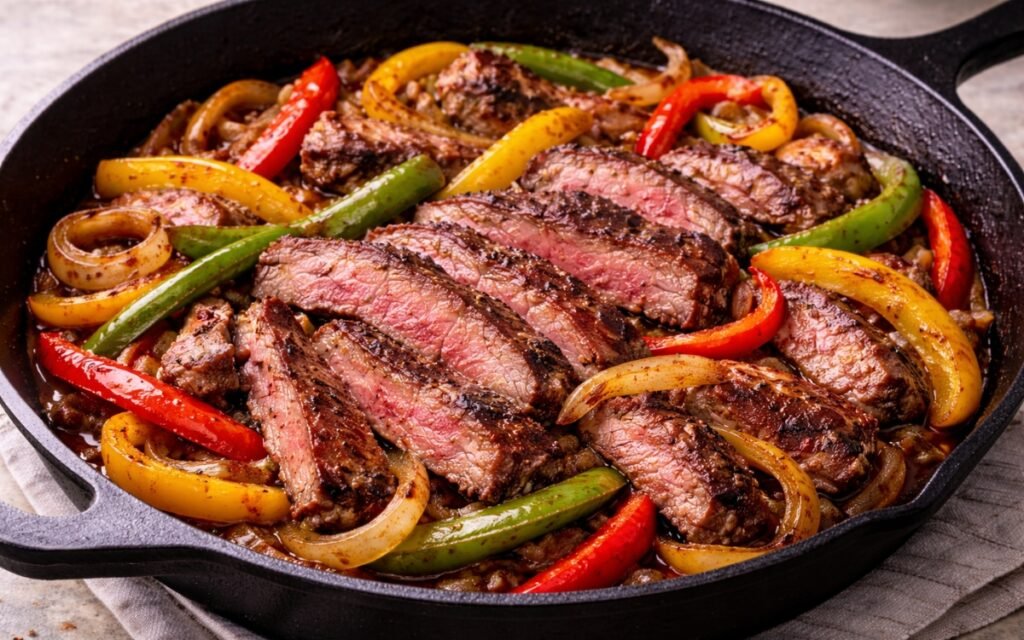
Skirt Steak Fajita
Dry-brined skirt steak seared to medium-rare in cast iron, combined with charred peppers and onions cooked in the full spiced marinade — the steak fajita done properly.

Grilled Mediterranean Veggie Bowl
Ingredients
Method
- Preheat the oven to 220°C (425°F). Drain the canned chickpeas thoroughly and spread them on a clean kitchen towel or multiple layers of paper towels. Pat the surface of every chickpea firmly and repeatedly — this drying step is the single most important factor in achieving genuinely crispy roasted chickpeas rather than ones that are soft and chewy at the center with merely a dried exterior. Moisture trapped inside the chickpea creates steam during roasting that prevents the outer shell from crisping. Allow them to dry for a full 5 minutes after patting. Transfer to a large bowl and toss with olive oil, smoked paprika, ground cumin, and salt, ensuring every chickpea is evenly coated. Spread on a rimmed baking sheet in a single layer with space between each chickpea — crowding causes steaming rather than roasting. Roast for 20–25 minutes, shaking the pan once halfway through to ensure even browning on all sides, until the chickpeas are golden, deeply colored, and audibly crisp when you shake the tray. They will crisp further as they cool. Set aside at room temperature — do not cover, as trapping steam will immediately soften them.
- While the chickpeas roast, rinse the quinoa thoroughly under cold running water in a fine mesh strainer for at least 60 seconds, working the grains with your fingers. Quinoa has a natural coating of saponins — mildly bitter, soapy compounds that the plant produces as a pest deterrent. Rinsing removes them and is the reason that properly rinsed quinoa tastes clean and nutty while unrinsed quinoa tastes bitter and slightly soapy. In a medium saucepan, combine the rinsed quinoa, water, and salt. Bring to a boil over high heat, then reduce to the lowest possible heat, cover tightly, and simmer for 15 minutes until all the water is absorbed and you can see the characteristic spiral germ detaching from each grain — this visible separation is the visual sign that quinoa is correctly cooked. Remove from heat and rest covered for 5 minutes. Fluff with a fork using gentle, lifting strokes. Fold in the lemon zest, fresh lemon juice, and chopped parsley immediately while the quinoa is still warm — warm quinoa absorbs the lemon and herb flavors more readily than cold, and the residual heat wilts the parsley just enough to release its aromatic oils without cooking it. Keep covered and warm.
- Preheat your grill or grill pan to medium-high heat — hot enough to develop char marks and char-caramelised surfaces but not so hot that the vegetables burn on the outside before cooking through to the center. Cut the zucchini into 1cm thick rounds or lengthwise slices — rounds are easier to manage on a grill pan while lengthwise slices produce a more dramatic visual presentation. Cut the eggplant into 1cm thick rounds — eggplant at this thickness cooks through to a soft, yielding interior while the outside develops char. Cut the red and yellow bell peppers into wide strips — wide enough to lie flat on the grill surface. Halve the red onion through the root and cut each half into thick wedges, keeping the root intact to hold the layers together during grilling. Brush all vegetables generously and thoroughly with olive oil on all surfaces. The olive oil has two roles: it prevents sticking to the grill surface and it conducts heat evenly across the cut surfaces to promote even caramelisation. Season all surfaces with salt and freshly ground black pepper. Organize the vegetables by cooking time — peppers and zucchini are fastest, eggplant takes longer, onion is in between.
- Grill in batches, placing each type of vegetable separately so you can manage their different cooking times accurately. Lay each piece flat on the hot grill surface and leave undisturbed for 3–4 minutes — the char marks form only where the vegetable maintains direct, uninterrupted contact with the grill grates or grill pan surface. Moving them before the char has set disrupts the caramelisation and produces pale, unmarked vegetables that lack the smoky sweetness that defines this bowl’s character. Flip once, cook for another 3–4 minutes on the second side, and transfer to a serving platter as each batch finishes. Eggplant requires the full 4 minutes per side to cook through completely — undercooked eggplant has an unpleasant, spongy texture. Peppers and zucchini may be ready in 3 minutes per side. While the vegetables are still hot, drizzle them with the balsamic vinegar and allow it to soak in for at least 10 minutes before assembly if time permits — the residual heat opens the surface of the vegetables and allows the balsamic’s sweet-acidic depth to penetrate rather than simply coat the surface.
- In a medium bowl, combine the tahini paste and Greek yogurt. Whisk them together first before adding any other liquid — at this stage the mixture will be very thick and slightly grainy as the tahini’s dense fat-protein structure meets the yogurt’s proteins. Add the lemon juice and minced garlic and whisk to incorporate. Now begin adding the cold water in small increments — 15ml at a time — whisking vigorously after each addition. As the water is incorporated, the sauce will transform from thick and clumped to smooth, creamy, and pourable. Cold water specifically is important: warm water can cause the tahini to seize rather than emulsify. The amount of water needed depends on the specific tahini brand — thicker tahini needs more water, thinner tahini needs less. The target consistency is pourable but substantial — it should coat a spoon and flow in a steady ribbon when drizzled rather than running thin as water. Taste and season with salt. The finished sauce should taste nutty, tangy from both the tahini and the yogurt, bright from the lemon, and garlicky with a mellow savory warmth.
- Divide the warm lemon-herb quinoa among four wide, shallow bowls — the wide, shallow format allows all components to be visible simultaneously rather than buried under each other. Arrange the grilled vegetables over the quinoa in an attractive composition — vary colors and shapes intentionally, placing contrasting colors adjacent to each other. Add the halved cherry tomatoes in a section alongside the vegetables. Scatter the crumbled feta directly over the vegetables and tomatoes — its creamy, salty character is most effective when it makes contact with the warm vegetables and begins to soften very slightly. Add a generous portion of the roasted chickpeas across the bowl — distribute them evenly so every portion has the same crunch. Drizzle the tahini-yogurt sauce generously over the entire surface, allowing it to pool into the quinoa and coat the vegetables. Scatter the torn fresh mint and oregano leaves across the top — these fresh herbs are not garnish but essential flavor components that provide the clean, aromatic top note the bowl needs. Finish with a light drizzle of extra-virgin olive oil over everything. Serve immediately.