
Chilean Sopaipillas with Pebre
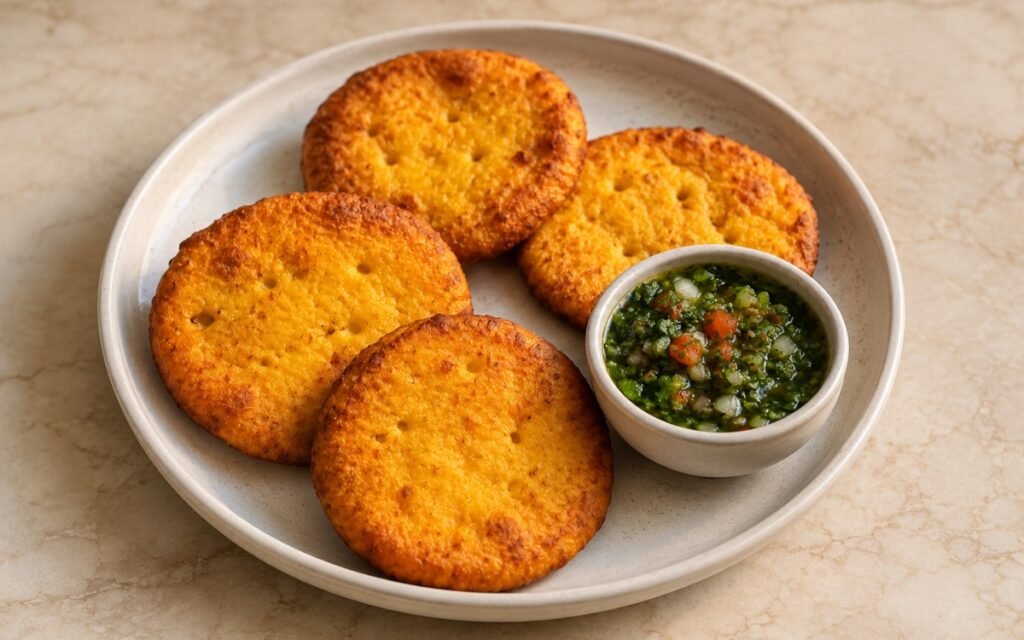
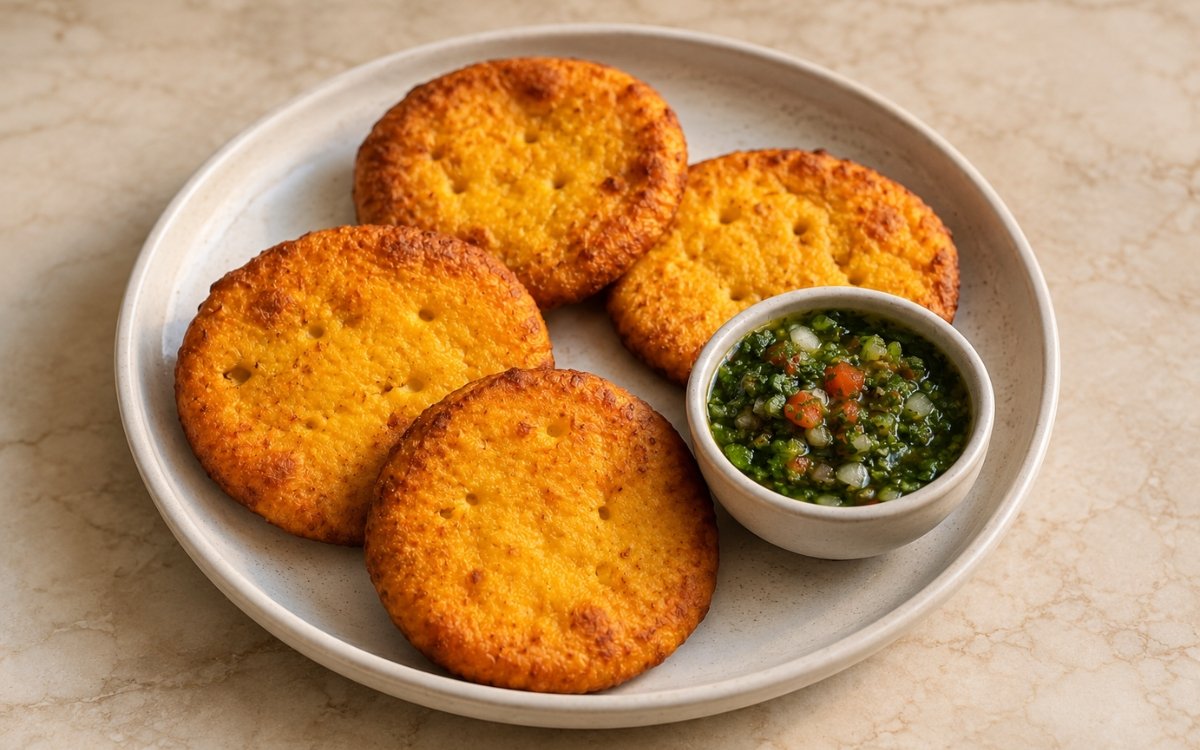
Classic Chilean pumpkin-based sopaipillas fried until golden-brown, lightly puffed, crisp at the edges, and tender inside, each round pricked with small holes before frying so it cooks evenly without ballooning, served with vivid green pebre made with cilantro, onion, tomato, green chilli, vinegar, lime, and olive oil. Reducing any excess moisture from the pumpkin puree before it goes into the dough is the technique hinge of this whole recipe — wet pumpkin produces sticky dough that absorbs too much oil during frying, the same moisture-management principle used elsewhere in this collection whenever a vegetable puree needs to become part of a dough rather than thinning it out. Pricking each round with a fork before frying matters just as much, since those small holes let steam escape evenly rather than building up and ballooning the dough unpredictably. Keeping the pebre chopped rather than blended preserves the fresh, distinct texture of tomato and onion that defines this specific Chilean salsa. The payoff is a warm, golden fry bread with crisp edges and a tender centre, dipped into or spooned with a bright, sharp, chunky pebre.
Prep Time : 35 min
Cook Time : 35 min
Servings : 4
35 min
35 min
4
Ingredients
For the Pumpkin Puree
• 500g peeled pumpkin or squash, preferably kabocha, butternut, or zapallo-style squash, cut into chunks
• Water, for boiling or steaming
• 2g fine sea salt
For the Sopaipilla Dough
• 500g all-purpose flour — this one on Amazon
• 10g baking powder
• 8g fine sea salt
• 400g cooked pumpkin puree, from above
• 50g lard, melted, or neutral oil
• 60–120ml warm water, only as needed
For Frying
• 1.5–2 litres neutral oil, for deep frying
For the Pebre
• 45g fresh cilantro, finely chopped, tender stems included
• 160g white onion, very finely diced
• 220g ripe tomato, seeded and finely diced
• 1–2 green chillies, finely diced
• 1 garlic clove, finely grated or minced, optional
• 45ml olive oil — this one on Amazon
• 30ml red wine vinegar — this one on Amazon
• 15ml fresh lime juice or lemon juice
• 4g fine sea salt, plus more to taste
• Freshly cracked black pepper, to taste
• 15–30ml cold water, only if needed to loosen
This post may contain affiliate links. As an Amazon Associate I earn from qualifying purchases, at no additional cost to you.
Directions
- Cook the Pumpkin
Boil or steam the pumpkin with a small pinch of salt until completely tender, about 15–20 minutes depending on size. Drain very well. Mash until smooth, then let the puree cool until warm, not hot. If the puree looks watery, cook it in a dry pan over medium-low heat for 3–5 minutes to remove excess moisture. This matters. Wet pumpkin makes sticky dough that absorbs too much oil. The dry-pan reduction step is worth taking seriously rather than skipping — pumpkin varieties differ meaningfully in their water content, and a puree that looks merely “moist” can still carry enough excess liquid to throw off the dough’s hydration once mixed with flour. - Make the Pebre
Combine the cilantro, onion, tomato, green chilli, garlic if using, olive oil, red wine vinegar, lime or lemon juice, salt, and black pepper. Stir well and let sit for at least 15–20 minutes so the onion softens slightly and the flavours come together. Add a little cold water only if the pebre feels too tight. The pebre should be fresh, sharp, spoonable, and vivid green with visible tomato and onion pieces. It should not be blended into sauce. The short rest allows the vinegar and lime to soften the raw onion’s sharpest edge and lets every component’s flavour begin mingling — a pebre served the instant it’s mixed tastes noticeably more disjointed than one given even a brief rest. - Make the Dough
In a large bowl, mix the flour, baking powder, and salt. Add the warm pumpkin puree and melted lard or oil. Mix by hand until a rough dough forms. Add warm water gradually, only as needed, until the dough becomes soft and workable. Knead for 3–5 minutes until smooth but not tough. The dough should feel soft and slightly elastic, not sticky and not dry. If it cracks badly, add a little water. If it sticks heavily to your hands, add a small amount of flour. Adding water gradually rather than all at once is especially important here given how much the pumpkin’s own moisture content can vary batch to batch — starting conservative and adjusting up avoids overshooting into a dough that’s too soft to roll cleanly. - Rest the Dough
Cover the dough and rest for 20 minutes. This relaxes the flour and makes rolling easier. Do not skip the rest. Freshly mixed dough fights back and rolls unevenly. This rest allows the gluten developed during kneading to relax, which is what lets the dough roll out to an even thickness without springing back or resisting the rolling pin at every pass. - Shape the Sopaipillas
Roll the dough on a lightly floured surface to about 5–6mm thick. Cut into 16 rounds, about 9–10cm wide. Prick each round 2–4 times with a fork or skewer. The small holes help steam escape so the sopaipillas puff slightly without turning into balloons. Rolling to an even thickness across the whole batch matters directly for how evenly the sopaipillas fry — thin spots will crisp and potentially burn well before thicker spots have finished cooking through, producing an inconsistent batch from a single rolled sheet. - Heat the Oil
Heat the neutral oil to 175°C in a heavy pot. The oil temperature is not a suggestion. Too cool and the sopaipillas absorb oil; too hot and they brown before the centre cooks. This temperature window is a genuine balance point for a dough this thick — hot enough that the exterior crisps and browns at a reasonable pace, but not so hot that it sets and darkens before the fuller depth of dough has had time to cook through. - Fry the Sopaipillas
Fry the sopaipillas in batches for 2–3 minutes per side, turning once or twice, until deep golden-brown, slightly puffed, and crisp at the edges. Transfer to a rack and drain briefly. Do not stack them while hot or trapped steam will soften the crust. A single, uncrowded layer on the rack lets any residual surface oil drip away and lets steam escape freely — sopaipillas piled on top of each other trap that steam against their own crisp surfaces, undoing much of the work the frying stage just accomplished. - Serve
Serve 4 sopaipillas per serving with a small bowl of pebre on the side. Spoon pebre over the sopaipillas or dip them directly. Serve warm while the edges are still crisp and the inside is tender. Sopaipillas lose their crisp edge fairly quickly as they cool and sit, so serving promptly after frying is what preserves the contrast between the crisp exterior and tender centre this bread is meant to have.
*Notes :
- Managing the pumpkin puree’s moisture content is genuinely the most consequential technical decision in this recipe, more so than it might initially appear. Pumpkin and squash varieties vary considerably in how much water they release once cooked and mashed, and a puree that goes into the dough too wet doesn’t just make for a stickier dough to handle — it directly increases how much oil the finished sopaipillas absorb during frying, producing a greasier result even with correctly held oil temperature. The dry-pan reduction step exists specifically to normalise that variability before it ever reaches the flour.
- Pricking each round before frying is a small, quick step that addresses a real structural concern. Without those holes, trapped steam building inside the dough during frying has nowhere controlled to escape, and the dough can puff unpredictably — ballooning unevenly in some spots while staying flatter in others, rather than the gentle, even puff sopaipillas are known for. The few seconds this step takes are disproportionately protective of the final texture.
- Pebre’s chopped, unblended texture is central to its identity in the same way chimichurri’s texture matters in other recipes in this collection. Blending the tomato, onion, and cilantro together would produce something closer to a smooth salsa, losing the distinct, visible pieces that let each component register on its own against the warm, mild sopaipilla. The brief rest before serving softens the rawest edges of the onion and lets the vinegar and lime distribute, without needing to sacrifice that chunky texture.
- The dough’s resting period, though brief, addresses gluten development directly. Freshly kneaded dough has tight, springy gluten strands that resist rolling and tend to shrink back after being rolled thin. The 20-minute rest gives those strands time to relax, which is what makes the subsequent rolling stage considerably easier and produces a more evenly thick sheet to cut rounds from.
Why This Recipe Works
This recipe works because the pumpkin puree’s moisture is actively managed before it ever meets the flour, preventing a sticky dough that would otherwise absorb excess oil during frying.
Pricking each round lets steam escape in a controlled way rather than ballooning unpredictably, and the dough’s brief rest relaxes its gluten for easier, more even rolling.
Frying at a carefully held temperature produces a crisp exterior around a tender centre, and the pebre’s deliberately chopped, unblended texture provides a fresh, sharp, visually distinct contrast to serve alongside.
Ingredient Breakdown
Reduced Pumpkin Puree
The dough’s defining ingredient — moisture actively managed before mixing to avoid a sticky dough that absorbs excess oil.
Rested Sopaipilla Dough
The structural preparation — a 20-minute rest relaxes gluten developed during kneading, easing the rolling stage.
Pricked Dough Rounds
The frying technique — small holes let steam escape evenly, producing a gentle, controlled puff rather than unpredictable ballooning.
Held 175°C Frying Oil
The temperature specification — hot enough to crisp the exterior without absorbing excess oil, not so hot that it browns before the centre cooks.
Hand-Chopped Pebre
The accompanying salsa — kept deliberately unblended for a fresh, sharp, visually distinct texture against the warm bread.
Flavor Structure Explained
This sopaipillas dish follows a layered balance model:
- Warm sweet foundation (pumpkin-based fried dough)
- Crisp savoury exterior (fried crust)
- Bright sharp acidity (pebre’s vinegar and lime)
- Fresh raw vegetal bite (tomato, onion, cilantro)
- Gentle spiced warmth (green chilli)
The pumpkin-based dough provides a warm, subtly sweet foundation with a crisp, savoury fried exterior. That mild sweetness sets up a clear contrast against the pebre served alongside it, which brings sharp, bright acidity from vinegar and lime juice. Fresh diced tomato, onion, and cilantro contribute raw, vegetal crunch and brightness that cuts directly through the fried bread’s richness. Green chilli adds a gentle, building warmth that keeps the pebre from tasting purely acidic, rounding out the whole pairing.
Common Mistakes to Avoid
- Using Watery Pumpkin Puree Without Reducing It – This produces sticky dough that absorbs excess oil during frying. Always reduce the puree in a dry pan first if it looks watery.
- Adding All the Water at Once – Pumpkin moisture varies considerably, so dumping in the full water amount risks an overly sticky dough. Always add it gradually, only as needed.
- Skipping the Fork-Pricking Step – Without holes for steam to escape, the dough can puff unpredictably during frying. Always prick each round 2–4 times before frying.
- Frying at the Wrong Oil Temperature – Oil that’s too cool makes greasy sopaipillas; oil that’s too hot browns them before the centre cooks. Always hold the oil at 175°C.
- Blending the Pebre Instead of Chopping – This turns it into a smooth salsa, losing the fresh, distinct texture that defines pebre. Always keep the tomato, onion, and cilantro finely diced rather than blended.
Variations
Sopaipillas Pasadas
After frying, soak the warm sopaipillas briefly in a warm chancaca (unrefined cane sugar) syrup for the sweet version of this dish, traditionally served without pebre.
Spicier Pebre
Increase the green chilli to 2–3, leaving some seeds in, for a noticeably sharper heat throughout the salsa.
With Avocado
Serve mashed avocado alongside the pebre as an additional topping or dip for the warm sopaipillas.
Mini Sopaipillas
Cut smaller rounds, about 5–6cm wide, for bite-sized appetizer portions, reducing the fry time to about 1–2 minutes per side.
Storage & Make-Ahead
The pumpkin puree can be made 1–2 days ahead and refrigerated in a sealed container; bring to room temperature before mixing into the dough.
The pebre can be made a few hours ahead and refrigerated; the flavour continues developing over the first hour or two, though it’s best used within a day for the freshest texture.
Sopaipilla dough can be shaped and pricked, then refrigerated for a few hours before frying, covered to prevent drying.
Fried sopaipillas are best eaten the same day, ideally within an hour of frying; they lose their crisp edges as they cool and do not reheat to quite the same texture, though a brief warm in a hot oven can help.
Frequently Asked Questions
Why does the pumpkin puree need to be reduced if it looks watery?
Excess moisture in the puree makes the dough stickier than intended, and that stickiness directly translates into the finished sopaipillas absorbing more oil during frying. Cooking off that extra liquid in a dry pan first normalises the puree’s moisture content before it ever meets the flour.
Why prick each round with a fork before frying?
Without those small holes, steam building inside the dough during frying has no controlled way to escape, and the dough can puff unevenly or unpredictably. Pricking lets it puff gently and evenly instead.
Why does the pebre need to rest for 15–20 minutes before serving?
The rest softens the raw onion’s sharpest edge and gives the vinegar and lime time to distribute through the mixture, letting all the flavours come together. Served immediately after mixing, the pebre tastes noticeably more disjointed.
Why is the oil temperature described as non-negotiable rather than approximate?
Oil that’s too cool causes the dough to absorb excess oil before it crisps properly, while oil that’s too hot browns the exterior before the thicker centre has finished cooking. The specified 175°C is a genuine balance point for this particular dough’s thickness.
Why shouldn’t the pebre be blended into a smooth sauce?
Pebre’s identity depends on visible, distinct pieces of tomato, onion, and cilantro rather than a uniform texture. Blending it would turn it into something closer to a standard salsa, losing the fresh, chunky quality that specifically defines this Chilean condiment.
Nutrition Facts
( per serving )
Calories
~520 kcal
Protein
9 g
Fat
24 g
Carbs
66 g
Calories
~520 kcal
Protein
9 g
Fat
24 g
Carbs
66 g
Related Recipes
Related Recipes

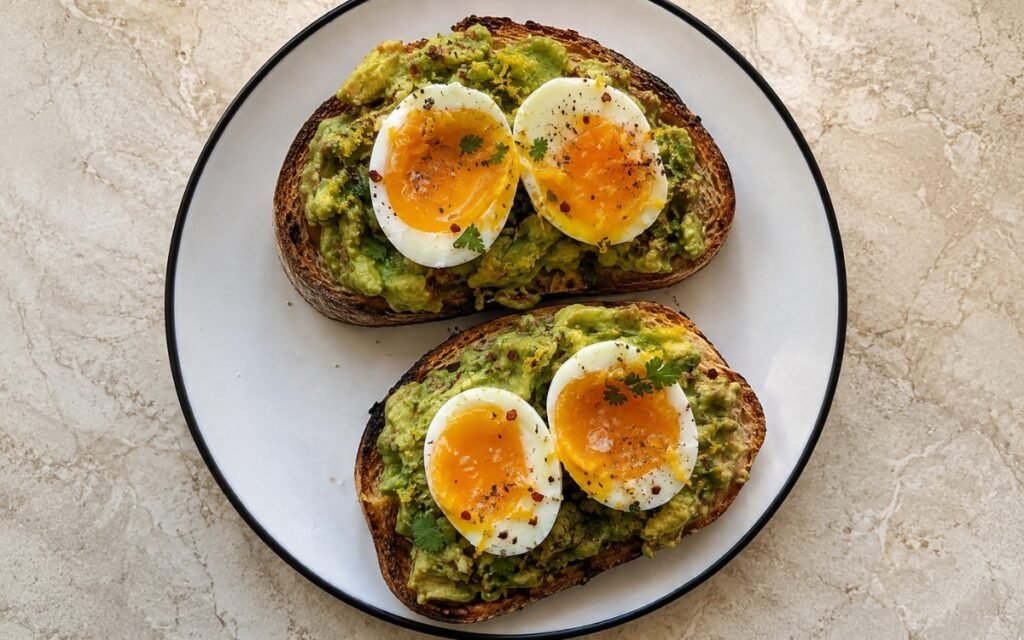
Avocado Toast with Jammy Eggs
Deeply toasted sourdough with chunky lemon-brightened smashed avocado and precisely timed jammy eggs, finished with chili flakes and herbs.
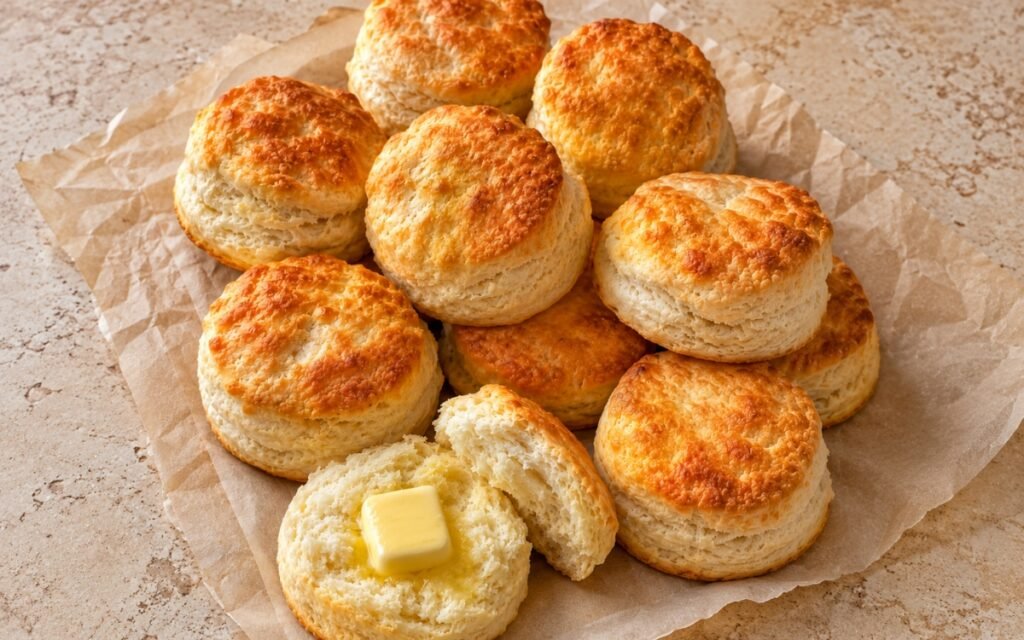
Classic Southern Buttermilk Biscuits
Tall, flaky Southern buttermilk biscuits with deeply golden tops, tender layered sides, and a soft steamy interior.
Green Tea Lemonade
Sencha at 75–80°C for exactly 2–2½ minutes, bags not squeezed — honey-lemon syrup, fresh lemon, cold water, salt, chilled. Crisp, cool, and herbal-fresh.

You might also like
You might also like
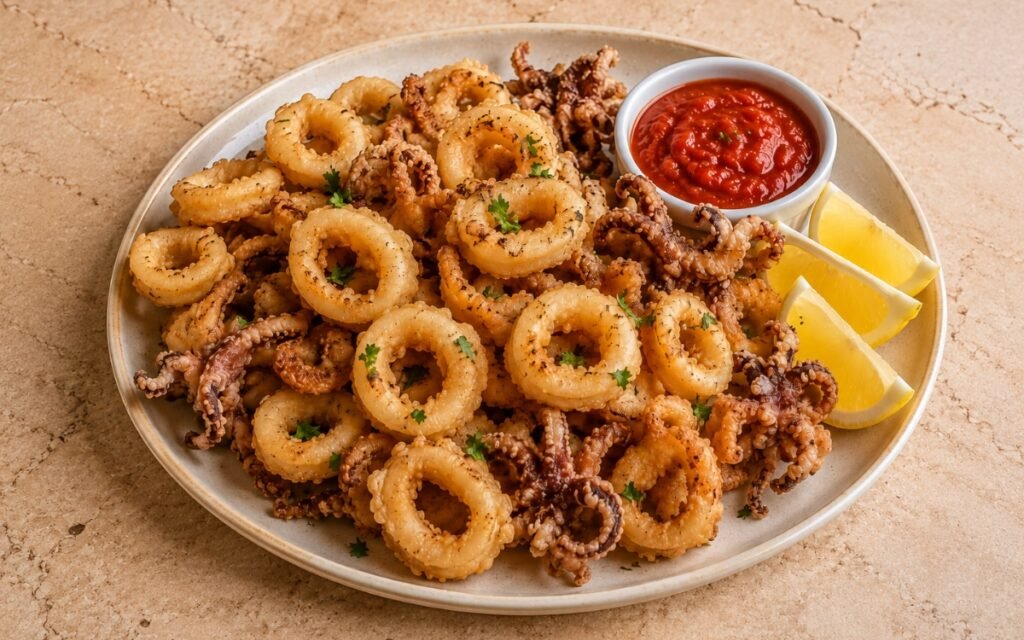
Deep Fried Calamari
Tender squid rings and tentacles lightly coated in flour and cornstarch, fried briefly until pale golden and crisp, served with marinara.
Avocado Toast with Jammy Eggs
Deeply toasted sourdough with chunky lemon-brightened smashed avocado and precisely timed jammy eggs, finished with chili flakes and herbs.
Colombian Empanadas
Crisp golden corn masa shells filled with savory potato-beef filling, served with bright ají picante and lime wedges.
Chilean Sopaipillas with Pebre
Ingredients
Method
- Boil or steam the pumpkin with a small pinch of salt until completely tender, about 15–20 minutes depending on size. Drain very well. Mash until smooth, then let the puree cool until warm, not hot. If the puree looks watery, cook it in a dry pan over medium-low heat for 3–5 minutes to remove excess moisture. This matters. Wet pumpkin makes sticky dough that absorbs too much oil. The dry-pan reduction step is worth taking seriously rather than skipping — pumpkin varieties differ meaningfully in their water content, and a puree that looks merely “moist” can still carry enough excess liquid to throw off the dough’s hydration once mixed with flour.
- Combine the cilantro, onion, tomato, green chilli, garlic if using, olive oil, red wine vinegar, lime or lemon juice, salt, and black pepper. Stir well and let sit for at least 15–20 minutes so the onion softens slightly and the flavours come together. Add a little cold water only if the pebre feels too tight. The pebre should be fresh, sharp, spoonable, and vivid green with visible tomato and onion pieces. It should not be blended into sauce. The short rest allows the vinegar and lime to soften the raw onion’s sharpest edge and lets every component’s flavour begin mingling — a pebre served the instant it’s mixed tastes noticeably more disjointed than one given even a brief rest.
- In a large bowl, mix the flour, baking powder, and salt. Add the warm pumpkin puree and melted lard or oil. Mix by hand until a rough dough forms. Add warm water gradually, only as needed, until the dough becomes soft and workable. Knead for 3–5 minutes until smooth but not tough. The dough should feel soft and slightly elastic, not sticky and not dry. If it cracks badly, add a little water. If it sticks heavily to your hands, add a small amount of flour. Adding water gradually rather than all at once is especially important here given how much the pumpkin’s own moisture content can vary batch to batch — starting conservative and adjusting up avoids overshooting into a dough that’s too soft to roll cleanly.
- Cover the dough and rest for 20 minutes. This relaxes the flour and makes rolling easier. Do not skip the rest. Freshly mixed dough fights back and rolls unevenly. This rest allows the gluten developed during kneading to relax, which is what lets the dough roll out to an even thickness without springing back or resisting the rolling pin at every pass.
- Roll the dough on a lightly floured surface to about 5–6mm thick. Cut into 16 rounds, about 9–10cm wide. Prick each round 2–4 times with a fork or skewer. The small holes help steam escape so the sopaipillas puff slightly without turning into balloons. Rolling to an even thickness across the whole batch matters directly for how evenly the sopaipillas fry — thin spots will crisp and potentially burn well before thicker spots have finished cooking through, producing an inconsistent batch from a single rolled sheet.
- Heat the neutral oil to 175°C in a heavy pot. The oil temperature is not a suggestion. Too cool and the sopaipillas absorb oil; too hot and they brown before the centre cooks. This temperature window is a genuine balance point for a dough this thick — hot enough that the exterior crisps and browns at a reasonable pace, but not so hot that it sets and darkens before the fuller depth of dough has had time to cook through.
- Fry the sopaipillas in batches for 2–3 minutes per side, turning once or twice, until deep golden-brown, slightly puffed, and crisp at the edges. Transfer to a rack and drain briefly. Do not stack them while hot or trapped steam will soften the crust. A single, uncrowded layer on the rack lets any residual surface oil drip away and lets steam escape freely — sopaipillas piled on top of each other trap that steam against their own crisp surfaces, undoing much of the work the frying stage just accomplished.
- Serve 4 sopaipillas per serving with a small bowl of pebre on the side. Spoon pebre over the sopaipillas or dip them directly. Serve warm while the edges are still crisp and the inside is tender. Sopaipillas lose their crisp edge fairly quickly as they cool and sit, so serving promptly after frying is what preserves the contrast between the crisp exterior and tender centre this bread is meant to have.