
Espresso Brownie Chocolate Chip Cookies
Dark, rich espresso brownie cookies with a deep cocoa flavor, crinkled tops, soft fudgy centers, and plenty of melted chocolate throughout. Dissolving the espresso powder in hot water before it goes into the batter is the step that keeps the coffee flavor deep rather than gritty — the same dissolve-before-mixing approach used elsewhere in this collection whenever a concentrated powder needs to distribute evenly instead of leaving specks. Using both chocolate chips and chopped bar chocolate together is what gives these cookies their glossy, molten pools alongside structural chips, and chilling the portioned dough for a full hour is what keeps them thick and fudgy rather than thin and cakey.

Prep Time : 25 min
Total Time : 1 hr 50 min
Servings : 12
25 min
1 hr 50 min
12
Ingredients
For the Cookie Dough
• 170 g unsalted butter
• 180 g light brown sugar
• 120 g granulated sugar
• 2 large eggs, room temperature
• 2 tsp vanilla extract
• 2 tsp instant espresso powder
• 1 tbsp hot water
• 240 g all-purpose flour
• 55 g unsweetened Dutch-process cocoa powder
• 15 g cornstarch
• ½ tsp baking powder
• ½ tsp baking soda
• ¾ tsp fine salt
For the Chocolate Mix-Ins
• 170 g semisweet or dark chocolate chips
• 100 g dark chocolate, roughly chopped into small chunks
For Finishing
• Flaky salt, optional
Directions
- Prepare the Espresso and Dry Mix
Dissolve the espresso powder in the hot water and let it cool slightly. Whisk together the flour, cocoa powder, cornstarch, baking powder, baking soda, and salt in a medium bowl until fully combined with no cocoa lumps remaining. - Melt the Butter and Combine the Sugars
Melt the butter in a saucepan or microwave just until fully melted, then let it cool for 5 to 7 minutes so it’s warm but not hot. Whisk the melted butter with the brown sugar and granulated sugar in a large bowl until smooth, glossy, and evenly combined — the mixture should look thick and shiny. - Add the Eggs and Flavoring
Whisk in the eggs one at a time until fully incorporated and the mixture looks smoother and slightly thickened, then whisk in the vanilla and dissolved espresso, mixing until the batter is glossy and uniform. This step is what helps build the crinkled top and shiny surface once baked. - Add the Dry Ingredients
Add the dry ingredients to the wet mixture and fold with a spatula just until no dry streaks remain. Don’t overmix once the flour goes in — the dough will be soft, thick, and sticky. - Fold in the Chocolate
Fold in the chocolate chips and chopped dark chocolate, distributing them evenly through the dough. The chopped chocolate matters here specifically for the melted chocolate pockets and glossy pools that chips alone don’t create. - Scoop and Chill
Portion the dough into 24 equal pieces, about 40–45 g each, and place them on a parchment-lined tray or plate. Chill for 1 hour, until firm enough to handle cleanly. Chilling is critical here — it keeps the cookies thick, helps develop their crinkled tops, and keeps the centers fudgy rather than letting them spread too thin. - Bake
Heat the oven to 175°C conventional / 160°C fan and line baking sheets with parchment. Place the chilled dough portions on the trays with enough space between them, about 6 to 8 per tray, pressing a few extra chocolate chips or chunks onto the tops if you want a more pronounced chocolate look. Bake for 10 to 12 minutes, until the edges are set, the tops are cracked and slightly dry-looking, and the centers are still soft and slightly underbaked. Don’t wait for the centers to look fully done — the cookies should look puffed and soft in the middle when they come out. - Cool and Set
Let the cookies rest on the baking sheet for 10 minutes so the centers finish setting without overbaking. Sprinkle lightly with flaky salt while still warm, if using, then transfer to a rack to cool further. For the fudgiest texture, let them cool until just warm before serving.
*Notes :
- Dissolving the espresso powder in hot water before it joins the batter isn’t a step worth skipping, even though it adds a small extra task. Espresso powder added dry can leave grainy, undissolved specks through the dough, while dissolving it first distributes the coffee flavor evenly and deepens the chocolate taste without making the cookies taste overtly of coffee.
- Using both chocolate chips and chopped bar chocolate together, rather than chips alone, is specifically what creates the glossy, molten chocolate pools these cookies are known for. Chips tend to hold their shape more than chopped chocolate does, so the combination gives both structural bite and genuine melted pockets.
- Chilling the portioned dough for the full hour does more than just make it easier to handle. That chilling period is directly responsible for keeping the cookies thick rather than letting them spread too far, and it’s part of what builds the crinkled, slightly dry-looking tops against the fudgy centers underneath.
- Resisting the urge to bake until the centers look fully set protects the fudgy texture the whole recipe depends on. Cookies pulled at that later stage have usually overbaked past the soft brownie-like center and turned cakier than intended.
Why This Recipe Works
This recipe works because dissolving the espresso powder first lets its flavor distribute evenly through the dough, deepening the chocolate taste without an overt coffee flavor or grainy texture. Combining chocolate chips with chopped bar chocolate builds both structure and genuine molten pools once baked, and chilling the portioned dough for a full hour keeps the cookies thick rather than letting them spread into a flatter, cakier shape. Pulling the cookies while the centers still look soft and slightly underbaked lets the carryover heat on the tray finish setting them without drying out the fudgy interior, rounding out a cookie that reads closer to a brownie than a standard chocolate chip cookie.
Ingredient Breakdown
Dissolved Espresso Powder
The critical flavor technique — dissolving first avoids grainy specks and deepens the chocolate flavor evenly.
Dutch-Process Cocoa Powder
The color-and-flavor base — gives the darkest color and deepest brownie flavor compared to natural cocoa.
Chocolate Chips and Chopped Bar Chocolate
The dual mix-in technique — chips add structure while chopped chocolate creates glossy molten pools.
Cornstarch
The texture technique — helps keep the cookies soft and fudgy rather than cakey.
Chilled Portioned Dough
The critical technique — controls spread and keeps the centers thick and fudgy.
Melted Butter
The fudgy-texture choice — contributes to the dense, brownie-like crumb rather than a lighter, more cake-like one.
Flavor Structure Explained
This espresso brownie chocolate chip cookie follows a layered balance model:
- Dense, fudgy foundation (melted butter, cornstarch)
- Deep chocolate core (Dutch-process cocoa, dissolved espresso)
- Molten chocolate pockets (chocolate chips and chopped bar chocolate)
- Crinkled, controlled texture (chilled dough, carryover baking)
- Optional salty finish (flaky salt)
Melted butter and cornstarch build the dense, fudgy foundation of this cookie, while Dutch-process cocoa and dissolved espresso together deepen the chocolate flavor into something closer to a brownie than a standard cookie. Chocolate chips and chopped bar chocolate create molten pockets throughout, chilling the dough and pulling the cookies slightly underbaked keeps the texture thick and fudgy, and an optional scatter of flaky salt finishes the cookies with a sharp, salty contrast.
Common Mistakes to Avoid
- Adding Espresso Powder Without Dissolving It First – This leaves grainy, undissolved specks through the dough. Always dissolve it in hot water before mixing it in.
- Using Only Chocolate Chips – This misses out on the glossy, molten chocolate pools chopped bar chocolate creates. Always combine chips with chopped chocolate.
- Skipping the Chilling Step – This causes the cookies to spread too thin and lose their fudgy centers. Always chill the portioned dough for the full hour.
- Overmixing After Adding the Flour – This can toughen the texture. Always fold just until no dry streaks remain.
- Baking Until the Centers Look Fully Set – This overbakes the cookies past their soft, fudgy texture. Always pull them while the centers still look soft and slightly underbaked.
Variations
Walnut Version
Fold 60–80 g of chopped toasted walnuts into the dough along with the chocolate, for added crunch and a slightly more classic brownie-cookie flavor profile.
Extra-Espresso Version
Increase the instant espresso powder slightly beyond the recipe’s own measurement for a more pronounced coffee note, keeping the dissolve-first step the same to avoid grainy specks.
White Chocolate Chunk Version
Replace the semisweet chocolate chips with white chocolate chips for a sweeter contrast against the deep cocoa and espresso flavor in the dough.
Mint Chocolate Version
Add ½ teaspoon of peppermint extract to the batter along with the vanilla for a mint-chocolate variation that pairs particularly well with the dark chocolate chunks.
Storage & Make-Ahead
These cookies store well, which makes them a practical make-ahead option for batch baking or gifting. Keep them in an airtight container at room temperature for up to 4 days, and briefly warm them for a few seconds before eating to restore the soft center and melted chocolate texture.
The dough itself is also well suited to prepping ahead, since the recipe already calls for a chilling period before baking. Portion the dough into balls and refrigerate them for the full hour, or longer if your schedule calls for it, checking that the dough hasn’t warmed too much before baking if it’s been sitting out while portioning.
If you’re baking multiple trays, keep the second tray of portioned dough chilled in the refrigerator while the first bakes, rather than leaving it at room temperature. This keeps every batch baking from an equally firm starting point.
For the most even round cookies, nudge the edges gently into shape with a round cutter or cup immediately after baking while they’re still hot. This step is worth doing right away, since the shape sets as the cookies begin to cool.
Frequently Asked Questions
Why does my cookie dough taste gritty instead of smooth?
This usually comes from adding the espresso powder directly to the dough without dissolving it first, since instant espresso doesn’t always break down fully on its own. Always dissolve it in the hot water called for in the recipe before mixing it into the batter.
Can I use chocolate chips only instead of a mix of chips and chopped chocolate?
You can, but you’ll miss out on the glossy, molten chocolate pools that chopped bar chocolate specifically creates, since chips tend to hold their shape more during baking. The combination of both is what gives these cookies their signature texture.
Why did my cookies turn out cakey instead of fudgy?
This almost always comes from baking too long, since these cookies are meant to come out of the oven while the centers still look soft and slightly underbaked. The carryover heat on the tray finishes setting them without drying out the fudgy interior, so pull them a little earlier than you might expect.
Can I skip chilling the dough?
It’s not recommended, since chilling is what keeps the cookies thick and prevents them from spreading too thin in the oven. Skipping it usually results in flatter, less fudgy cookies with a cakier texture overall.
What other chocolate, caramel, or espresso treats pair well with this one?
Salted Caramel Espresso Cookies, Brown Butter Pistachio Chocolate Chunk Cookies, Double Chocolate Muffins, Classic Iced Latte, and Brown Butter Blondies all share similar chocolate, caramel, or espresso-forward techniques and make good options to try next.
Nutrition Facts
( Per Serving — 2 cookies )
Calories
~340 kcal
Protein
5 g
Fat
17 g
Carbs
44 g
Calories
~340 kcal
Protein
5 g
Fat
17 g
Carbs
44 g
Related Recipes
Related Recipes
-

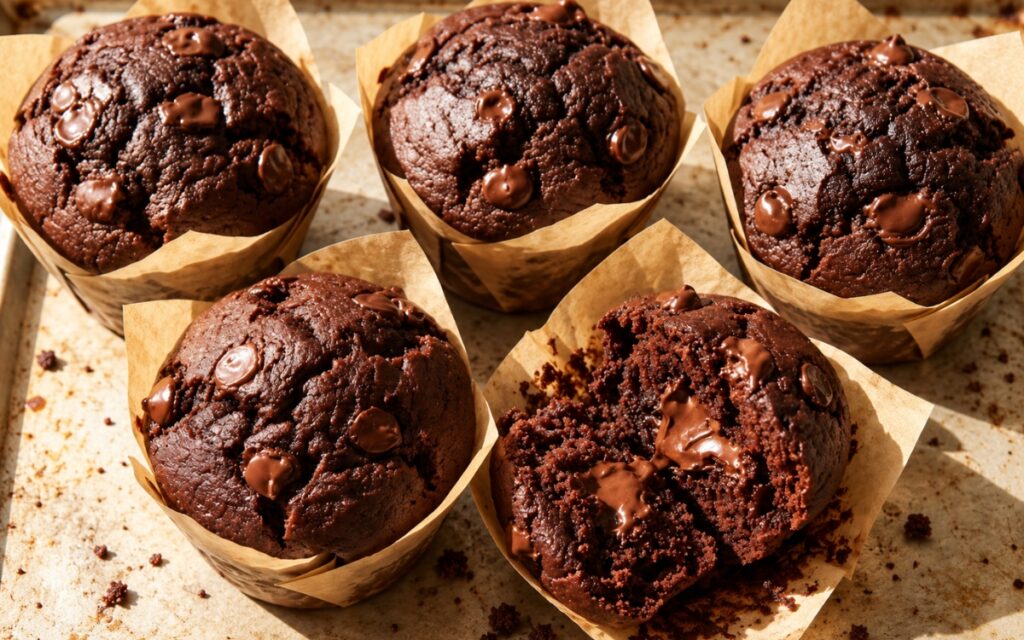
Double Chocolate Muffins
Bakery-style double chocolate muffins with tall domed tops and melted chocolate pockets.
-
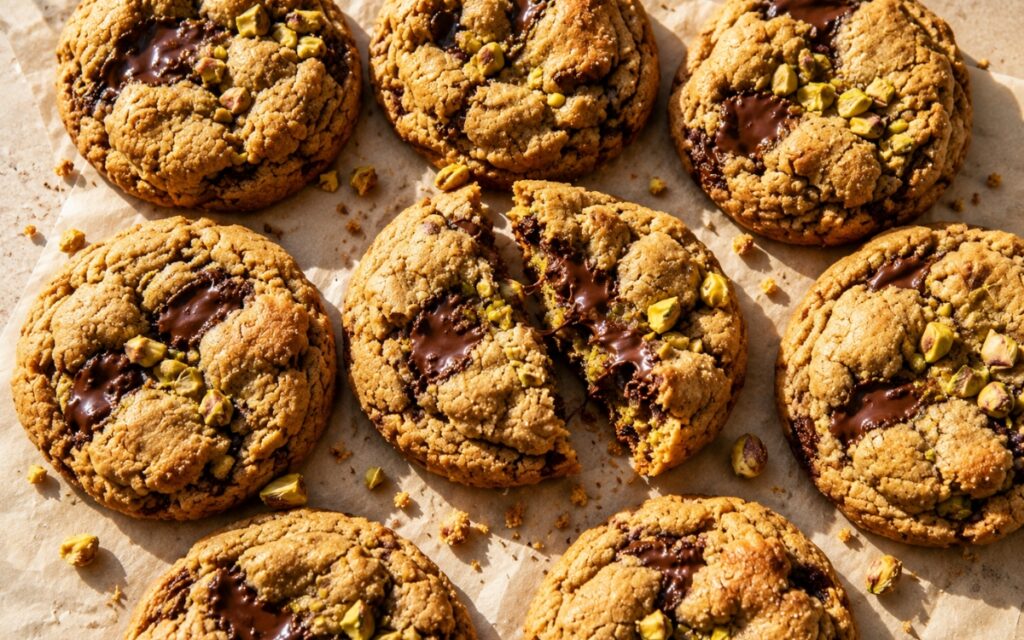
Brown Butter Pistachio Chocolate Chunk Cookies
Thick brown butter cookies with chopped pistachios and large melted dark chocolate chunks.
-
Cinnamon Roll Cookies
Buttery slice-and-bake cinnamon swirl cookies with a thin vanilla glaze.

You might also like
You might also like
-
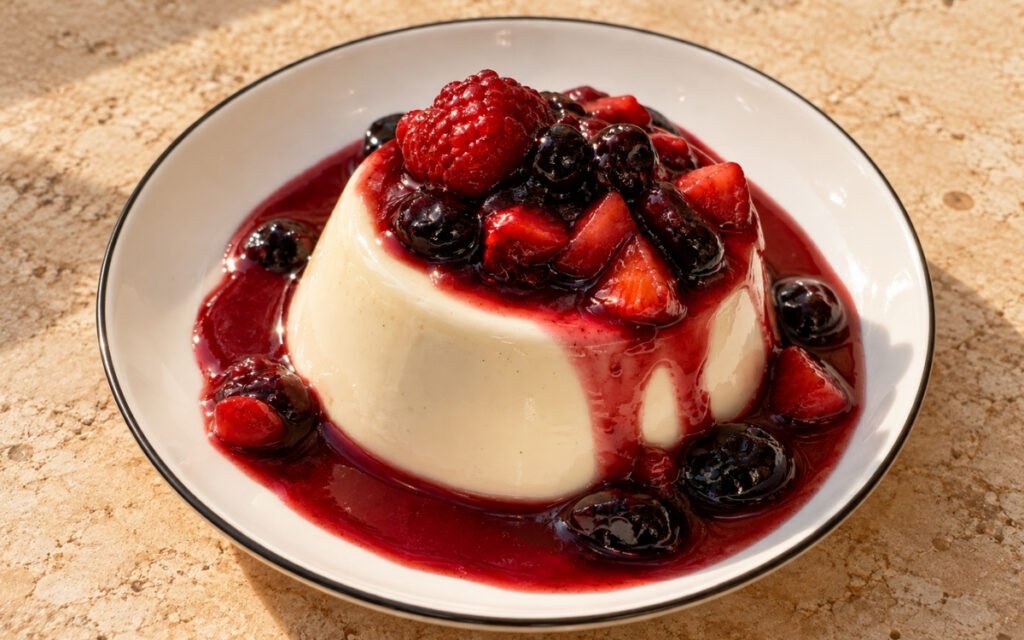
Panna Cotta
Delicately set cream, milk, sugar, vanilla and gelatin panna cotta, unmolded and topped with glossy berry sauce and macerated berries.
-
Lemon Crumble Muffins
Soft lemon muffins with a buttery crumble topping and a tart lemon curd center.
-
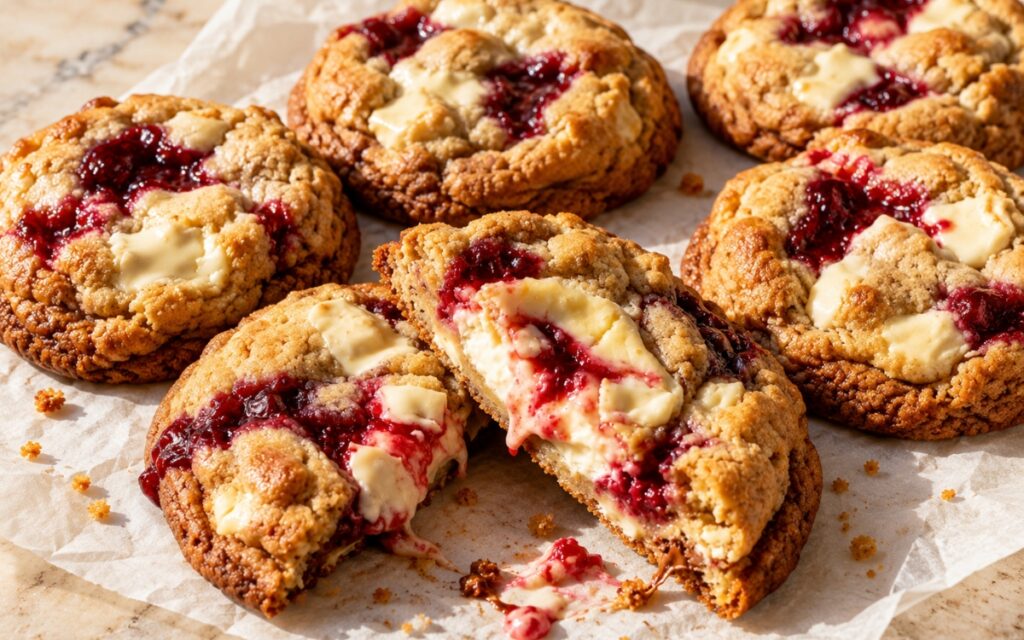
Raspberry White Chocolate Cheesecake Cookies
Soft bakery-style cookies stuffed with a creamy cheesecake center and jammy raspberry pockets.


Espresso Brownie Chocolate Chip Cookies
Ingredients
Method
- Dissolve the espresso powder in the hot water and let it cool slightly. Whisk together the flour, cocoa powder, cornstarch, baking powder, baking soda, and salt in a medium bowl until fully combined with no cocoa lumps remaining.
- Melt the butter in a saucepan or microwave just until fully melted, then let it cool for 5 to 7 minutes so it’s warm but not hot. Whisk the melted butter with the brown sugar and granulated sugar in a large bowl until smooth, glossy, and evenly combined — the mixture should look thick and shiny.
- Whisk in the eggs one at a time until fully incorporated and the mixture looks smoother and slightly thickened, then whisk in the vanilla and dissolved espresso, mixing until the batter is glossy and uniform. This step is what helps build the crinkled top and shiny surface once baked.
- Add the dry ingredients to the wet mixture and fold with a spatula just until no dry streaks remain. Don’t overmix once the flour goes in — the dough will be soft, thick, and sticky.
- Fold in the chocolate chips and chopped dark chocolate, distributing them evenly through the dough. The chopped chocolate matters here specifically for the melted chocolate pockets and glossy pools that chips alone don’t create.
- Portion the dough into 24 equal pieces, about 40–45 g each, and place them on a parchment-lined tray or plate. Chill for 1 hour, until firm enough to handle cleanly. Chilling is critical here — it keeps the cookies thick, helps develop their crinkled tops, and keeps the centers fudgy rather than letting them spread too thin.
- Heat the oven to 175°C conventional / 160°C fan and line baking sheets with parchment. Place the chilled dough portions on the trays with enough space between them, about 6 to 8 per tray, pressing a few extra chocolate chips or chunks onto the tops if you want a more pronounced chocolate look. Bake for 10 to 12 minutes, until the edges are set, the tops are cracked and slightly dry-looking, and the centers are still soft and slightly underbaked. Don’t wait for the centers to look fully done — the cookies should look puffed and soft in the middle when they come out.
- Let the cookies rest on the baking sheet for 10 minutes so the centers finish setting without overbaking. Sprinkle lightly with flaky salt while still warm, if using, then transfer to a rack to cool further. For the fudgiest texture, let them cool until just warm before serving.