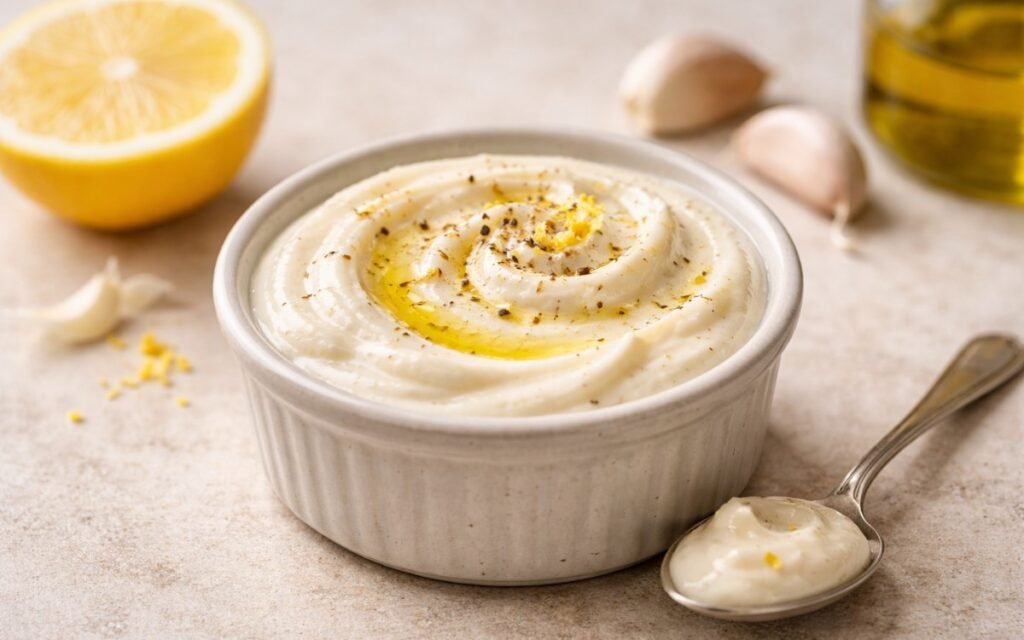
Classic Garlic Aioli (Weeknight Version)
Rich, garlicky, and utterly addictive, this quick aioli delivers authentic flavor without the fuss of traditional emulsion techniques. Using quality mayonnaise as the base, fresh garlic, lemon, and olive oil create a restaurant-worthy sauce in just 10 minutes that elevates everything from fries to seafood.
Prep Time : 10 min
Cook Time : 0 min
Servings : 4
10 min
0 min
4
Ingredients
Aioli Base
• 120g mayonnaise, preferably high-quality
• 15g garlic, minced or grated (about 4–5 cloves)
• 15ml fresh lemon juice
Finishing
• 15ml extra-virgin olive oil — this one on Amazon
• 2g Dijon mustard — this one on Amazon
• Salt to taste
• Freshly ground black pepper to taste
This post may contain affiliate links. As an Amazon Associate I earn from qualifying purchases, at no additional cost to you.
Directions
- Create the Garlic Base
Place the minced or grated garlic in a medium bowl and add the fresh lemon juice directly on top. Use a spoon to combine them briefly and then allow this mixture to rest for 2–3 minutes undisturbed. This short maceration period is important: the acid in the lemon juice begins to break down the sulfur compounds responsible for raw garlic’s harsh, sharp bite, mellowing it into something more rounded and complex without cooking. This step is what separates a refined, balanced aioli from one that tastes aggressively raw. For an even smoother result, grate the garlic on a fine Microplane rather than mincing it with a knife — grated garlic dissolves more completely into the sauce and distributes its flavor more evenly. - Build the Aioli
Add the mayonnaise and Dijon mustard to the garlic-lemon mixture. Using a whisk or a flexible silicone spatula, stir the ingredients together with slow, deliberate strokes until the mixture is completely smooth and uniform in color. The mayonnaise provides the emulsified fat base that gives aioli its characteristic thick, creamy body. Dijon mustard serves two purposes here: it adds a layer of savory, slightly sharp depth that mirrors the complexity of traditional aioli made from scratch, and it acts as an additional emulsifier that helps stabilize the finished sauce when the olive oil is added. The mixture should appear pale ivory, glossy, and completely lump-free at this stage. - Finish with Olive Oil and Season
Slowly drizzle the extra-virgin olive oil into the mayo-garlic mixture in a thin, steady stream while whisking continuously. This gradual incorporation is important — adding the oil too quickly can cause the aioli to break or appear greasy rather than silky. As the oil is whisked in, the sauce will deepen slightly in color and develop a more luxurious, glossy texture. Season with salt and freshly ground black pepper to taste, starting conservatively since the mayonnaise already contains salt. For the best flavor, transfer the finished aioli to a small container, cover, and refrigerate for at least 15–30 minutes before serving. This resting period allows the garlic to fully infuse the entire sauce and the flavors to meld into a cohesive, rounded result.
*Notes :
- The quality of the mayonnaise matters significantly in this recipe. Because the sauce contains so few ingredients, each one is highly perceptible. Use a high-quality, full-fat mayonnaise — one made with whole eggs rather than egg whites — for the richest, most balanced flavor. Reduced-fat mayonnaise contains stabilizers and added water that produce a thinner, less flavorful aioli.
- The amount of garlic in this recipe is intentionally generous, reflecting authentic aioli’s reputation as a boldly garlicky condiment. If you prefer a milder garlic flavor, reduce the quantity to 8–10g, or substitute roasted garlic. To make roasted garlic, wrap a full garlic head in foil and roast at 200°C for 35–40 minutes until the cloves are completely soft and golden. Squeeze out the roasted cloves and mash them into a paste before adding to the mayonnaise — this produces a sweeter, deeper garlic flavor with none of the raw sharpness.
- Olive oil quality is also important. The olive oil in this recipe is not cooked, so its raw flavor comes through directly in the finished sauce. Use a mild, fruity extra-virgin olive oil rather than an aggressively bitter or peppery one, which could overpower the garlic and lemon.
- The resting period in the refrigerator is perhaps the most important step many people skip. The garlic flavor actually intensifies over time as it continues to infuse the sauce — aioli made a few hours ahead or even the day before will taste noticeably more rounded and complex than aioli served immediately. Be aware of this when deciding on garlic quantity if you plan to make the sauce in advance.
Why This Recipe Works
This recipe works because it uses a quality mayonnaise base to bypass the most technically challenging part of traditional aioli — the scratch emulsion — while still delivering the full flavor experience. Traditional aioli requires slowly drizzling oil into egg yolks while whisking constantly to create a stable emulsion from scratch. This weeknight version skips that process entirely by starting with an already emulsified mayonnaise, making the recipe reliable, fast, and accessible without any sacrifice in flavor.
The brief maceration of garlic in lemon juice before combining with the other ingredients is the key technique that elevates this recipe above simple garlic mayonnaise. That short resting period meaningfully softens the raw garlic’s sharpness and creates a more sophisticated, rounded flavor that mimics the result of a much longer preparation.
Ingredient Breakdown
Mayonnaise
Provides the emulsified fat base that gives aioli its thick, creamy, clingy texture. High-quality full-fat mayonnaise made with whole eggs produces the most authentic result.
Fresh Garlic
The defining ingredient. Raw garlic provides bold, pungent flavor that mellows slightly when macerated in lemon juice. The quantity can be adjusted up or down to personal preference.
Fresh Lemon Juice
Provides bright acidity that lifts the richness of the mayonnaise and softens the sharpness of raw garlic through its acid content.
Dijon Mustard
Adds savory depth, a subtle sharpness, and acts as an additional emulsifier that helps stabilize the sauce when olive oil is incorporated.
Extra-Virgin Olive Oil
Adds the fruity, slightly grassy richness characteristic of authentic aioli and creates a more luxurious, silky texture when slowly incorporated.
Flavor Structure Explained
This aioli follows a layered balance model:
- Creamy fat base (mayonnaise)
- Dominant aromatic intensity (garlic)
- Bright acidity (lemon juice)
- Subtle sharp complexity (Dijon mustard)
- Depth and finish (olive oil)
Mayonnaise establishes the structural body, providing a neutral, rich canvas for stronger elements. Garlic defines the core identity with bold, persistent aromatics. Lemon juice cuts through the fat, sharpening perception and preventing heaviness. Dijon introduces a quiet layer of complexity and edge, enhancing rather than competing. Olive oil rounds out the profile, adding depth and a slightly bitter, fruity finish that elevates the sauce beyond standard garlic mayonnaise.
Common Mistakes to Avoid
- Skipping the Garlic Maceration Step – Adding garlic directly to the mayonnaise without first resting it in lemon juice produces a harsh, aggressively raw flavor. The two-minute rest makes a perceptible difference.
- Using Low-Quality Mayonnaise – Reduced-fat or lower-quality mayonnaise produces a thinner, less flavorful aioli. The mayonnaise is the primary ingredient — invest in quality here.
- Adding Olive Oil Too Quickly – Pouring the oil in all at once rather than drizzling it gradually can cause the sauce to appear greasy and separated rather than smooth and glossy.
- Serving Immediately Without Resting – The aioli tastes significantly better after 15–30 minutes in the refrigerator. This is the step most people skip and most clearly notice the difference when they don’t.
Variations
Roasted Garlic Aioli
Replace raw garlic with an equal amount of roasted garlic paste for a sweeter, more mellow flavor profile.
Smoked Paprika Aioli
Add half a teaspoon of sweet smoked paprika for a Spanish-inspired flavor that pairs perfectly with grilled meats and patatas bravas.
Herb Aioli
Fold in 10g finely chopped fresh parsley, chives, or basil for a fresh, green-flecked version.
Sriracha Aioli
Add 10g sriracha or your preferred chili sauce for a spicy variation perfect for burgers and fried foods.
Storage & Make-Ahead
Store in an airtight container in the refrigerator for up to 1 week. Note that the garlic flavor intensifies over time as it continues to infuse the sauce — an aioli made 24 hours ahead will taste significantly more garlicky than one made and served immediately. Account for this when deciding on garlic quantity. The sauce may separate slightly after extended storage; simply stir well before using to restore consistency.
Frequently Asked Questions
Can I make aioli without Dijon mustard?
Yes. The sauce will still taste good, but the Dijon adds both flavor depth and additional emulsification. You can substitute a tiny pinch of dry mustard powder if preferred.
My aioli tastes too garlicky — how do I fix it?
Add an additional tablespoon of lemon juice and a small pinch of salt, which can balance perceived garlic intensity. Allowing the sauce to rest for another 30 minutes may also help mellow the flavor.
What does aioli pair best with?
French fries, grilled fish and seafood, roasted vegetables, sandwiches, burgers, grilled asparagus, steamed artichokes, and crusty bread.
Can I use garlic powder instead of fresh garlic?
Fresh garlic is strongly recommended for the best flavor. If using garlic powder, start with 2g and adjust to taste — garlic powder has a different, more muted flavor profile than fresh.
Nutrition Facts
( per serving )
Calories
~115 kcal
Protein
1 g
Fat
12 g
Carbs
~2 g
Calories
~115 kcal
Protein
1 g
Fat
12 g
Carbs
~2 g
Related Recipes
Related Recipes

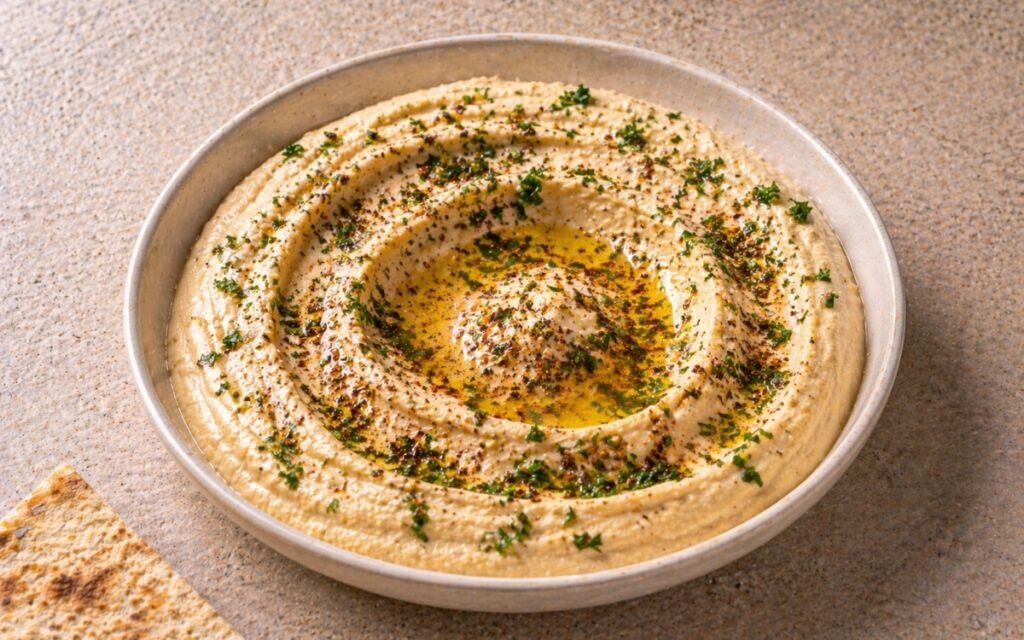
Roasted Garlic Hummus
Five garlic cloves roasted in foil until soft and golden, blended into the classic chickpea-tahini base — sweet, mellow, and deeply complex without a trace of raw garlic sharpness.
Spanish Alioli
Garlic ground completely smooth with salt — olive oil added drop by drop while grinding until thick, white, and soft-peaked. No egg yolk, no shortcuts. The traditional Catalan three-ingredient alioli.
Balsamic Dijon Dressing
Rich aged balsamic and sharp Dijon emulsify into a bold, timeless 5-minute dressing.
You might also like
You might also like
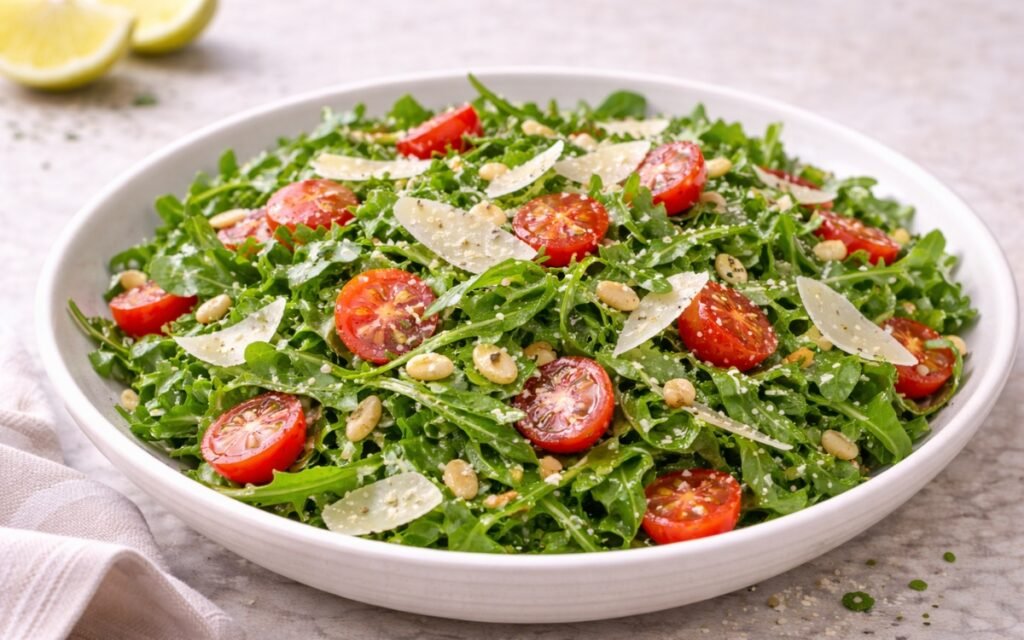
Simple Arugula Salad with Lemon Vinaigrette
Peppery arugula with lemon vinaigrette, cherry tomatoes, shaved Parmesan, and toasted pine nuts.
Passion Fruit Mint Spritzer Mocktail
Raw passion fruit with lime, honey, and cold-infused mint over club soda — intensely tropical.
Grapefruit Rosemary Infused Water
Grapefruit pulp pith-free and mashed, rosemary rolled lightly — grapefruit slices cold-infused in 3L water for 1–4 hours, removed. Clean-bitter, herbal, and grown-up.


Classic Garlic Aioli (Weeknight Version)
Ingredients
Method
- Place the minced or grated garlic in a medium bowl and add the fresh lemon juice directly on top. Use a spoon to combine them briefly and then allow this mixture to rest for 2–3 minutes undisturbed. This short maceration period is important: the acid in the lemon juice begins to break down the sulfur compounds responsible for raw garlic’s harsh, sharp bite, mellowing it into something more rounded and complex without cooking. This step is what separates a refined, balanced aioli from one that tastes aggressively raw. For an even smoother result, grate the garlic on a fine Microplane rather than mincing it with a knife — grated garlic dissolves more completely into the sauce and distributes its flavor more evenly.
- Add the mayonnaise and Dijon mustard to the garlic-lemon mixture. Using a whisk or a flexible silicone spatula, stir the ingredients together with slow, deliberate strokes until the mixture is completely smooth and uniform in color. The mayonnaise provides the emulsified fat base that gives aioli its characteristic thick, creamy body. Dijon mustard serves two purposes here: it adds a layer of savory, slightly sharp depth that mirrors the complexity of traditional aioli made from scratch, and it acts as an additional emulsifier that helps stabilize the finished sauce when the olive oil is added. The mixture should appear pale ivory, glossy, and completely lump-free at this stage.
- Slowly drizzle the extra-virgin olive oil into the mayo-garlic mixture in a thin, steady stream while whisking continuously. This gradual incorporation is important — adding the oil too quickly can cause the aioli to break or appear greasy rather than silky. As the oil is whisked in, the sauce will deepen slightly in color and develop a more luxurious, glossy texture. Season with salt and freshly ground black pepper to taste, starting conservatively since the mayonnaise already contains salt. For the best flavor, transfer the finished aioli to a small container, cover, and refrigerate for at least 15–30 minutes before serving. This resting period allows the garlic to fully infuse the entire sauce and the flavors to meld into a cohesive, rounded result.