
Espresso Tonic Mocktail
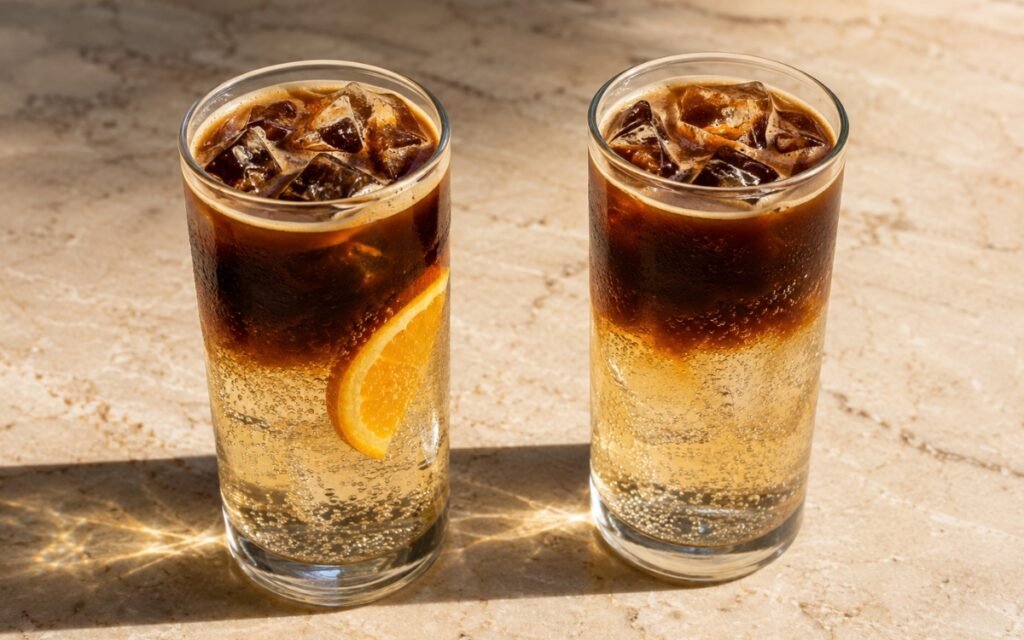
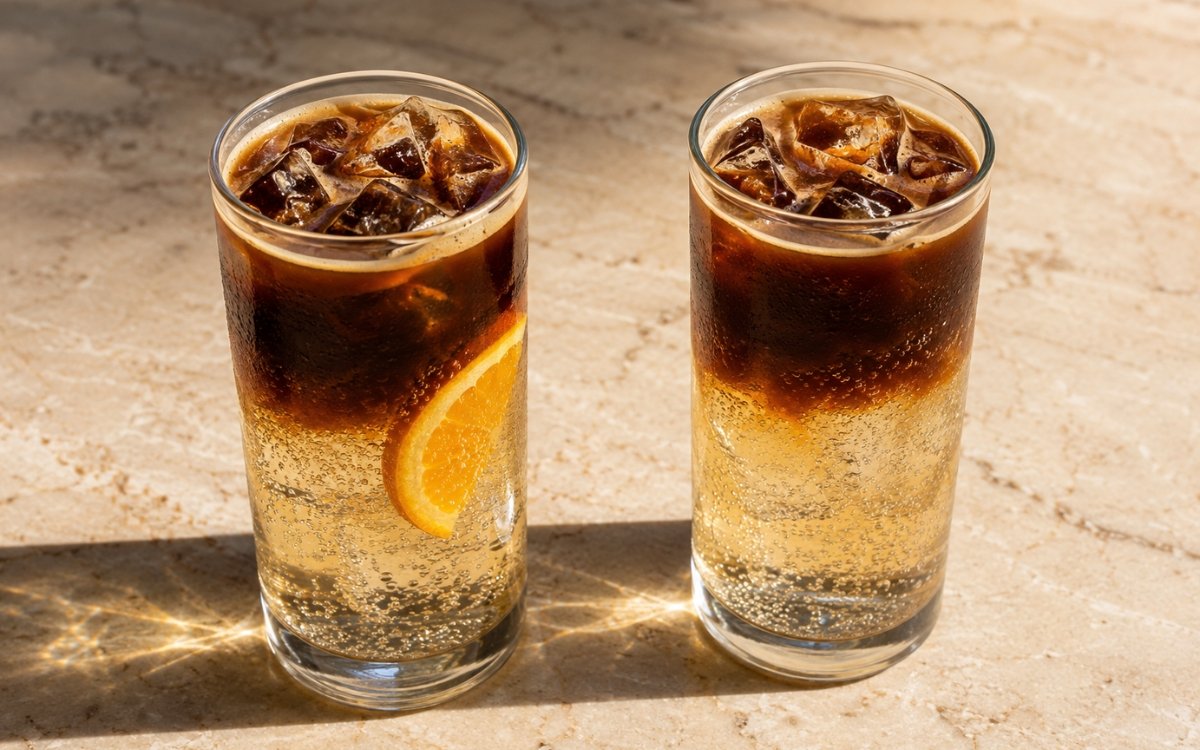
A crisp, ultra-minimal espresso tonic built with fresh espresso and high-quality tonic water. Bitter, bright, and shockingly refreshing — pure contrast with zero clutter. Cooling the espresso before it ever meets the tonic is the technique this whole drink depends on — hot espresso poured directly onto cold, carbonated tonic would shock and collapse those bubbles almost instantly, the same cool-before-combining principle used elsewhere in this collection whenever a carbonated component needs to stay lively rather than going flat on contact with heat. Pouring the tonic into the glass first, before the espresso ever arrives, is what protects its carbonation structure and keeps the dilution properly controlled. Layering the espresso in slowly, over the back of a spoon or down the glass wall, is what produces the drink’s genuine visual contrast rather than an immediately muddied, uniform mixture. The payoff is a drink with real structural drama — bright, effervescent tonic beneath a dark espresso layer that only partially integrates, staying sharply cold and fully sparkling right up until the moment it’s served.
Prep Time : 5 min
Cook Time : 0 min
Servings : 4
5 min
0 min
4
Ingredients
Espresso Tonic Base
• 120 ml freshly brewed espresso, cooled slightly
• 640–680 ml high-quality tonic water, fully chilled — this one on Amazon
To Serve
• Ice
• Orange peel or an orange slice
This post may contain affiliate links. As an Amazon Associate I earn from qualifying purchases, at no additional cost to you.
Directions
- Brew and Cool the Espresso
Prepare 120ml of fresh espresso using high-quality beans and properly dialed grind size. Allow the espresso to cool to room temperature or slightly warm — never hot. Cooling preserves carbonation later and prevents the drink from tasting flat or overly bitter. For faster cooling, transfer the espresso to a shallow container or stir gently to release heat. A shallow container gives the espresso considerably more surface area exposed to the air than a deep, narrow cup would, which is what allows heat to dissipate quickly without needing to wait for it to cool passively over a longer stretch of time. - Prepare the Glasses or Pitcher
Fill a large pitcher or individual glasses generously with ice. Cold dilution is essential here — espresso tonic relies on temperature contrast and rapid chilling to achieve its clean, refreshing profile. Using insufficient ice results in a warm, aggressive drink with muted aromatics. Generous ice does more than simply chill the drink; it also provides the immediate, sustained cold that keeps the tonic’s carbonation intact once it’s poured, since warmer liquid loses dissolved carbon dioxide considerably faster than properly cold liquid does. - Add the Tonic First
Pour the fully chilled tonic water into the ice-filled pitcher or glasses. Adding tonic first preserves carbonation structure and ensures proper dilution control. High-quality tonic should appear lively and effervescent with tight bubbles. Building the tonic’s own carbonated structure in the glass before anything else is added means it has a genuine, undisturbed baseline to work from — introducing the espresso at this early stage instead would risk disrupting that structure before it’s even had a chance to settle. - Layer the Espresso
Slowly pour the cooled espresso over the back of a spoon or down the inside wall of the glass so it gently floats and partially layers over the tonic. This technique creates visual contrast and prevents immediate collapse of carbonation. A spoon or the glass’s own inside wall breaks the espresso’s fall into a slow, gentle trickle rather than a direct drop — that gentler entry is what lets it settle and float as a visibly distinct layer rather than crashing through the tonic and disturbing its carbonation on contact. - Light Integration and Serve
Give one very gentle stir only if desired — just enough to slightly combine the liquids while maintaining bubble structure. Garnish with orange peel or a slice and serve immediately while sharply cold and fully sparkling. This is a genuinely light touch, not a full mixing stir — the goal is only to soften the sharp line between the two layers slightly, while leaving the tonic’s carbonation as intact as possible for serving.
*Notes :
- Cooling the espresso before it ever meets the tonic deserves to be understood as the foundational technical requirement this entire drink depends on. Hot liquid poured directly onto cold, carbonated tonic causes that dissolved carbon dioxide to release rapidly and violently, essentially flattening the drink’s effervescence on contact. The brief cooling step — whether achieved through a shallow container or gentle stirring — protects the tonic’s sparkle by ensuring the espresso arrives at a temperature that won’t shock it.
- The specific order of assembly — tonic first, into the ice-filled glass, with espresso added only afterward — is worth treating as a deliberate sequence rather than an arbitrary preference. Building the tonic’s carbonated structure first, undisturbed, gives it a genuine baseline to hold before anything else is introduced. Reversing that order and adding espresso to an empty glass first would offer no such protection, and the tonic poured on top afterward would have far less opportunity to establish and maintain its own lively fizz.
- The technique of layering the espresso in slowly, over a spoon or down the glass wall, reflects the same principle used for visually layered drinks throughout this collection, adapted here specifically to protect carbonation rather than simply create a colour gradient. A direct, forceful pour would disturb the tonic’s bubbles considerably more than a slow, gentle trickle along a surface — the visual float this technique produces is a genuine byproduct of protecting the drink’s structure, not simply a presentation trick.
- The explicit instruction against over-stirring is worth respecting as a real constraint on how this drink is finished, not a minor stylistic note. Vigorous stirring, even after the espresso has already been gently layered in, works directly against everything the earlier steps protected — it’s specifically flagged in this recipe as the difference between a properly structured spritz-style drink and something that collapses into diluted iced coffee instead.
Why This Recipe Works
This recipe works because the espresso is cooled before it ever meets the tonic, protecting that tonic’s carbonation from the shock hot liquid would otherwise cause. Building the tonic’s own effervescent structure first, in the ice-filled glass, before the espresso is even introduced, gives it a genuine chance to establish itself undisturbed.
Layering the espresso in gently, over a spoon or glass wall rather than pouring directly, preserves both the visual contrast and the tonic’s bubbles, and stopping at only a very light integration rather than a full stir keeps the drink structured like a proper spritz rather than collapsing into flat, diluted iced coffee.
Ingredient Breakdown
High-Quality, Bright Espresso
The drink’s bitter, coffee-forward centre — chosen for natural brightness rather than an overly dark, smoky roast that would overwhelm the minimal structure.
Cooled (Not Hot) Espresso
The critical temperature control — prevents the tonic’s carbonation from being shocked and collapsed on contact.
Premium, Fully Chilled Tonic Water
The drink’s effervescent foundation — its clean quinine bitterness and fine carbonation are what actually structure the whole drink.
Generous Ice
The chilling mechanism — sustains the cold temperature needed to keep dissolved carbonation intact throughout serving.
Gently Layered Espresso Pour
The finishing technique — a slow, controlled pour that produces visual contrast while protecting the tonic’s bubbles from disruption.
Flavor Structure Explained
This espresso tonic follows a layered balance model:
- Bright effervescent foundation (chilled tonic water)
- Bold bitter contrast (fresh espresso)
- Cool refreshing structure (ice)
- Light aromatic lift (orange peel or slice)
Chilled, high-quality tonic water provides the drink’s bright, effervescent foundation, its clean quinine bitterness and fine carbonation carrying most of the drink’s structure. Fresh espresso, layered gently on top, contributes bold, coffee-forward bitterness in direct contrast against the tonic’s sparkle. Generous ice keeps the whole drink properly cold and refreshing throughout. A final touch of orange peel or a slice adds aromatic lift without introducing any real juice or sweetness, unless that’s deliberately intended.
Common Mistakes to Avoid
- Pouring Hot Espresso Directly Into the Tonic – This shocks and collapses the carbonation almost instantly. Always cool the espresso first.
- Adding the Espresso Before the Tonic – This gives the tonic no chance to establish its own undisturbed effervescent structure first. Always pour the tonic into the ice-filled glass first.
- Pouring the Espresso Directly Instead of Layering It Gently – This disturbs the tonic’s bubbles and loses the drink’s visual contrast. Always pour slowly over a spoon or down the glass wall.
- Over-Stirring the Finished Drink – This destroys the carbonation and turns the drink into diluted iced coffee rather than a structured spritz. Always stir only very gently, if at all.
- Using Low-Quality Tonic Water – This introduces a harsher or flatter bitterness that competes with rather than supports the espresso. Always use a premium tonic.
Variations
Citrus-Forward Version
Add a small squeeze of orange juice for those who want to intentionally shift the flavour profile toward something sweeter and more citrus-forward.
Extra-Bold Version
Use a slightly darker or more intense espresso for a stronger bitter contrast against the tonic, being mindful of the risk of harsh, smoky notes.
Lemon Peel Version
Substitute a lemon peel twist for the orange for a sharper, more classically bittersweet citrus note.
Larger Batch Pitcher Version
Scale the recipe up proportionally and build it directly in a large pitcher over ice for easy serving at a gathering, pouring individual glasses immediately after assembly.
Storage & Make-Ahead
This drink has no meaningful make-ahead component; both the tonic’s carbonation and the drink’s overall structure degrade quickly once assembled.
Espresso can be brewed and cooled slightly in advance of serving, but should not be prepared far ahead, since its flavour and aroma fade as it sits.
Tonic water should be kept sealed and refrigerated until the moment of use to preserve its carbonation.
Frequently Asked Questions
Why does the espresso need to be cooled before it’s added to the tonic?
Hot liquid poured directly onto cold, carbonated tonic causes the dissolved carbon dioxide to release rapidly, essentially flattening the drink’s effervescence on contact. Cooling the espresso first protects the tonic’s sparkle from that shock.
Why does the tonic go into the glass before the espresso, rather than the other way around?
Building the tonic’s carbonated structure first, undisturbed, gives it a genuine baseline to hold before anything else is introduced. Adding espresso to an empty glass first offers the tonic no such protection once it’s poured in afterward.
Why is the espresso layered in slowly instead of just poured in normally?
A slow pour over the back of a spoon or down the glass wall disturbs the tonic’s bubbles far less than a direct, forceful pour would. This gentle technique is what produces both the drink’s visual float and its preserved carbonation.
Why shouldn’t the finished drink be stirred thoroughly?
Vigorous stirring destroys the tonic’s carbonation, turning the drink into something closer to diluted iced coffee rather than a properly structured, effervescent spritz-style drink. Only a very light, optional stir is recommended.
Are there other minimalist or espresso-forward iced drinks worth trying?
Iced Americano with Lemon, Freddo Espresso, Iced Cortado, and Classic Iced Latte all build on a similarly clean, technique-focused espresso foundation, each taking that base in a different direction worth exploring.
Nutrition Facts
( per ~200 ml serving )
Calories
~50 kcal
Protein
0 g
Fat
0 g
Carbs
~12 g
Calories
~50 kcal
Protein
0 g
Fat
0 g
Carbs
~12 g
Related Recipes
Related Recipes

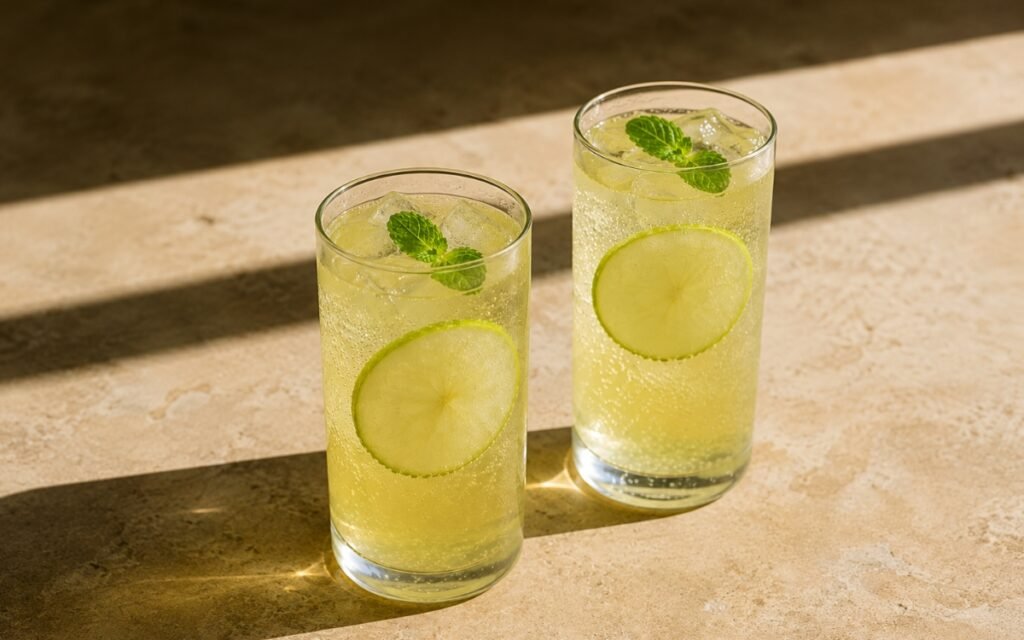
Green Apple Ginger Mint Fizz Mocktail
Skin-on green apples pressed with lime, raw ginger cold-infused in honey — topped with club soda. Sharp, pale green, and crisp.
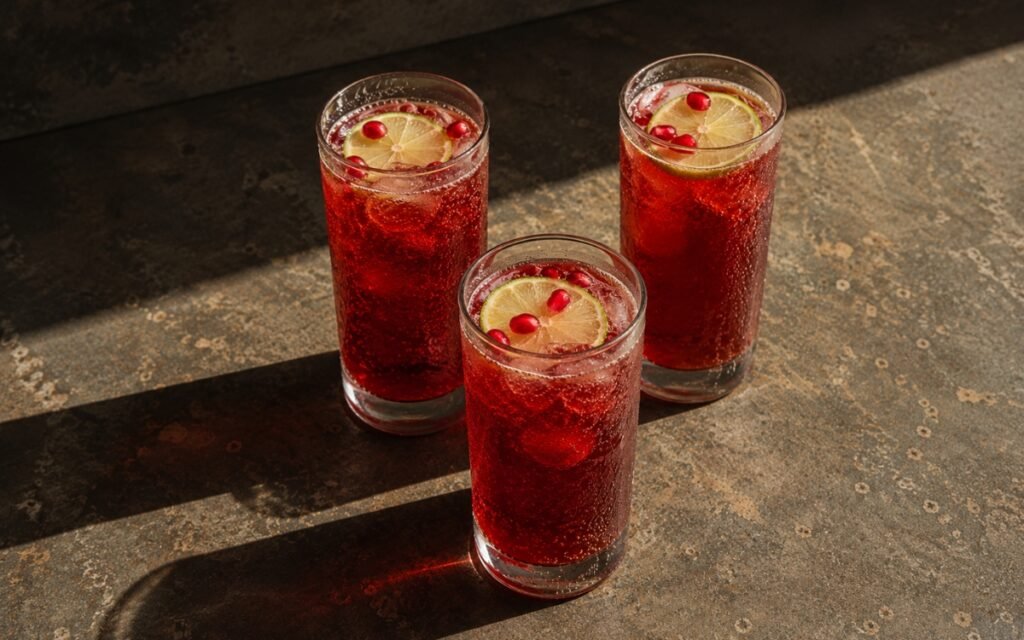
Pomegranate Ginger Sparkler Mocktail
Deep ruby pomegranate and rounded ginger warmth with lime over club soda — tart and dramatic.
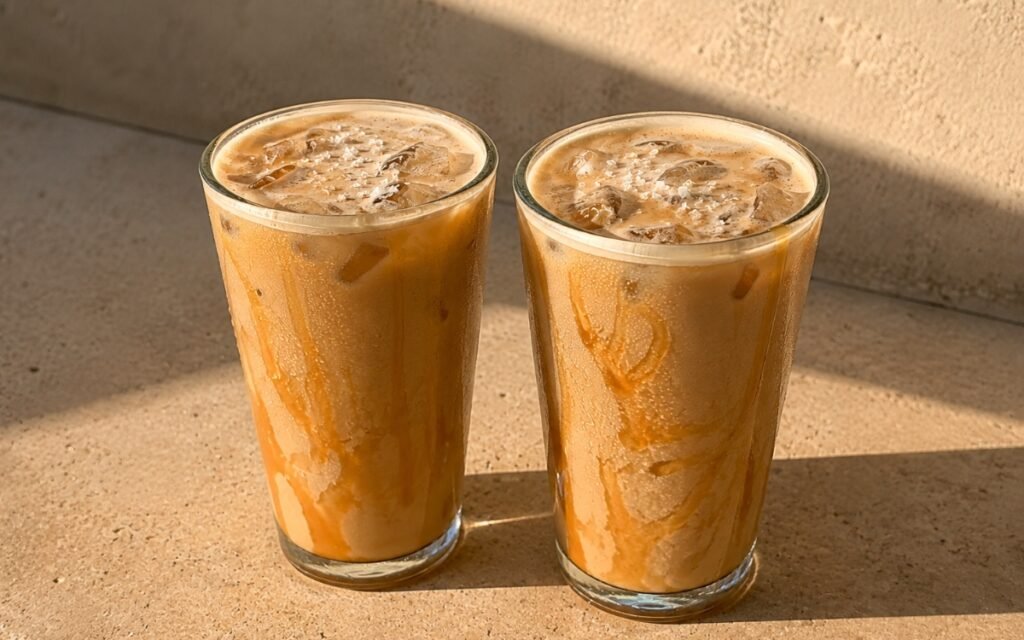
Salted Caramel Iced Latte
Genuine deep amber caramel sauce integrated into hot espresso, layered with cold milk and ice, finished with flaky sea salt.
You might also like
You might also like
Yuzu Lemonade
Cold-extracted lemon zest and juice combined with yuzu juice and gently added sparkling water for a bright, lightly effervescent lemonade.
Cucumber Basil Lemonade
Cold-extracted lemon zest and juice combined with strained cucumber juice and a gentle cold basil infusion for a clean, pale green, garden-fresh lemonade.
Strawberry Basil Pitcher Drink
Cold-macerated strawberries with a gentle basil extraction, fresh lemon juice, and a second infusion of sliced strawberries and basil.
Espresso Tonic Mocktail
Ingredients
Method
- Prepare 120ml of fresh espresso using high-quality beans and properly dialed grind size. Allow the espresso to cool to room temperature or slightly warm — never hot. Cooling preserves carbonation later and prevents the drink from tasting flat or overly bitter. For faster cooling, transfer the espresso to a shallow container or stir gently to release heat. A shallow container gives the espresso considerably more surface area exposed to the air than a deep, narrow cup would, which is what allows heat to dissipate quickly without needing to wait for it to cool passively over a longer stretch of time.
- Fill a large pitcher or individual glasses generously with ice. Cold dilution is essential here — espresso tonic relies on temperature contrast and rapid chilling to achieve its clean, refreshing profile. Using insufficient ice results in a warm, aggressive drink with muted aromatics. Generous ice does more than simply chill the drink; it also provides the immediate, sustained cold that keeps the tonic’s carbonation intact once it’s poured, since warmer liquid loses dissolved carbon dioxide considerably faster than properly cold liquid does.
- Pour the fully chilled tonic water into the ice-filled pitcher or glasses. Adding tonic first preserves carbonation structure and ensures proper dilution control. High-quality tonic should appear lively and effervescent with tight bubbles. Building the tonic’s own carbonated structure in the glass before anything else is added means it has a genuine, undisturbed baseline to work from — introducing the espresso at this early stage instead would risk disrupting that structure before it’s even had a chance to settle.
- Slowly pour the cooled espresso over the back of a spoon or down the inside wall of the glass so it gently floats and partially layers over the tonic. This technique creates visual contrast and prevents immediate collapse of carbonation. A spoon or the glass’s own inside wall breaks the espresso’s fall into a slow, gentle trickle rather than a direct drop — that gentler entry is what lets it settle and float as a visibly distinct layer rather than crashing through the tonic and disturbing its carbonation on contact.
- Give one very gentle stir only if desired — just enough to slightly combine the liquids while maintaining bubble structure. Garnish with orange peel or a slice and serve immediately while sharply cold and fully sparkling. This is a genuinely light touch, not a full mixing stir — the goal is only to soften the sharp line between the two layers slightly, while leaving the tonic’s carbonation as intact as possible for serving.