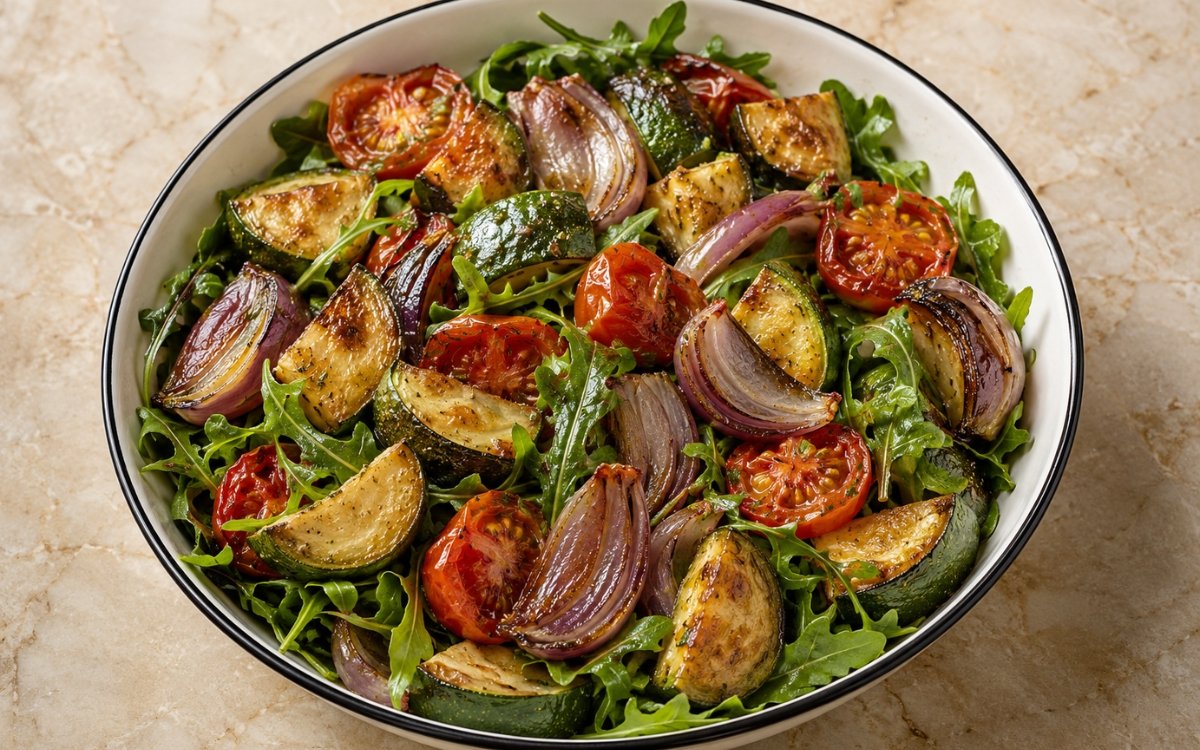
Ingredients
Method
Prepare the Oven and Baking Tray
- Preheat the oven to 220°C / 425°F and give it the full preheat, since the vegetables need strong heat from the moment they go in. Line a large baking sheet with parchment paper to prevent sticking and help the vegetables release cleanly when turned. Choose the largest tray that fits your oven, because all of the vegetables must lie flat in a single layer with a little space around each piece. If one tray cannot hold them without stacking, line a second tray now rather than squeezing everything onto one. That tray size is what decides whether the vegetables roast or steam — overcrowding traps the moisture they release, and trapped moisture prevents caramelisation entirely.
Cut the Vegetables
- Wash all the vegetables and pat them thoroughly dry, since surface water slows browning in the oven. Cut the 2 zucchini into 2cm chunks, keeping the pieces as even as possible. Remove the seeds and pale inner membranes from the red and yellow bell peppers and cut them into 2cm squares. Halve the 200g of cherry tomatoes and cut the small red onion into wedges about the same size as the other pieces, keeping a little of the root end on each wedge so the layers hold together. That uniform 2cm size is what lets every vegetable turn tender and brown in the same 25 minutes, with no small pieces burning while larger ones stay firm.
Season and Arrange the Vegetables
- Place the cut vegetables in a large mixing bowl, drizzle with 2 tablespoons of the olive oil and season with salt and black pepper. Toss thoroughly with your hands or a large spoon until every piece carries a light, even coating of oil and seasoning. Spread the vegetables across the prepared baking sheet in a single layer, cut sides of the tomatoes facing up, making sure nothing is stacked on top of anything else. If you are using two trays, divide the vegetables evenly between them. That light, even coating of oil is what conducts the oven’s heat into every surface and lets the edges caramelise rather than dry out.
Roast the Vegetables
- Place the tray in the preheated oven and roast for 25 minutes. About halfway through, at roughly 12 minutes, use a spatula to turn the vegetables gently so they brown on more than one side; if you are using two trays, swap their shelf positions and rotate them front to back at the same time. The vegetables are ready when the zucchini is tender when pierced with a knife, the peppers and onion show lightly browned edges and the tomatoes have slightly blistered and softened. If the edges are still pale at 25 minutes, the tray was most likely too crowded. That halfway turn is what exposes a second face of each piece to the hot tray, giving even colour instead of one browned side and one pale side.
Make the Lemon Dressing
- While the vegetables roast, combine the remaining 1 tablespoon of olive oil, the 2 tablespoons of lemon juice, the 1 teaspoon of Dijon mustard and the minced garlic in a small bowl. Whisk vigorously for 20–30 seconds until the dressing turns smooth, slightly thickened and lightly emulsified. Taste and season with salt and black pepper, adjusting a little at a time. The dressing should taste bright, distinctly tangy and lightly garlicky. If it separates while standing, whisk it again just before using. That Dijon mustard is what holds the lemon juice and olive oil together long enough to coat the salad evenly instead of pooling at the bottom of the platter.
Prepare the Arugula Base
- Rinse the 120g of baby arugula under cold water and dry it thoroughly in a salad spinner or with a clean towel, since water left on the leaves dilutes the dressing and makes them limp under the warm vegetables. Spread the arugula evenly across a large serving platter or wide, shallow bowl so it forms a broad, even bed rather than a deep mound. That wide, shallow bed is what lets the warm vegetables sit in a single layer over the greens, so the heat softens only the leaves they touch rather than steaming the whole pile.
Assemble, Dress and Serve
- Once the vegetables are fully roasted, remove the tray from the oven and let them cool for 2–3 minutes. Spoon the warm vegetables evenly over the bed of arugula, letting the heat lightly soften the greens without wilting them completely. Scatter the 2 tablespoons of torn basil across the salad, then drizzle the lemon dressing evenly over everything. Serve immediately, while the vegetables are still warm and the arugula keeps its crisp, peppery texture. That brief cooling time is what takes the sharpest heat off the tray, so the vegetables are warm enough to soften the arugula slightly but no longer hot enough to collapse it.
Notes
Roasting in a single, uncrowded layer at 220°C deserves genuine recognition as the technique most directly responsible for whether this salad tastes sweet and caramelised or flat and watery. Zucchini, peppers and tomatoes all release a surprising amount of moisture in the oven — with space around each piece that water evaporates quickly and the surfaces brown, but on a crowded tray it collects and the vegetables simply stew.
Cutting every vegetable to an even 2cm size deserves the same attention as the oven temperature, because the two work together to set the finished texture. Zucchini softens quickly, peppers take a little longer and onion wedges need the most time to turn sweet, so matching their size is the only way all of them arrive tender, browned and still holding their shape in the same 25 minutes.
The 2–3 minute cool before assembly deserves genuine respect as the detail most directly responsible for how the arugula behaves under the vegetables. Straight from a 220°C oven, the vegetables carry enough heat to collapse the leaves into a dark, soggy layer, while a brief pause leaves them warm enough to soften the greens gently and keep most of their peppery crunch.
The lightly emulsified lemon dressing deserves attention as a genuine, checkable sign of readiness rather than a loose approximation of whisking. With 2 tablespoons of lemon juice to only 1 tablespoon of oil, the dressing is deliberately sharp, and the Dijon mustard is what holds that lean ratio together — if it still looks thin and separated, keep whisking until it turns slightly opaque and smooth.