Ingredients
Method
Prepare the Dried Chilies
- If using whole dried red chilies, break them open and shake out the seeds to remove most of them — this moderates the heat level similarly to deseeding a fresh jalapeño. The dried flesh and skin contribute the complex, fruity, slightly smoky depth of the dried chili without the concentrated seed capsaicin making the sauce aggressively hot. Tear or roughly break the deseeded dried chilies into smaller pieces — approximately 2–3cm — so the food processor can work them down evenly during blending. If using chili flakes, they can be added directly without any preparation. The choice between whole dried chilies and flakes is primarily a matter of what is available. Whole dried chilies — ancho, guajillo, New Mexico, or any mild-to-medium dried red chili — produce a more complex, fruitier, deeper heat with specific aromatic characteristics that flakes lack. Chili flakes are more consistent in heat level and widely available, producing a clean, direct heat without the specific character of a particular dried chili variety. Both are entirely valid.
Prepare the Remaining Ingredients
- Smash the three garlic cloves with the flat side of a knife — a firm press that opens each clove without fully flattening it. Smashing produces even garlic distribution during processing without the sharp, concentrated pockets that whole cloves can leave. Wash the cilantro bunch under cold running water and shake dry. The stems are included — the thin upper stems of cilantro hold the same aromatic compounds as the leaves and contribute herb intensity rather than texture in a blended sauce. Only the very lowest, thickest hollow base stems should be discarded. Zest the half lime before juicing it, taking only the outermost coloured layer and avoiding the white pith. Juice the same half lime after zesting.
Process in Controlled Pulses
- Add all the ingredients to the food processor in the following order: the prepared dried chili pieces or flakes, the smashed garlic cloves, the cilantro with stems, the ground cumin, the ground coriander, the lime juice, the lime zest, and the olive oil. Begin processing using the pulse technique — 5 seconds on, 2 seconds off, repeating the cycle. The pulse approach is the defining technique decision for both zhoug versions. Continuous blending at high speed produces a smooth, uniform paste that loses the coarse, rustic texture that gives zhoug its character and the slight visual distinction between herb pieces, chili, and oil that makes it recognisable. Pulsing gives you control over the stopping point — assess the texture after every 2–3 pulse cycles and stop when the sauce is smooth overall but still has visible small pieces of cilantro and chili distributed throughout. The red zhoug's texture should be slightly looser and finer than the green version because the dried chili breaks down more completely than fresh jalapeño — the result is a sauce that looks more like a thick, herb-flecked paste than the coarser green version. After approximately 6–8 pulse cycles, check the consistency. If the processor is struggling to move the mixture evenly, add additional olive oil one tablespoon at a time and pulse briefly after each addition until the sauce moves fluidly.
Taste and Calibrate — With Time in Mind
- Stop the processor and taste carefully, keeping the heat development characteristic specifically in mind. Evaluate acidity, salt, and heat separately. Acidity: if the sauce tastes heavy or the citrus brightness is absent, add an additional small squeeze of lime juice. Salt: if the sauce tastes flat despite having all ingredients, add salt in small pinches, processing briefly between additions. Heat: if the chili warmth is not yet present, this may simply mean the capsaicin has not yet fully migrated into the olive oil — before adding more chili, allow the sauce to rest for 5 minutes and taste again. If after resting it still seems too mild, add a small additional amount of chili flakes — ¼ tsp at a time — and pulse briefly. Earthiness: the cumin's warm, earthy depth deepens significantly in the olive oil over the first 15–30 minutes after making, just as it does with the green version. Do not adjust the cumin immediately after blending — wait and taste again before the sauce is served.
Rest Before Serving
- Transfer the blended red zhoug to a serving bowl or storage jar and allow it to rest for a minimum of 15–30 minutes before serving. This resting period is more important for red zhoug than for the green version specifically because of the dried chili's progressive heat release into the olive oil. A sauce tasted and calibrated at zero minutes and then served at 30 minutes may be significantly hotter than expected — always allow the rest and taste one final time immediately before serving to confirm the heat level is at the right point. During the rest the cumin also blooms further into the oil, the garlic's sharpness mellows slightly, and all the flavour components begin to integrate into a more cohesive, unified sauce.
Serve
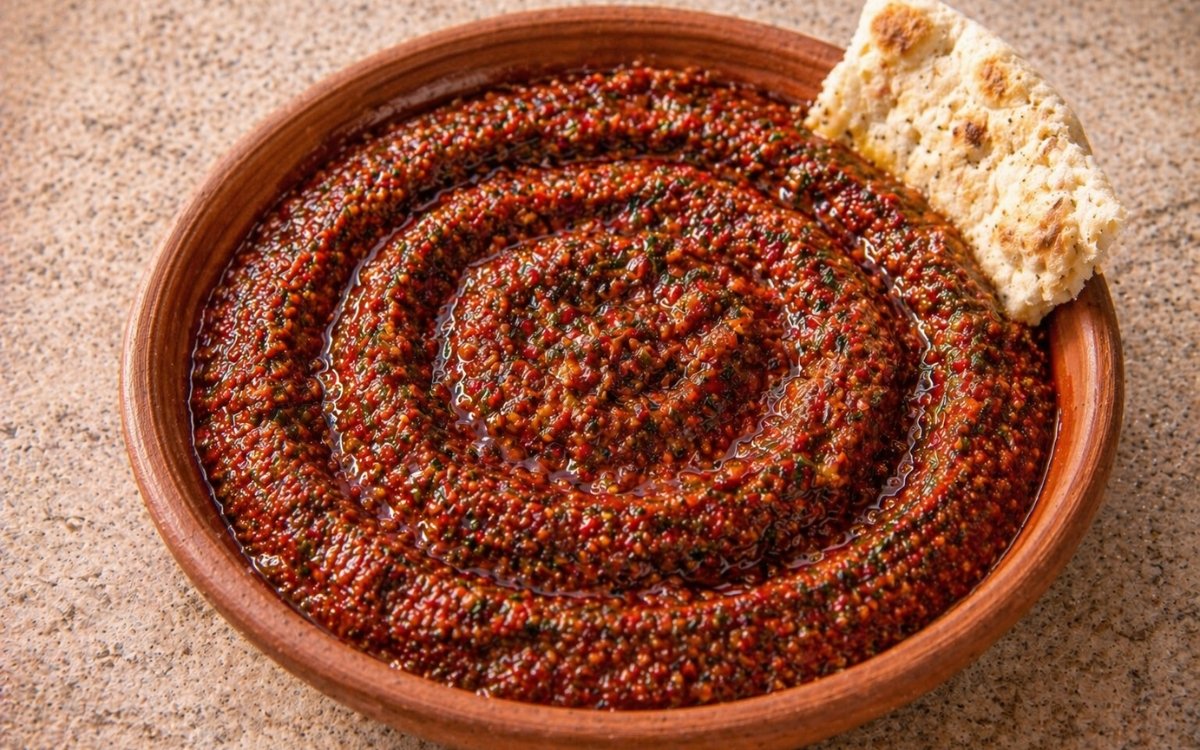
- Transfer to a small serving bowl or pour into a small jar for table service. Red zhoug does not need garnish — its deep brick-red to dark reddish-brown colour with flecks of green cilantro visible throughout is its visual identity and requires no addition. Serve alongside warm Homemade Lavash or Fresh Pita Flatbread, drizzle over Classic Hummus or Authentic Labneh, or spoon alongside any grilled protein.
Notes
Red zhoug is less widely known outside its region of origin than the green version — in most international contexts, green zhoug is the version that has achieved wider recognition. Within Yemeni cooking however, both versions are foundational table condiments with equal standing, each suited to different occasions and different dishes based on their flavour profiles rather than one being simply a variation of the other. The two are genuinely distinct preparations with different techniques, different primary ingredients, and different flavour characters — the name is the shared element, not the recipe.
Red zhoug's heat evolves over time in a way that green zhoug's does not. Dried chilies and chili flakes release their capsaicin gradually into the olive oil over the first 20–30 minutes after blending — a sauce that tastes moderately spiced immediately after making can be noticeably hotter 30 minutes later. This is not a flaw but a characteristic of oil-extracted dried chili heat: the capsaicin is fat-soluble and migrates into the olive oil progressively after processing. Always season for heat conservatively at the tasting step and allow the sauce to rest before final assessment. Adding dried chili to reach the desired heat level immediately will almost certainly produce an overly hot sauce by the time it is served.
The choice of dried chili variety, if using whole dried chilies rather than flakes, has a significant impact on the finished sauce's specific character. Guajillo chilies produce a fruity, slightly tangy heat with a characteristic earthy depth. Ancho chilies produce a darker, more chocolatey, sweeter heat with mild spice. New Mexico or California chilies produce a clean, moderate heat with a bright red colour. Any mild-to-medium dried red chili produces an excellent red zhoug — the variety chosen simply shifts the specific aromatic character in different directions within the same framework.
The olive oil is a more prominent flavour presence in red zhoug than in the green version because the dried chilies and ground spices are less vivid in flavour than the fresh herbs and jalapeños that dominate green zhoug. Use the best quality extra-virgin olive oil available for this recipe — its fruity, slightly peppery character contributes noticeably to the finished sauce's depth.