Ingredients
Method
Rinse the Rice
- Place the 450g of Japanese short-grain rice in a large bowl, cover with cold water, swirl with your hand and drain, then repeat 3–5 times, until the water runs mostly clear rather than milky. Drain well in a fine sieve for about 5 minutes so the grains do not carry extra water into the pot. Use Japanese short-grain rice only, because jasmine, basmati, and other long-grain rice lack the starch needed to cling together. That patient rinsing is what removes loose surface starch, so the cooked grains stay genuinely distinct yet tender instead of gluey.
Cook and Rest the Rice
- Cook the rinsed rice with about 540ml water in a covered heavy saucepan, using the correct water amount for Japanese short-grain rice: bring to a boil, then reduce to the lowest heat and simmer, covered, for 12–15 minutes, until the water is fully absorbed. Leave the pot covered and undisturbed for 10 minutes, then fluff gently with a rice paddle, cutting through the rice rather than stirring. Keep the rice plain, not seasoned like sushi rice, and covered until shaping. That covered rest is what lets the steam redistribute so every grain turns evenly tender and sticky, not wet on top and firm at the bottom.
Cook the Salmon
- While the rice cooks, heat the oven to 200°C / 400°F, line a small tray with baking paper, and rub the 250–300g salmon fillet all over with the 1 tsp salt. Bake for 12–14 minutes, until the flesh turns opaque and flakes easily with a fork, reaching 63°C in the thickest part; grilling or pan-searing for 3–4 minutes per side works equally well. Let the salmon cool for about 5 minutes, until it can be handled comfortably. That short cooling is what lets the flesh firm up so it flakes cleanly instead of smearing into the rice.
Flake the Filling
- Remove any skin and pin bones, then flake the salmon with a fork into small, even pieces about the size of a pea so they fit neatly in the centre of a rice ball. If using, toss very lightly with 1–2 tsp soy sauce and 1 tsp toasted sesame seeds, just enough to season the flakes without making them wet. Divide the filling into 8 equal portions of about 25g each. That dry, genuinely savoury texture is what keeps moisture from seeping into the rice and splitting the onigiri when it is bitten.
Set Up the Shaping Station
- Set the bowl of cold water and a small dish of fine salt beside your work surface, and cut the 2 nori sheets into 8 neat strips, 4 from each sheet. Divide the warm rice into 8 equal portions of about 110–125g each, keeping the rest covered with a lid or a damp cloth while you work. The rice should feel warm and flexible, comfortable to hold but never steaming hot. That warmth is what keeps the starch soft and sticky, whereas cold rice turns firm and will not bond.
Shape the Onigiri
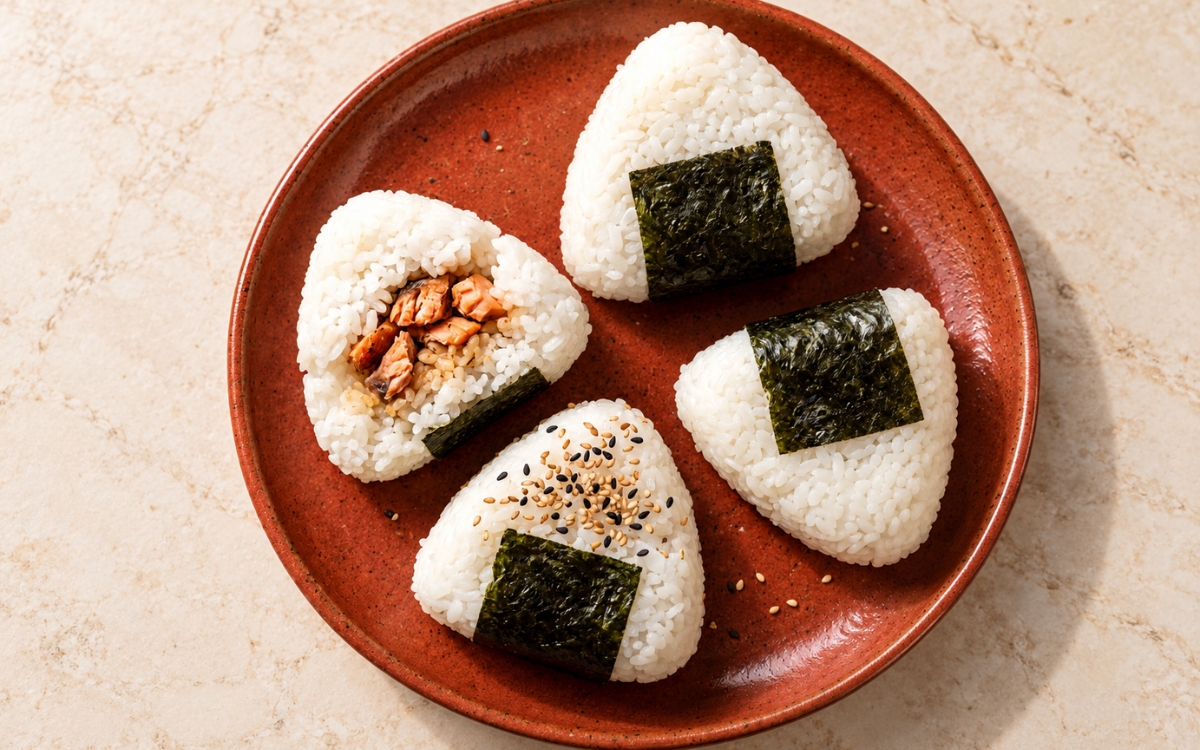
- Wet your hands lightly in the cold water, then rub a pinch of salt over both palms. Place one portion of warm rice in one hand, make a small indentation in the centre with your finger, and press in one portion of salmon. Cover with a little rice from the same portion so the filling is fully enclosed, then cup the ball in one palm and use the thumb and fingers of the other hand to form the two slanted sides of a triangle. Rotate and press lightly 3–4 times, until compact with slightly rounded corners, and re-wet your hands before each ball. That gentle but firm pressure is what gives genuine cohesion without crushing the grains into paste.
Wrap and Serve
- Wrap one nori strip around the lower centre of each onigiri, pressing lightly so the end tucks against the rice, then sprinkle one or two of them with the toasted sesame seeds or a small amount of furikake. Serve at room temperature within a few hours, and wrap the nori just before eating for the crispest texture; if packing for later, keep the strips separate and wrap at the last moment. That last-minute wrap is what keeps the nori genuinely crisp and toasty instead of damp and chewy against the moist rice.
Notes
Shaping the rice while it is warm deserves genuine recognition as the technique most directly responsible for onigiri that hold together and still taste tender. Warm starch is soft and sticky enough to bond under light pressure, whereas cold rice turns firm and crumbly and steaming-hot rice scalds the hands and gets squeezed too hard, so both extremes produce a dense or fragile ball.
Salting the palms deserves the same attention this technique receives throughout this collection’s other rice dishes that rely on seasoning at the surface. A light film of salt on the outside seasons every bite evenly and helps the rice keep, whereas salt worked through the grains would season unevenly and add extra handling that bruises them.
Keeping the salmon dry and fully enclosed deserves genuine respect as the detail most directly responsible for onigiri that stay intact when picked up. Wet or oversized chunks leak moisture into the surrounding rice and push through the thin rice wall, which turns the grains soggy and splits the ball apart at the very first bite.
Pressing until the onigiri is compact deserves attention as a genuine, checkable cue rather than a loose approximation. The ball should hold its triangle when lifted and still give slightly under a fingertip, with grains visible at the surface, because a rock-hard, glossy ball means the grains have been crushed into paste and will eat dense.