Ingredients
Method
Mix the Dough
- Combine the bread flour, instant yeast, and sugar in a large bowl or stand mixer bowl, adding the salt on the opposite side from the yeast. Add the lukewarm milk, eggs, egg yolk, honey, vanilla, orange zest, and lemon zest, then mix until a shaggy dough forms with no dry flour remaining. Knead for 5 to 7 minutes until the dough begins to smooth out.
Add the Butter and Develop the Dough
- Add the soft butter gradually, a little at a time, kneading well after each addition so the dough absorbs it fully before more goes in. Continue kneading for 8 to 12 minutes until the dough is smooth, elastic, slightly tacky, and able to stretch thinly without tearing quickly — soft and enriched, but not loose or greasy. If the dough feels very sticky, knead a little longer before reaching for extra flour.
First Rise
- Shape the dough into a ball, place it in a lightly greased bowl, cover, and let it rise in a warm place until doubled, about 1½ to 2 hours. The dough is ready when it looks puffed, feels airy, and a light fingertip press leaves a slight indentation.
Divide and Shape
- Turn the dough out onto a lightly floured surface and divide it into 8 equal pieces, about 105–110 g each. Shape each piece into a tight, smooth ball by pulling the dough edges underneath and rolling gently against the surface, then place them on parchment-lined trays with enough space between them. Flatten each ball very slightly into an oval or rounded bun shape — they should stay plump, not flat.
Second Rise
- Cover loosely and let the buns rise again until visibly puffy and nearly doubled, about 45 to 60 minutes. They should look light and expanded; under-proofed buns can bake up dense or split unevenly.
Bake
- Heat the oven to 180°C / 350°F. Whisk together the egg and milk for the egg wash and brush the buns gently but thoroughly, then bake for 18 to 20 minutes, rotating the tray if needed, until the buns are a rich, deep golden brown with evenly colored tops. The internal temperature should read about 93–95°C / 200–203°F if checked. Don't underbake — these buns need their full color for both flavor and structure.
Glaze and Cool
- While the buns bake, heat the sugar and water together just until the sugar dissolves, without reducing it — this should stay a light syrup. As soon as the buns come out of the oven, brush them lightly with the syrup glaze for shine and a classic finish, then cool completely on a rack before filling. The buns must be fully cool, or the whipped cream will melt and soften against any remaining warmth.
Make the Whipped Cream
- Place the cold heavy cream, powdered sugar, and vanilla in a chilled bowl and whip to medium-firm peaks. The cream should be thick, hold its shape clearly, and be firm enough to mound generously inside the buns, while still looking smooth and creamy rather than grainy. Don't overwhip, or the texture turns rough and buttery.
Fill the Maritozzi
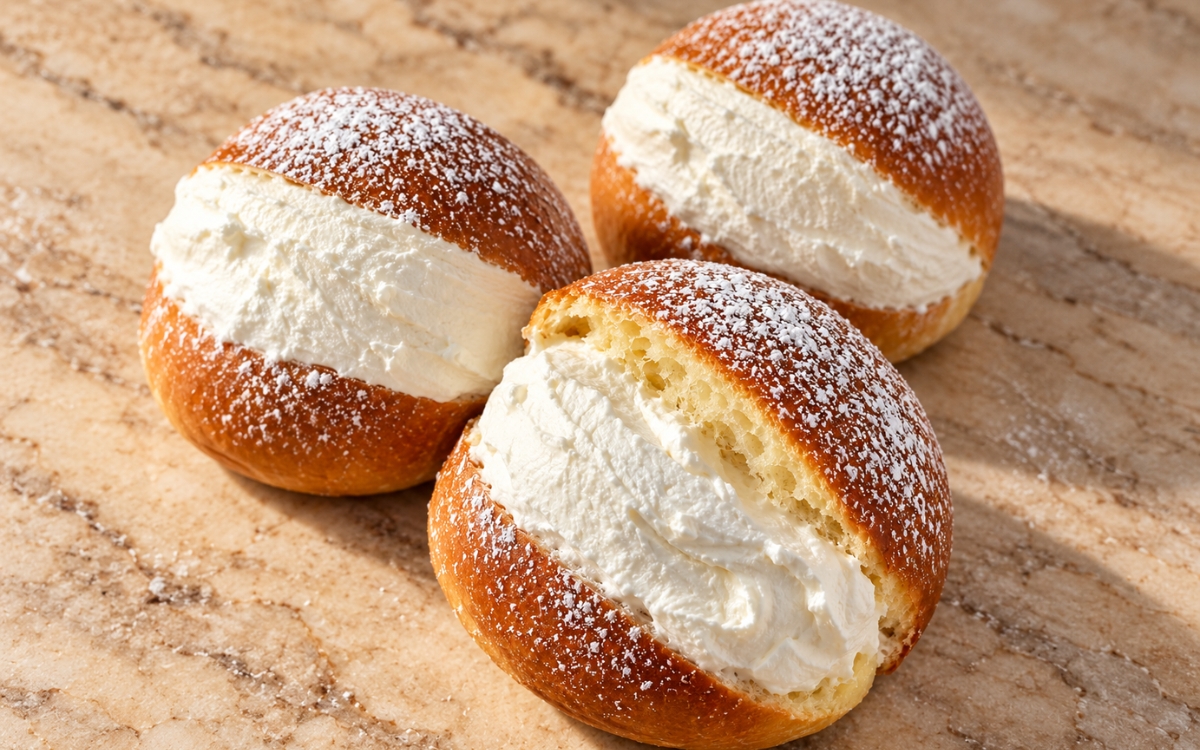
- Using a serrated knife, cut a deep slit down the top center of each bun, leaving the base intact so it opens like a pocket. Pipe or spoon the whipped cream generously into each bun, slightly overfilling for the classic abundant look, then smooth the exposed cream with a small offset spatula or the flat side of a knife for a neat, traditional finish. Dust lightly with powdered sugar just before serving.
Notes
Adding the butter gradually during kneading, rather than dumping it all in at once, is what lets this dough absorb its full fat content without turning greasy or slack. A dough this enriched needs that incremental approach to develop properly, since too much butter added too quickly can overwhelm the gluten structure before it's had a chance to form.
Bread flour rather than all-purpose is the choice that gives these buns enough strength to hold a generous whipped cream filling while still staying soft and airy. A weaker flour would struggle to support both the enrichment from the butter and eggs and the weight of the filling once assembled.
Full cooling before filling deserves to be treated as a hard rule rather than a loose guideline. Whipped cream against even slightly warm bread melts almost immediately, turning what should be a clean, mounded filling into something closer to a syrupy mess.
Watching the dough's volume and feel during both rises, rather than relying on the clock alone, matters more here than in many other enriched doughs. Rising times shift considerably with room temperature, and a dough that looks puffed and feels airy is a better doneness signal than a fixed number of minutes.