Ingredients
Method
Cut and Soak the Potatoes
- Cut the peeled potatoes into thick fries and place them immediately into a bowl of cold water. Rinse once or twice until the water is less cloudy, then leave them submerged in fresh cold water for 30 minutes. This soak removes excess surface starch so the fries brown more evenly and crisp better. After soaking, drain well and dry thoroughly with towels. The potatoes must be dry before frying or the oil will splutter and the fries will steam instead of fry. Rinsing away the cloudy, starch-heavy water before the full soak begins is what lets the remaining soak actually pull additional starch out cleanly, rather than the potatoes sitting in an already-saturated liquid.
Start the Beef Chili
- Place a wide pan or saucepan over medium-high heat. Add the ground beef and break it up. If the beef is leaner in some spots and starts dry, add a small amount of neutral oil, otherwise let the beef render its own fat. Cook until the beef is deeply browned in spots and no longer grey. Let it sit briefly against the pan in places so it develops darker caramelized edges. Add the diced onion and cook 3–4 minutes until softened. Add the garlic and cook 30 seconds, just until fragrant. Add the tomato paste and cook it for 1–2 minutes, stirring, until it darkens slightly and smells sweeter rather than raw. Add the chili powder, cumin, smoked paprika, oregano, cayenne if using, salt, and black pepper. Stir for 20–30 seconds so the spices bloom in the fat. Add the crushed tomatoes, beef stock, and Worcestershire sauce. Bring to a gentle simmer, then reduce to medium-low and cook 25–30 minutes, stirring occasionally, until thick, dark, and rich. The finished chili should be spoonable and thick enough to sit on fries without running off. If it looks too loose, simmer a little longer. Taste and adjust salt. Add the brown sugar only if the tomatoes taste too sharp. Letting the beef sit undisturbed against the hot pan in places, rather than constantly stirring, is what produces genuine caramelised edges — beef broken up and moved continuously releases moisture and simmers rather than browning.
First Fry the Potatoes
- Heat frying oil to 160°C. Fry the dried potatoes in batches for 4–6 minutes, depending on thickness, until softened and pale blonde with no deep colour yet. They should be cooked through enough that a knife meets only slight resistance, but they should not yet be crisp. Lift them out and drain on a rack or paper-lined tray. Let them rest 10–15 minutes while you raise the oil temperature. This lower-temperature first fry is calibrated to cook the potato's interior through gently, without the surface browning and setting a crust too early — that crust-building is deliberately saved for the second, hotter fry.
Second Fry the Potatoes
- Raise the oil temperature to 190°C. Fry the potatoes again in batches for 2–4 minutes until deeply golden, crisp at the edges, and audibly firm when lifted from the oil. Drain immediately and salt while still hot so the seasoning adheres properly. Keep the fries moving to avoid steam softening them while the remaining batches finish. This second, hotter fry is what builds the genuinely rigid, crisp exterior the whole tray depends on — a fry that's merely golden but still flexible won't hold its structure once it's buried under hot chili and melted cheese.
Melt the Cheese
- Arrange the hot fries on a large oven-safe platter or divide among 4 oven-safe portions. Scatter the shredded Mexican cheese blend evenly over the fries. Spoon the hot chili over the top, then add a little more cheese over exposed areas if desired. Place under a broiler or in a hot oven just long enough for the cheese to melt and ooze, about 1–2 minutes. Watch closely so the cheese melts without drying out. Scattering some cheese directly onto the fries before the chili goes on, then adding more over the top, gives the cheese two points of contact — melting slightly against the hot fries below and fully over the chili above — which helps bind the whole tray together once it's out of the broiler.
Finish and Serve
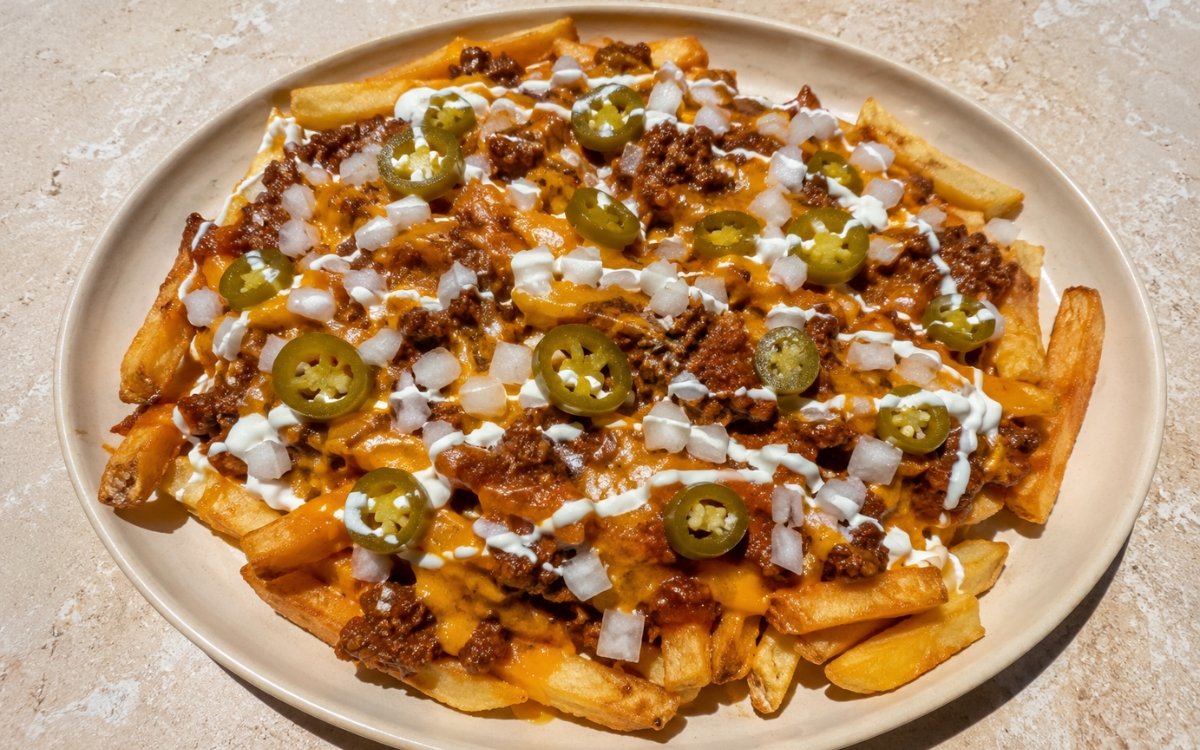
- Scatter the diced white onion over the top. Add the sliced pickled jalapeños. Drizzle the sour cream in thin white threads across the fries. Serve immediately while the fries are still crisp underneath, the chili is hot, and the cheese is fully melted. Adding every cold, fresh topping only after the tray leaves the broiler keeps the onion crisp and raw-tasting and the sour cream visually distinct rather than melting or wilting under residual heat.
Notes
The double-fry technique deserves to be understood as two genuinely distinct jobs rather than the same process repeated twice. The first, cooler fry is entirely about cooking the potato's interior through evenly, with browning deliberately avoided at this stage. The second, hotter fry is where the actual crisp crust develops, building a rigid exterior strong enough to support a substantial load of chili, cheese, and toppings. Skipping straight to a single fry at high heat produces fries that are either underdone inside or browned on the outside before the centre has properly cooked.
Building the chili in proper stages — hard-browning the beef, blooming the spices directly in the rendered fat, cooking down the tomato paste before any liquid is added — is what separates this chili from a flat, quickly-assembled sauce. Each of those steps concentrates flavour in a way that simply simmering everything together from the start wouldn't achieve; the tomato paste especially benefits from that brief dry cook, moving from a slightly metallic raw taste to something rounder and more roasted.
Reducing the chili until it's genuinely thick — spoonable and able to sit on the fries without running off — is worth pushing further than might feel necessary the first time through. A chili that still looks reasonably thick in the pan can still turn out looser than ideal once it's spooned hot over an equally hot pile of fries, and any excess liquid at that point goes directly into softening the crisp base this whole recipe depends on.
The sequencing of toppings — cheese and chili first under the broiler, then cold onion, jalapeños, and sour cream only afterward — protects the tray's finished texture and appearance. Every cold, fresh element added at the very end stays crisp, sharp, and visually distinct rather than being exposed to any heat that would wilt, melt, or dull it.