Ingredients
Method
Prepare the Wings
- Pat the wings very dry with paper towels. Season them lightly with the salt and black pepper and toss until evenly coated. The drier the wings are before frying, the better the skin fries and the more effectively the second fry crisps the surface. They should feel dry rather than damp when they go into the oil. Any residual surface moisture has to evaporate before the oil's heat can start actually crisping the skin — a genuinely dry surface lets both fries go straight into building texture rather than fighting excess water first.
Make the Blue Cheese Dressing
- In a bowl, combine the mayonnaise, sour cream, 30ml buttermilk or milk, blue cheese, lemon juice or vinegar, and garlic. Stir until combined, then season with salt and black pepper to taste. Add a little more buttermilk if needed until the dressing is thick but spoonable. The texture should be creamy and rich, not runny. Some larger blue cheese crumbles should remain visible for a more classic finish. Chill until needed. Stirring gently rather than mashing the blue cheese in fully preserves some distinct crumbles within the dressing, giving it real textural interest rather than a uniformly smooth, one-note consistency.
First Fry
- Heat the oil to 160°C. Fry the wings in batches for 8–10 minutes, depending on size, until cooked through, lightly golden, and the skin has started to render but is not yet deeply crisp. Do not overcrowd the fryer or pot. The wings should come out pale golden and fully cooked, with the skin set but not yet deeply browned. Transfer to a rack or tray and let them rest for 8–10 minutes. This lower-temperature first fry is calibrated to cook the wing through and render the fat beneath the skin gently, without pushing the surface toward deep colour — that colour-building is deliberately saved for the second, hotter fry.
Second Fry
- Increase the oil temperature to 190°C. Fry the wings a second time in batches for 2–4 minutes, until deeply golden, crisp, and audibly crackly at the surface. The second fry is what gives the wings their classic Buffalo texture. The skin should be crisp and rigid at the edges, not soft or leathery. Transfer immediately to a large bowl. This higher-heat second pass is what actually builds the wing's signature crackling exterior — since the first fry has already cooked the meat through and rested the wings to firm up, this stage can move fast and focus entirely on crisping the surface.
Make the Buffalo Sauce
- While the second fry is happening, combine the hot sauce, butter, brown sugar, and salt in a small saucepan over low heat. Stir until the butter is fully melted and the sauce is smooth and glossy. Do not boil. The sauce should look emulsified and shiny, with the butter fully incorporated into the hot sauce. Taste and adjust salt if needed. Keeping the heat low and stopping short of a boil is what preserves the emulsion between the butter and the vinegar-forward hot sauce — pushed too hard, that emulsion can break, leaving a separated, greasy sauce instead of a glossy, cohesive one.
Sauce the Wings
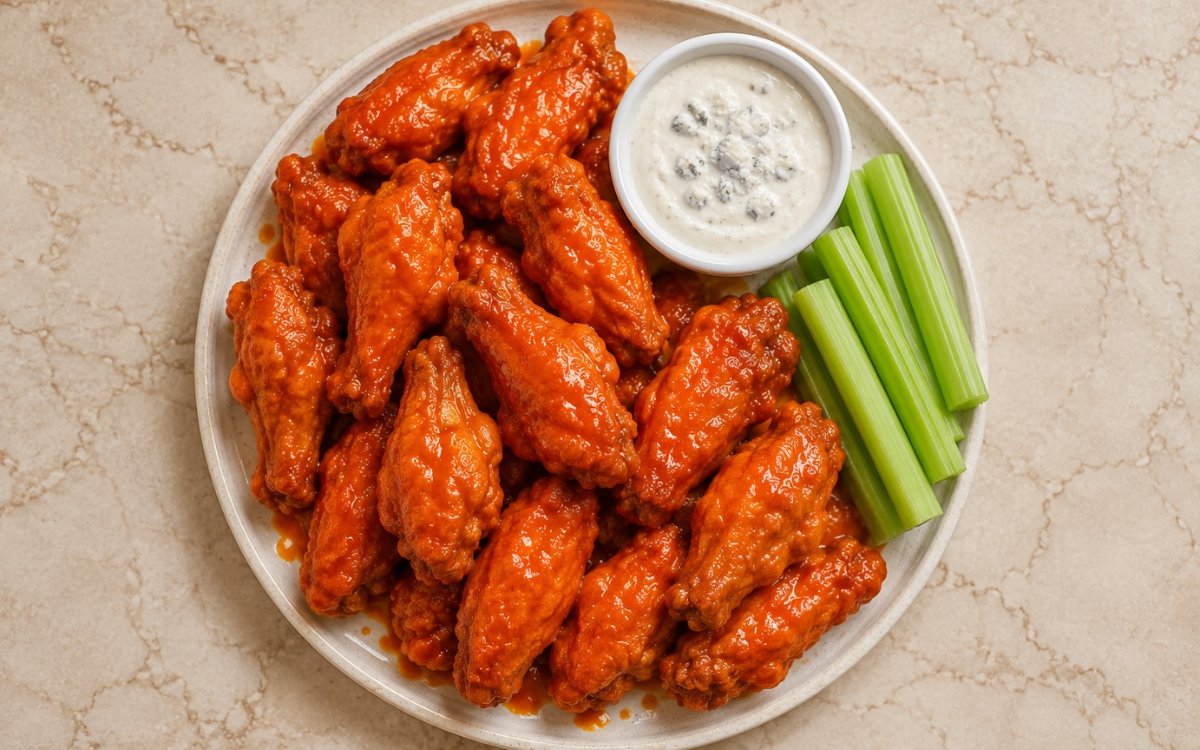
- Pour the warm Buffalo sauce over the hot wings and toss thoroughly until every piece is evenly coated. This needs to happen while the wings are still hot so the sauce clings properly. The finished wings should be fully coated in a vivid orange-red glossy layer, not sitting in a puddle of separated butter at the bottom of the bowl. Tossing while the wings are still radiating heat from the second fry helps the sauce spread and cling evenly across every surface — wings that have cooled even slightly hold the sauce less effectively, and it tends to pool rather than coat.
Serve
- Pile the wings onto a platter and serve immediately with the blue cheese dressing and celery sticks. The crackling skin beneath the sauce begins softening the moment it's coated, so serving without delay is what preserves the contrast between the crisp fried skin and the glossy sauce over it.
Notes
The double-fry technique deserves to be understood as two genuinely distinct jobs rather than the same process repeated twice. The first, cooler fry is entirely about cooking the wing through and rendering fat gently, with colour deliberately kept minimal. The second, hotter fry is where the actual crisp, crackly texture develops, building a surface strong enough to hold up under a wet, buttery sauce without going soggy within minutes. Skipping straight to a single fry at high heat tends to produce wings that are either underdone inside or browned on the outside before the fat has properly rendered.
Keeping the Buffalo sauce at a gentle simmer, never a boil, protects the emulsion between the butter and the vinegar-forward hot sauce. Butter and a water-based, acidic sauce don't naturally combine into a stable mixture — the low, controlled heat used here allows them to come together into something smooth and glossy, while aggressive boiling risks breaking that combination apart into a separated, greasy result that won't cling to the wings the same way.
The resting period between the first and second fry is worth taking seriously rather than treating as dead time. Letting the wings sit for 8–10 minutes after the first fry allows the surface to firm up and cool slightly, which is part of what lets the second, much hotter fry focus purely on building crisp colour rather than needing to also finish cooking the meat through — that division of labour between the two fries is what makes the whole technique work as efficiently as it does.
Tossing the sauce with the wings the instant they come out of the second fry, rather than letting them rest first, is a timing detail that genuinely affects the final result. Wings at their hottest hold and spread sauce most evenly; even a short delay lets the skin begin cooling and firming in a way that makes the sauce less likely to cling uniformly, tending instead to pool unevenly or slide off entirely in spots.