Ingredients
Method
Activate the Yeast
- In a large bowl, combine the warm water, yeast, and sugar. Stir briefly and let stand for 5–10 minutes, until foamy. The surface should look clearly active before you continue. If the yeast does not foam, stop there and replace it — inactive yeast gives dense rolls no amount of kneading will fix. Confirming that visible foam before proceeding is what catches inactive yeast early — continuing with the rest of the ingredients on the assumption the yeast is fine would only reveal the problem much later, once the dough has failed to rise properly.
Mix the Dough
- Add the flour, salt, and oil. Mix until a rough dough forms, then knead by hand for 8–10 minutes, or in a stand mixer for 6–8 minutes, until smooth, elastic, and only lightly tacky. The dough should feel soft and supple, not stiff. Kaiser rolls need enough hydration to produce a light sandwich crumb, but not so much that the dough loses structure and the star pattern softens away. That specific hydration balance protects two competing needs at once — enough moisture for a genuinely light crumb, but not so much that the dough becomes too soft to hold a crisp, defined star pattern once stamped.
First Rise
- Shape the dough into a ball and place it in a lightly oiled bowl. Cover and let rise for 1 to 1½ hours, until doubled. The dough should look expanded and airy and should slowly spring back when gently pressed. If you cut this rise short, the rolls will bake up too tight and the interiors will feel bready rather than light. That full rise gives the yeast genuine time to build the lightness responsible for the roll's eventual soft, airy crumb — cutting it short would leave the dough without enough developed lift to bake up properly light.
Divide and Pre-Shape
- Turn the dough out onto the counter and divide it into 8 equal pieces, about 105–108g each. Shape each piece into a tight round. Cover loosely and let rest for 10 minutes. This short rest matters. If you try to stamp or shape the rolls immediately after tightening them, the dough will resist and the finished pattern will be less even. That relaxation matters directly at the next stage — dough that's just been tightened into a round is genuinely more resistant to the specific stamping this recipe's signature pattern requires.
Shape the Kaiser Rolls
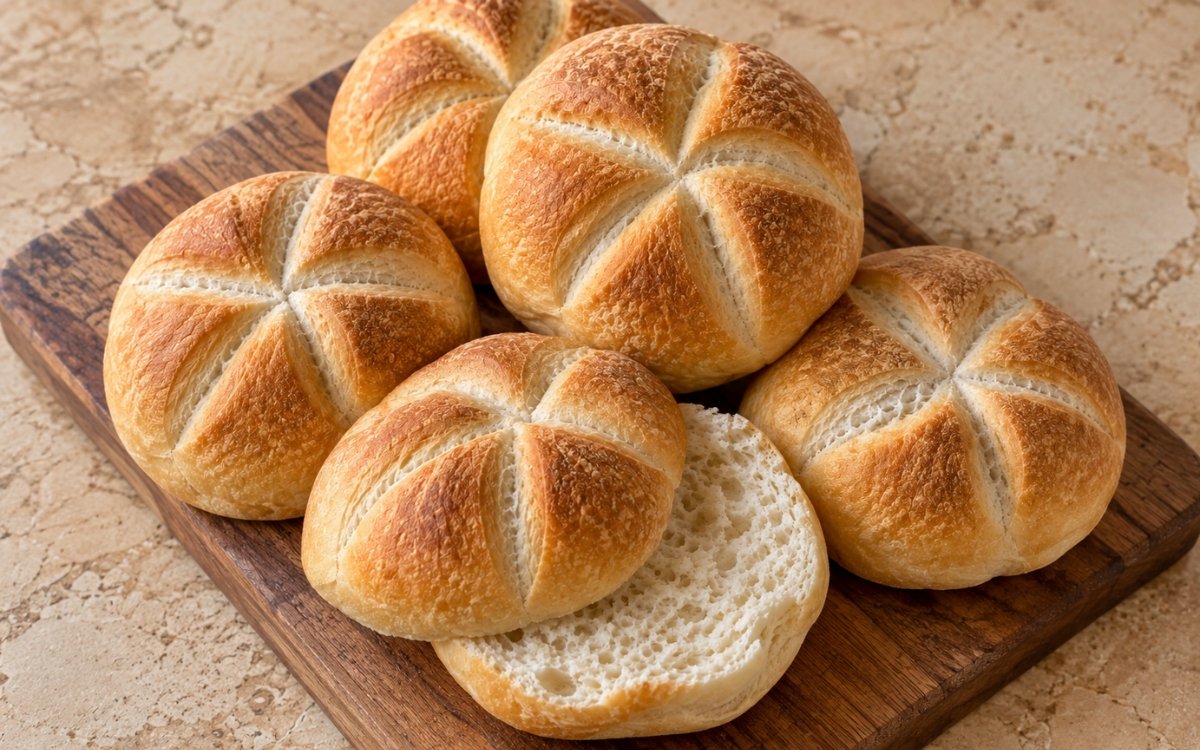
- Flatten each round slightly into a thick disk. Dust the tops lightly with flour. Using a Kaiser roll stamp, press a deep five-point star pattern into each roll. For the most defined pattern, place the stamped rolls pattern-side down on a lightly floured cloth or parchment and cover loosely. Proof for 35–45 minutes, until puffy but not over-expanded. Proofing them pattern-side down helps stop the star ridges from relaxing too much during the final proof. If you proof too long, the pattern will blur; if you proof too little, the rolls may burst unevenly in the oven. That specific orientation, pattern-side down, uses the dough's own weight to help hold the pressed ridges in place as it continues to rise — proofing right-side up would let those same ridges relax and soften under gravity and continued expansion.
Preheat the Oven
- During the final proof, preheat the oven to 220°C. If possible, place a small empty metal tray on the lower rack so you can add a little hot water or steam at the start of baking. Kaiser rolls benefit from some initial steam because it helps the surface expand before the crust sets. That early steam keeps the dough's surface soft and pliable for longer during the first minutes of baking, which is directly what allows the star pattern and overall shape to expand fully before the crust hardens into its final form.
Flip and Bake
- Carefully flip the proofed rolls so the star pattern faces up and place them on a parchment-lined baking tray. Lightly mist them with water, or add a little steam to the oven. Bake for 15–18 minutes, until lightly golden and set. Do not bake them too dark. These are meant to be sandwich rolls with a thin tender crust, not hard crusty rolls. If they bake into something close to a crusty artisan bun, they went too far. Watching for that specific, lighter golden colour rather than pushing for deep browning is what keeps this roll's crust genuinely thin and tender — the exact distinction between a proper Kaiser roll and a heartier, crustier artisan bun.
Cool
- Transfer the rolls to a wire rack and cool before slicing. The crust will soften slightly as they cool, which is exactly what you want here. Slicing too early compresses the crumb and makes the interior seem denser than it really is. That gradual softening as the rolls cool is part of this bread's own intended character — a Kaiser roll's crust is meant to end up thin and yielding rather than staying crisp, and slicing before that process finishes would compress a crumb that hasn't yet fully set.
Notes
Proofing the stamped rolls pattern-side down deserves genuine recognition as the technique most responsible for whether the finished bread actually shows off a clean, defined star. That orientation uses the dough's own weight against gravity to help hold the pressed ridges in place through the final rise — proofed right-side up instead, those same ridges would relax and soften considerably before the rolls ever reached the oven.
Keeping the initial oven steam genuinely brief and light deserves the same attention this technique receives throughout this collection's other steam-baked breads. That early steam keeps the dough's surface pliable for longer during the critical first minutes of baking, letting both the overall shape and the star pattern expand fully before the crust sets and locks that expansion in place.
Watching specifically for a lighter, golden colour rather than pushing toward deep browning deserves genuine respect as the detail that actually separates a proper Kaiser roll from a crustier artisan-style bun. These rolls are built around a thin, tender crust meant to soften further as they cool — baking to a darker colour would push the crust toward a thickness and hardness that works against that intended texture.
Letting the crust soften naturally as the rolls cool, rather than treating that softening as a flaw, deserves attention as a genuine, intended part of this bread's final character. A Kaiser roll's crust is meant to end up thin and yielding, and slicing before that natural softening has finished would compress a crumb that hasn't yet fully set, making the interior seem denser than it actually is.