Ingredients
Method
Score for Controlled Rendering
- Using a sharp knife, score the duck skin in a crosshatch pattern, cutting through the fat layer but not into the meat. The cuts should be evenly spaced about 1cm apart. This step is critical — it creates channels for fat to escape during cooking, preventing the skin from tightening and trapping fat underneath. Without proper scoring, the fat layer remains thick and rubbery instead of crisp.
Season and Temper
- Season both sides with salt, pepper, and five-spice if using. Let the duck sit at room temperature for 30 minutes. This reduces the temperature gap between the surface and the center, allowing more even cooking and preventing the exterior from overcooking before the interior reaches target doneness.
Start in a Cold Pan
- Place the duck breasts skin-side down in a completely cold, dry pan — no oil. Turn the heat to medium-low and allow the fat to begin rendering gradually. Starting in a cold pan is essential because it allows the fat beneath the skin to melt slowly instead of sealing shut under high heat.
Render Slowly and Control Heat
- Cook the duck skin-side down for 12–14 minutes, adjusting heat as needed to maintain a steady, gentle sizzle. During this time, large amounts of fat will render out into the pan — periodically pour off excess fat to prevent shallow frying instead of crisping. Proper rendering transforms the thick fat layer into a thin, crisp structure while keeping the meat insulated and moist.
Increase Heat for Final Crisp
- Once most of the fat has rendered and the skin is golden, increase the heat slightly to finish crisping. This final stage develops a deep, evenly browned surface through the Maillard reaction, which creates complex flavor compounds and texture contrast.
Sear the Flesh Side
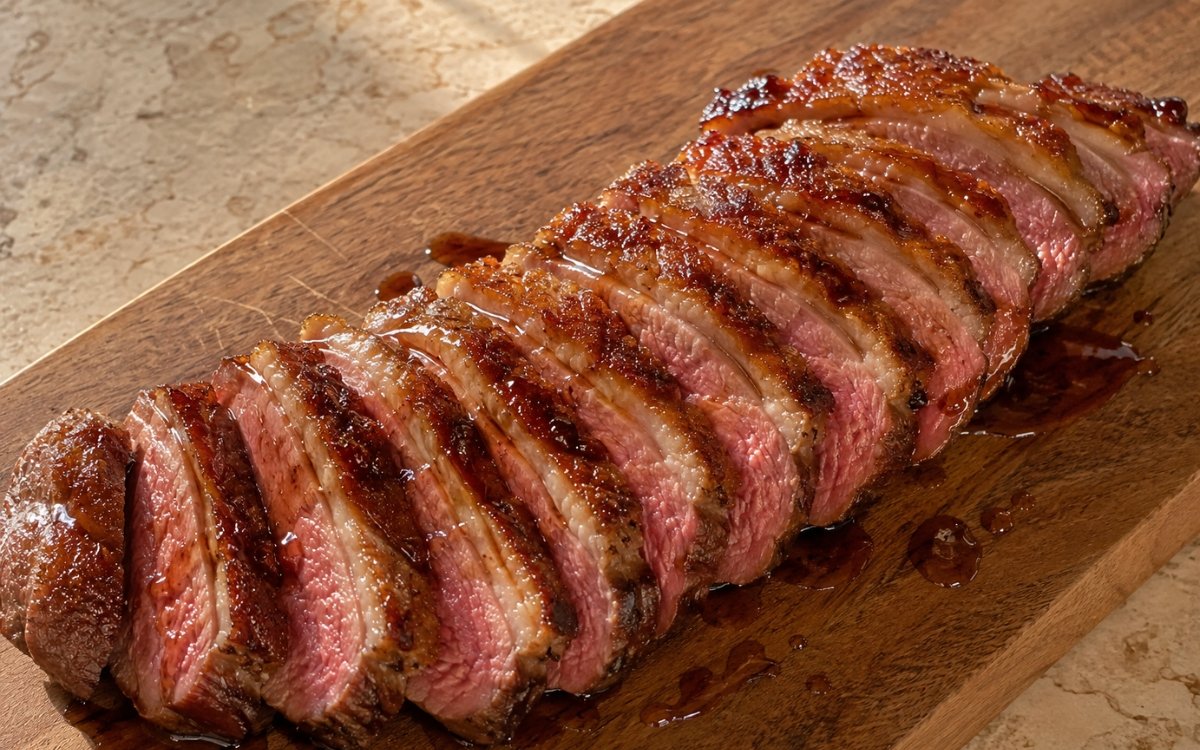
- Flip the duck and cook the flesh side for 3–4 minutes over medium-high heat. This is a quick finishing step — the majority of cooking happens on the skin side. Remove the duck when it reaches approximately 54°C (130°F) for medium-rare, where the texture remains tender and juicy.
Build the Pan Sauce
- Remove the duck and let it rest. In the same pan, add honey and balsamic vinegar, swirling to combine with the remaining drippings. The residual heat reduces the mixture quickly into a glossy, lightly thickened sauce that balances sweetness and acidity.
Rest and Slice
- Rest the duck for 5 minutes, then slice against the grain into thin pieces. Drizzle with the sauce just before serving. Resting stabilizes the internal juices and prevents them from spilling out when cut.
Notes
Crosshatch scoring is not a cosmetic flourish — it's the mechanism that makes proper fat rendering possible. Each cut opens a direct channel for the fat beneath the skin to escape and render out as the duck cooks; without it, the skin's surface tightens as it heats, essentially sealing the fat layer in place and leaving it thick and chewy rather than thin and crisp.
Starting in a completely cold pan is the technique's other defining reversal from typical high-heat searing. Duck's fat cap is considerably thicker than the fat found on most other proteins in this collection, and it needs a slow, gradual heat increase to render fully before the skin browns — a hot pan would brown the surface almost immediately while the fat underneath remained largely unrendered.
Pouring off excess fat periodically during the long skin-side-down stage is a genuinely necessary step rather than an optional one. Left unmanaged, the duck ends up essentially shallow-frying in its own rendered fat rather than crisping against direct pan contact, producing a greasier, less structured result.