Ingredients
Method
Dry and Season the Wings
- Pat the wings very dry with paper towels. Toss them with fine sea salt, garlic powder, onion powder, white pepper, and neutral oil until evenly coated. For the best texture, arrange the wings on a wire rack set over a tray and refrigerate uncovered for 1–12 hours. This dries the skin and makes crisping much easier. Wet wings are the enemy here. If the skin goes into the oven damp, it steams before it browns. Leaving the wings uncovered on a rack rather than a flat tray lets air circulate on every side, drawing surface moisture away steadily over the resting window — that dry surface is what allows the oven's heat to go directly into rendering and browning rather than evaporating water first.
Bake Low to Render the Fat
- Preheat the oven to 160°C. Arrange the wings skin-side up on a wire rack set over a baking tray, leaving space between each piece. Bake for 35–40 minutes, turning once halfway through, until the wings are cooked through and the skin has tightened. This stage is not about browning. It is about slowly rendering fat under the skin so the wings can crisp properly later. Leaving genuine space between each piece matters here as much as the low temperature itself — crowded wings trap steam between each other, working against the same dry, rendering environment the low bake is meant to create.
Crisp the Wings
- Increase the oven temperature to 230°C, or switch to broil if your oven browns evenly. Continue cooking for 10–15 minutes, turning once if needed, until the wings are deeply golden-brown, crisp, and lightly charred in spots. Watch closely near the end. Garlic and onion powder can darken fast once the skin starts crisping. The wings should reach at least 74°C internally, but they eat better around 82–88°C because the connective tissue softens and the meat pulls cleaner from the bone. By this stage, most of the fat has already rendered out during the low bake, leaving the skin with comparatively little moisture left to protect it from scorching — this is why the high-heat finish moves quickly and needs close attention rather than being left unattended.
Make the Lemon-Garlic Butter Sauce
- While the wings finish crisping, melt the butter in a small saucepan over medium-low heat. Add the minced garlic and cook for 45–60 seconds, just until fragrant. Do not brown the garlic hard. Burnt garlic makes the sauce bitter. Remove from the heat and stir in the lemon zest, lemon juice, salt, pepper, and chopped parsley. The sauce should be buttery, glossy, garlicky, and lemony from the zest. It should not taste sour. Too much lemon juice will flatten the butter and soften the crust. Lemon zest carries the fruit's aromatic, floral citrus oils without the acidity that juice brings — using zest as the primary lemon note lets the sauce taste genuinely bright without tipping into the sourness that would undercut the butter's richness and soften the wings' crisp skin.
Toss the Wings
- Transfer the hot crispy wings directly into a large bowl. Pour over the lemon-garlic butter sauce and toss immediately until every wing is coated. Add the chopped parsley and toss again briefly. Do not let the wings sit in the bowl too long. Sauce trapped underneath the pile will soften the skin. Tossing immediately while the wings are still fully hot and crisp is what lets the butter sauce cling in a thin, glossy coating rather than pooling — any delay gives the sauce more time to settle and soak into the skin from underneath the pile.
Serve
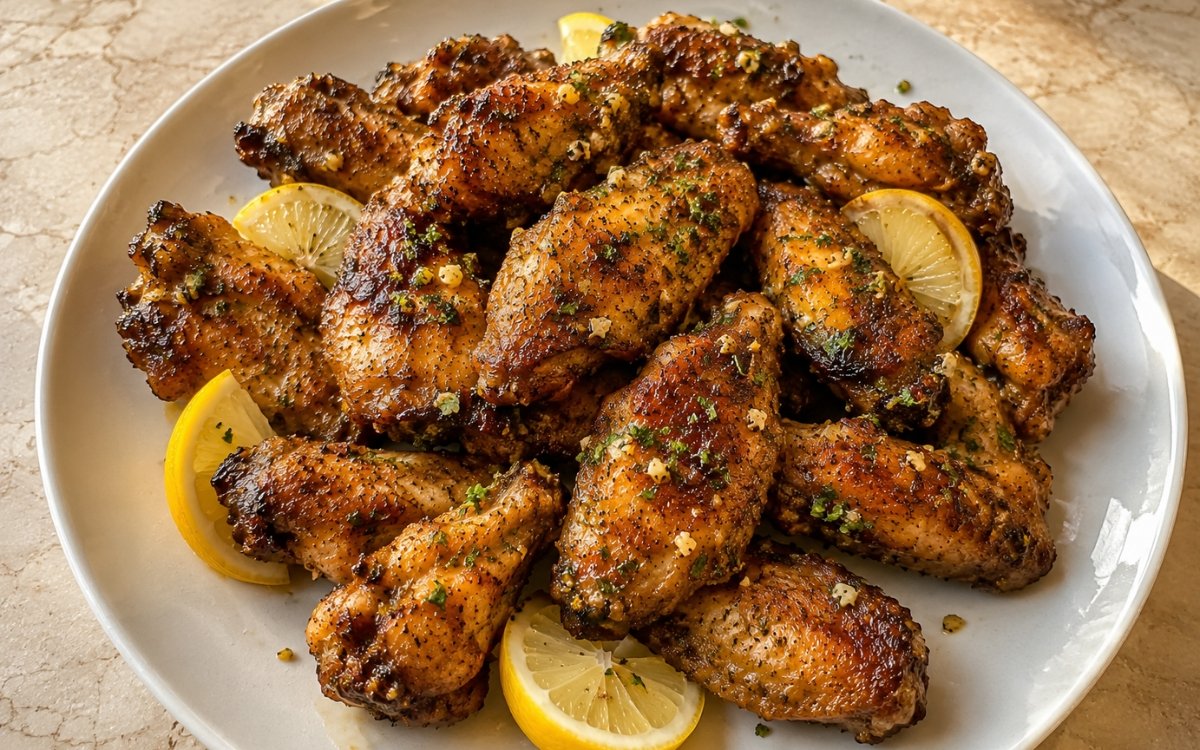
- Pile the wings onto a plate. Spoon any remaining garlic-lemon butter over the top lightly, then finish with extra parsley and lemon wedges. Serve immediately while the skin is still crisp, the butter is glossy, and the garlic and lemon zest are visible on the surface. The crackling skin underneath the sauce begins softening the moment it's coated, so serving without delay is what preserves the contrast between crisp skin and glossy, rich sauce.
Notes
The uncovered drying period deserves to be treated as the single highest-leverage step in this recipe, disproportionate to how passive it looks. Chicken skin naturally holds a fair amount of surface moisture, and that moisture is directly at odds with crisping — it has to evaporate before the oven's heat can begin rendering fat and browning the skin at all. The extended, uncovered refrigerator time handles that evaporation in advance, so the actual oven time can go straight to rendering and crisping rather than spending its early minutes fighting excess water.
The two-stage bake — low first to render, high second to crisp — exists specifically because of how much fat sits just beneath a chicken wing's thin skin. Starting at high heat would char that skin's exterior before the fat underneath has had any real time to melt away, leaving a wing that looks done on the outside while still carrying unrendered, chewy fat closer to the bone. The low, patient first stage solves that by giving the fat a genuine window to render, with the high-heat finish reserved purely for building colour once that rendering is essentially complete.
Choosing lemon zest over lemon juice as the primary source of citrus flavour is a deliberate calibration worth understanding rather than an arbitrary ratio. Zest carries concentrated aromatic oils without the acidity juice brings, which lets the sauce read as genuinely bright and lemony while staying fundamentally rich and buttery. Leaning too heavily on juice instead would push the sauce toward sourness, and that added acidity and liquid both work against the sauce's richness and the wings' crisp texture.
Timing the toss to happen the instant the wings come off the oven, rather than letting them rest first, protects the specific balance this dish depends on. Wings tossed while still fully hot and crisp let the sauce cling as a thin, glossy coating that clings without fully soaking in. Any delay before tossing, or lingering in the bowl afterward, gives the sauce more opportunity to pool and soften the skin from beneath.