Ingredients
Method
Make the Tangzhong
- In a small saucepan, whisk together the 30g bread flour and 150g whole milk until completely smooth. Place over medium-low heat and cook, whisking constantly, until it thickens into a smooth paste, about 2 to 3 minutes. Scrape it into a bowl and let it cool until just warm, not hot. The tangzhong should look like a thick pudding or paste. Do not let it boil hard or dry out. This step is what gives the buns their especially soft, cottony texture. Cooking the flour and milk together gelatinizes the starch ahead of time, which lets that paste absorb and hold considerably more liquid than raw flour could on its own — that extra retained moisture is what carries directly into the finished dough's softness.
Mix the Dough
- In the bowl of a stand mixer, combine the 500g bread flour, 60g sugar, 8g salt, and 7g instant yeast. Add the 180g lukewarm milk, 1 egg, and the cooled tangzhong. Mix with the dough hook on low speed until a shaggy dough forms, then knead for 5 minutes. Add the 60g soft butter a little at a time, mixing after each addition. Continue kneading for 8 to 12 minutes, until the dough becomes smooth, elastic, and slightly tacky. At first the dough may look slippery or messy after the butter goes in. Keep kneading. It should come back together into a soft, supple dough. If it is truly wet and loose, add only a tiny dusting of flour. Do not over-correct. Adding the butter gradually, rather than all at once, lets the gluten network absorb each addition before the next arrives — dumping it in together would coat too much of the flour in fat at once, actively working against the gluten development this rich dough still needs.
First Rise
- Shape the dough into a ball and place it in a lightly oiled bowl. Cover and let rise for 1 to 1½ hours, or until doubled. The dough should look airy and puffed, and when gently pressed with a fingertip, the indentation should fill back slowly. That slow fill-back is a genuine, reliable readiness cue — dough that springs back instantly hasn't yet built enough structure, while dough that doesn't fill back at all has likely overproofed.
Divide and Shape the Buns
- Grease two 23 x 33cm pans lightly, or use one large tray if you prefer more spread. Turn the dough out onto a lightly oiled or very lightly floured surface. Divide it into 24 equal pieces, about 40 to 42g each. Shape each piece into a tight smooth ball by pulling the edges inward and rolling gently against the counter. Arrange the balls in the pans with a little space between them. Shaping with light surface tension helps the buns rise upward into smooth domes instead of spreading flat. That deliberate surface tension, built by pulling the dough's edges inward as it's rolled, gives each ball a taut outer skin that resists spreading, directing its own rise upward as it proofs and bakes instead.
Final Proof
- Cover the shaped buns loosely and let them proof for 45 to 60 minutes, until very puffy and lightly touching. During the final 20 minutes, preheat the oven to 175°C. The buns should look swollen and airy. If underproofed, they may split unevenly in the oven and bake up tighter inside. That final proof genuinely needs to reach this swollen, airy point — dough that goes into the oven still under-risen doesn't have enough built-up lightness to expand cleanly, often splitting unpredictably as the oven's heat forces a sudden, uneven rise instead.
Egg Wash
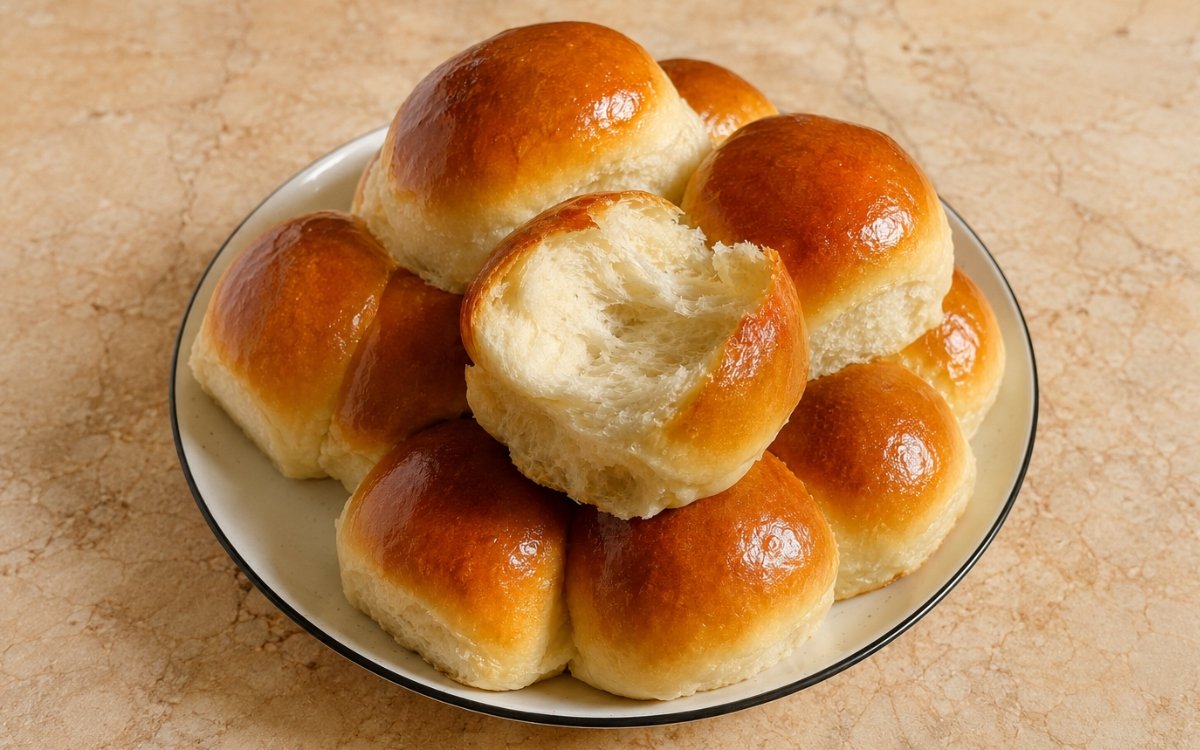
- Whisk together the 1 egg and 15ml milk. Brush the tops of the buns gently and evenly. Brush lightly so you do not deflate the proofed dough. The egg wash gives the buns their deep glossy golden finish. That light touch matters directly at this stage — the dough is at its most fragile after a full proof, and pressing too firmly with the brush risks releasing some of the trapped gas responsible for the buns' eventual softness.
Bake
- Bake for 16 to 20 minutes, until deeply golden brown on top and fully baked through. If the tops brown too quickly, tent loosely with foil for the last few minutes. The tops should be richly golden and glossy, but the buns should still feel light and soft. Do not overbake, or the interior will lose some of its softness. That protective foil tent, used only if needed, lets the interior finish baking through without the already-well-coloured top continuing to darken past its ideal point.
Finish and Cool
- Remove from the oven and, if you like, brush lightly with the melted butter for an even softer finish. Let the buns cool in the pan for 10 minutes, then transfer to a rack or serve warm. Pull apart gently once slightly cooled. Brushing on that optional butter while the buns are still genuinely hot lets it melt in and soak slightly into the surface, adding real richness and a softer top rather than sitting as a separate, unabsorbed layer.
Notes
Making a proper tangzhong before the main dough is ever mixed deserves genuine recognition as the technique responsible for these buns' whole defining softness. Cooking flour and milk together gelatinizes the starch ahead of time, letting that paste hold considerably more moisture than raw flour mixed directly into a dough ever could — that extra retained water is directly what keeps these buns tender even after they've cooled, well beyond what a standard enriched dough would achieve on its own.
Adding the soft butter gradually during kneading, rather than incorporating it all at once, deserves the same attention this technique receives throughout this collection's other rich, buttery doughs. The dough's gluten network needs to absorb each addition of fat before it can properly accept more — adding all the butter together would coat too much flour in fat simultaneously, working directly against the structure this dough still needs to develop even as it becomes progressively richer.
Shaping each portion with real, deliberate surface tension deserves attention as the technique responsible for these buns rising upward into smooth domes rather than spreading flat. That taut outer skin, built by pulling the dough's edges inward as it's rolled, physically resists outward spreading, directing the bun's continued rise upward through both the final proof and the oven's own heat.
Watching the final proof carefully for that specific, swollen, airy point deserves genuine respect given how directly proofing depth affects the finished bake. Underproofed dough entering the oven doesn't carry enough built-up lightness to expand cleanly under that sudden heat, often splitting unevenly rather than rising into the smooth, glossy domes this recipe depends on.