Ingredients
Method
Mix the Flour, Water, and Yeast
- Add the 00 flour and instant yeast to the bowl of a stand mixer. Mix briefly with the dough hook to distribute the yeast. Add the water and mix on low speed for 4–5 minutes, until no dry flour remains and a rough dough forms. Let the dough rest for 15 minutes. This short rest lets the flour hydrate before the salt and oil go in. The dough will become smoother and easier to develop without adding extra flour. That passive hydration period lets the flour's own enzymes begin building real gluten structure before either the salt or the oil is introduced — both ingredients would otherwise interfere with that early development if added right at the start.
Add Salt and Olive Oil
- Add the salt and olive oil. Mix on low speed until incorporated, then knead on low to medium-low speed for 14–17 minutes, until the dough becomes smooth, elastic, and pulls away from the bowl in long stretchy strands. The dough should be tacky but not wet, soft but not loose. The dough is ready when it stretches without tearing immediately and feels elastic rather than shaggy. Under-kneaded dough tears during shaping and gives weak rims. That extended kneading time is what actually builds the gluten network strong enough to survive the long cold ferment and eventual hand-stretching ahead — a shorter knead would leave the dough without the structure this style of pizza depends on.
Check the Dough Temperature
- The finished dough should ideally be around 24–26°C. If it feels warm, let it sit at room temperature only briefly before chilling. If it is cool, it can handle a slightly longer room-temperature start. Warm dough ferments faster. If it goes into the fridge already too warm and overactive, it can overproof before the 48-hour mark. That specific temperature check is a genuine, practical safeguard against a real risk — dough that starts its cold ferment already too warm carries enough residual fermentation momentum to overproof well before the intended window closes.
Rest the Dough Briefly
- Transfer the dough to a lightly oiled work surface. Shape it into one large smooth ball, cover, and rest for 20–30 minutes. This relaxes the gluten before dividing. That brief rest matters directly at the next stage — dough that's just been kneaded intensively is genuinely tighter and more resistant to the clean dividing and shaping that follows.
Divide and Ball the Dough
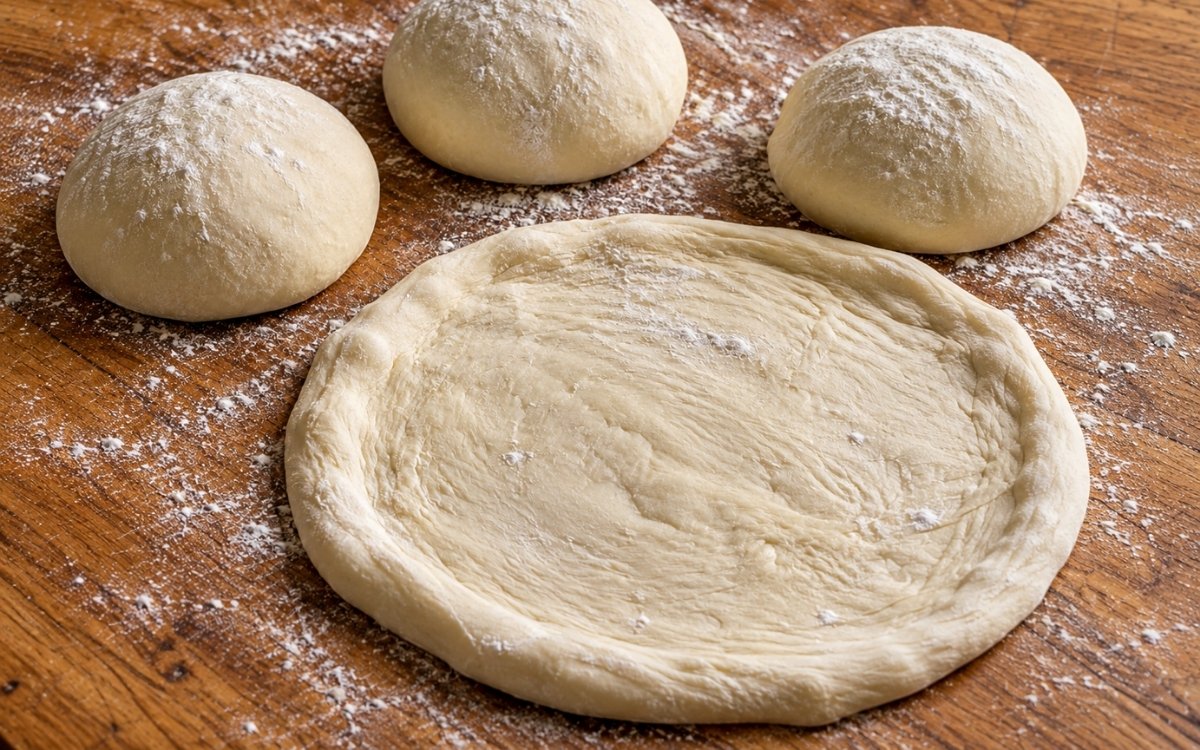
- Divide the dough into 8 equal pieces, about 250g each. Shape each piece into a tight dough ball. Pull the edges underneath and roll gently against the counter to create surface tension without tearing the dough. Place each dough ball into a lightly oiled covered dough box or individual container. The dough balls should look smooth and tight on top. Loose shaping gives flat dough balls that spread too much during fermentation. That genuine surface tension, built by pulling the dough's edges underneath as it's rolled, gives each ball a taut outer skin that resists spreading, directing its own rise inward and upward rather than outward across the container.
Cold Ferment
- Cover the dough balls and refrigerate for 24–48 hours. The dough should slowly rise, relax, and develop flavour. After fermentation, each ball should look slightly expanded, soft, and airy, with small bubbles visible under the surface. 24 hours gives good flavour and structure. 48 hours gives deeper flavour and better extensibility. Do not push much beyond 48 hours with this yeast amount unless your fridge is very cold. This extended cold time is genuinely the main flavour-building stage of the whole recipe, giving the yeast real time to develop the complex depth a same-day dough simply couldn't produce in the same way.
Bring to Room Temperature Before Shaping
- Remove the dough balls from the refrigerator 2–3 hours before baking, depending on room temperature. Keep them covered so the surface does not dry out. The dough is ready when it feels relaxed, slightly puffy, and easy to press without springing back aggressively. Cold dough tears and snaps back. Properly tempered dough stretches smoothly and holds a thin center with a thicker rim. That tempering window lets the cold, tightened gluten network genuinely relax and warm through — dough shaped straight from the fridge simply doesn't have the same give, fighting the stretch at every attempt.
Shape the Pizza Base
- Dust the work surface lightly with 00 flour or semolina. Place one dough ball on the surface and press from the center outward, leaving the outer rim thicker. Stretch gently by hand until the center is thin and even. Avoid crushing the rim. Do not use a rolling pin if you want an airy rim. Pressing out the edge removes the gas built during fermentation. Shaping entirely by hand, rather than reaching for a rolling pin, is what protects the fermentation gas trapped specifically at the rim — a rolling pin would flatten that structure uniformly, losing exactly the puffed, airy edge this dough was built over two days to produce.
Bake
- Top the pizza lightly and bake on a fully preheated pizza stone, steel, or very hot tray. For a home oven, preheat as hot as possible, ideally 250–290°C, for at least 45 minutes before baking. Bake until the crust is puffed, spotted, golden, and cooked through. That extended 45-minute preheat ensures the stone or steel itself, not just the surrounding air, has genuinely reached its target temperature throughout — a surface that's only warmed on top would still be catching up internally when the cold dough first makes contact.
Notes
Letting the flour and water rest for 15 minutes before the salt and oil ever join deserves genuine recognition as the technique responsible for how workable this dough becomes without needing extra flour during kneading. That passive hydration period lets the flour's own gluten structure begin developing on its own terms, before either ingredient that would otherwise interfere — salt tightening the gluten, oil coating the flour — has any chance to slow that early process down.
Checking the dough's temperature before it ever goes into the fridge deserves real attention as a genuine, practical safeguard rather than an optional step. Warm dough carries real fermentation momentum into the cold ferment, and without that check, a dough that starts too warm risks overproofing well before the intended 24 to 48-hour window has even closed, undermining the careful timing the rest of the recipe depends on.
Shaping the dough balls with genuine, deliberate surface tension, rather than loosely, deserves the same attention this technique receives throughout this collection's other long-fermented doughs. That taut outer skin is specifically what resists the dough spreading flat during its long time in the fridge, keeping each portion properly domed and ready to shape rather than pancaked by the time fermentation is done.
Shaping the final base entirely by hand, deliberately avoiding a rolling pin, deserves genuine respect as the detail most directly responsible for this crust's characteristic airy rim. A rolling pin would flatten the fermentation gas uniformly across the whole dough, including the rim specifically meant to stay thick and full — hand-stretching from the center outward is what protects that structure right through to the oven.