Ingredients
Method
Test the Yeast
- Before mixing any dough, test the yeast — this 10-minute step can save hours of wasted effort and ingredients. Pour the 830g of water warmed to 27–30°C into a medium bowl or measuring jug and add the 7g of instant yeast. Whisk well until the yeast is dissolved, then cover with a cloth or plastic wrap and leave undisturbed for 5–10 minutes. After this time, the surface should show visible foam or a creamy, slightly bubbly layer — the yeast is alive, active, and ready to use. If the water is completely still with no foam development after 10 minutes, the yeast is dead — either damaged by water that was too hot, past its expiry, or stored incorrectly. Do not proceed with dead yeast. Start fresh with a new batch of water and yeast. The time invested in this test is always worth it: a focaccia made with dead yeast will not rise in the refrigerator, will not develop the airy interior that the long fermentation is designed to produce, and will emerge from the oven dense and disappointing after 48–72 hours of waiting.
Mix the Dough
- In the bowl of a stand mixer, combine the 720g of 00 flour and 240g of fine semolina. The combination of 00 flour and semolina is a deliberate and specific choice. 00 flour is finely ground soft wheat with a smooth, silky texture and a moderate protein content that produces a tender, extensible dough with a fine crumb. Semolina is coarser, higher-protein ground durum wheat that provides structural strength, a slightly nutty flavour, and contributes to the distinctive golden-orange colour and crispy exterior of authentic Italian focaccia. The two work together — the 00 providing tenderness and the semolina providing structure and crust quality — in a way that neither alone can replicate. Fit the stand mixer with the dough hook and add the foamy yeast-water to the flour mixture. Mix on low speed for 8–12 minutes, stopping occasionally to scrape down the sides of the bowl with a spatula to ensure all flour is incorporated. After 8–12 minutes, add the 30g of olive oil and the salt. Add them together at this point rather than with the initial liquid — adding salt too early can slow yeast activation by drawing water away from the yeast cells, and the delayed olive oil incorporation prevents it from coating the flour before the initial gluten network has been established. Continue mixing on low to medium-low speed for a further 10 minutes. The total mixing time of 18–22 minutes is substantial and deliberate. This dough is at approximately 87% hydration — one of the highest hydration levels in home baking — and at this extreme moisture level the gluten network requires extended mechanical development to become strong enough to hold the enormous quantity of CO2 that will be produced during the 48–72 hour fermentation. Under-developed gluten at this hydration produces a dough that cannot hold its structure and collapses rather than maintaining the open, airy crumb the recipe is designed to produce.
Slap and Fold
- Use a bowl scraper to transfer the dough from the mixer bowl to a clean, un-floured work surface. The dough at this stage will be extremely wet, sticky, and seemingly impossible to manage — this is completely correct for a dough at this hydration level. Do not add flour. Do not oil the surface. The stickiness is a feature, not a problem, and it will diminish progressively as the gluten is worked. Perform the slap-and-fold technique: pick up the dough with both hands from the near and far edges, lift it entirely from the surface, and slap the bottom of the dough down onto the counter firmly while simultaneously folding the top portion over itself — like closing a book. Rotate 90 degrees. Pick up from the new near and far edges and repeat. Work continuously for 2–3 minutes. As the gluten network aligns and strengthens through this process, the dough will become progressively less sticky — it will start to release from the counter more cleanly, pull together more cohesively, and feel more elastic when lifted. The transformation is visible and satisfying. After 2–3 minutes the dough should be noticeably smoother and hold together better than it did directly from the mixer, though it will remain tacky at this hydration level.
Cold Ferment 48–72 Hours
- Generously grease a large bowl or container with cooking spray — the container should be large enough to hold approximately 2–2.5 times the current volume of dough to accommodate the rise that will occur during the cold fermentation. Drizzle a generous amount of olive oil over the greased interior. Transfer the dough to the container using the bowl scraper — work carefully to avoid deflating the dough, though at this stage the gluten is still developing and the transfer is not as delicate as it will be after the full fermentation. Drizzle a small amount of additional olive oil over the surface of the dough. Cover with a greased lid or plastic wrap pressed directly onto the dough surface and place in the refrigerator. Ferment for a minimum of 48 hours and a maximum of 72 hours — do not exceed 72 hours. During the cold fermentation, the yeast and bacteria in the dough operate slowly at refrigerator temperatures, producing CO2 for leavening but more importantly producing the full range of organic acids, esters, and aromatic compounds that give this focaccia its extraordinary depth of flavour. The 48–72 hour window is the difference between focaccia that tastes of yeast and flour and focaccia that tastes complex, slightly tangy, and genuinely interesting. The 72-hour maximum is a real limit — beyond it, the yeast exhausts the available sugars and the gluten begins to break down under the accumulated acidity, producing a weaker, denser bread.
Transfer and Final Proof
- When ready to proceed, generously grease a large rimmed baking sheet — a standard half-sheet pan (33 × 46cm) is the ideal vessel — with cooking spray, then drizzle olive oil generously across the entire surface including the corners. The quantity of olive oil on the tray is not modest — it should pool slightly in the corners and produce a distinctly oiled surface. This oil will fry the bottom of the focaccia during baking, producing the characteristic crackling, golden-fried underside. Remove the fermented dough from the refrigerator and carefully transfer it to the prepared tray — work with oiled hands and use a bowl scraper to release it from the container without deflating the gas structure that has developed over 48–72 hours. Gently stretch the dough from the edges toward the corners of the tray using your fingertips, working gradually and evenly. The cold dough will resist stretching initially — if it springs back aggressively, stop and allow it to rest for 10 minutes to let the gluten relax before continuing. The goal is to extend the dough to roughly fill the tray without tearing or compressing it. Place a second rimmed baking sheet upside down over the dough to create an enclosed, humid proofing tent. Wrap both sheets together in plastic wrap to seal in the environment. Leave at room temperature for 2–3 hours until the dough has risen noticeably, looks puffy and airy, and jiggles gently when the tray is shaken.
Dimple, Top, and Bake
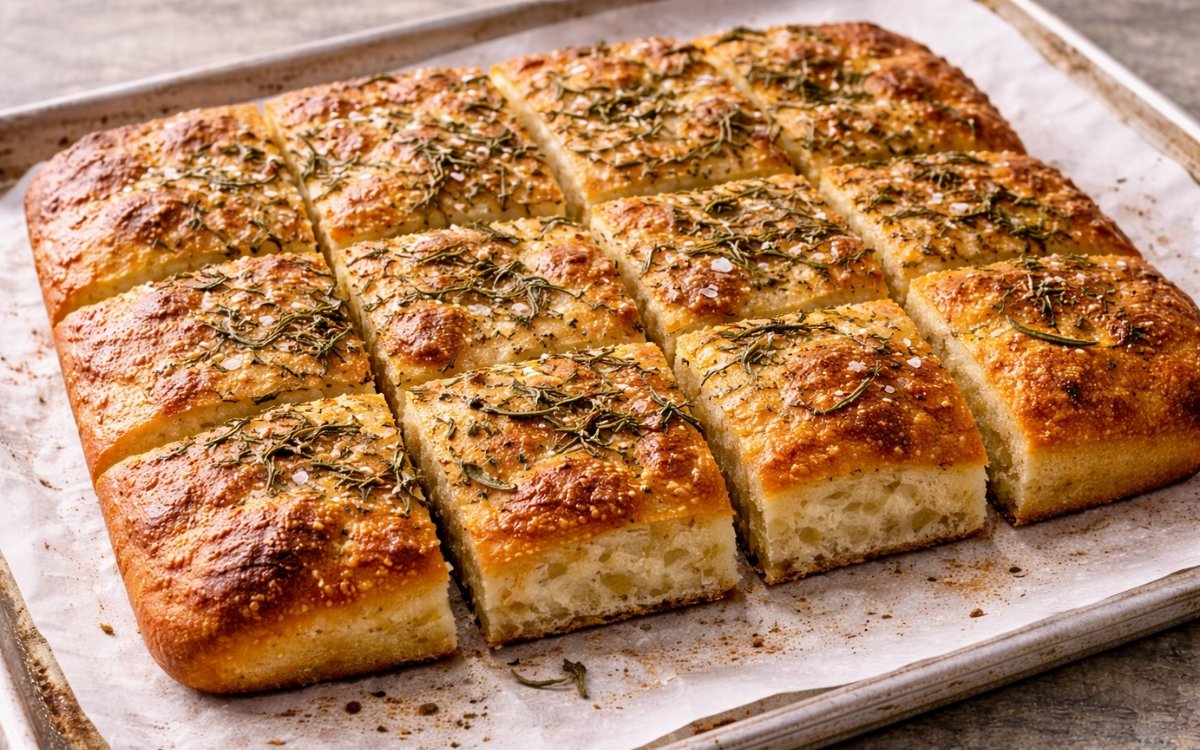
- Preheat the oven to its maximum setting — 260–290°C (500–550°F) — for a minimum of 30 minutes before baking. The extreme heat is essential for the focaccia's characteristic crust quality: the high temperature produces rapid Maillard browning and crust formation on the surface, crispy bottom-frying from the pooled olive oil, and sufficient heat transfer through the thick dough to fully cook the centre before the crust over-darkens. Unwrap the proofed dough and drizzle generously with additional olive oil over the entire surface — do not be conservative. This finishing oil will pool in the dimples, baste the surface during baking, and contribute to the final crust's crispiness and flavour. To dimple or not: pressing your fingertips firmly into the dough to create the characteristic focaccia dimples is traditional and creates the wells that pool olive oil and hold toppings. However, if the goal is maximum airiness and the largest possible interior bubbles, skip the dimpling and proceed directly to topping — every dimple compresses some of the gas structure. Scatter the za'atar seasoning across the entire surface followed by the roughly chopped fresh rosemary leaves, and finish with a generous but measured scattering of flaky sea salt — enough to be visible and to provide occasional salty crunch, not enough to make the bread unpleasantly salty. Add any additional toppings — olives pressed lightly into the surface, sun-dried tomato pieces, or thinly sliced red onion scattered across the top. Bake for 20–25 minutes until the top is deeply golden brown with some darker, slightly charred patches at the thinnest edges and the dough is fully cooked through when a probe thermometer inserted in the centre reads approximately 93°C (200°F). The colour should be genuinely dark amber — not pale gold — for the correct flavour and crust texture. Allow to cool in the pan for 5 minutes, then transfer to a wire rack. Slice while still warm.
Notes
The 00 flour and semolina combination is the most specific ingredient decision in this recipe and is worth sourcing correctly. 00 flour is an Italian classification indicating the finest grind — the flour has a silky, almost powdery texture that produces a more tender, extensible dough than regular all-purpose flour. It is available in Italian grocery stores, specialty food shops, and increasingly in mainstream supermarkets. If 00 flour is unavailable, all-purpose flour produces an acceptable result with a slightly less refined texture. Do not substitute bread flour — its higher protein content produces a chewier, less tender focaccia than the recipe is designed for.
The quantity of olive oil in this recipe — present in the dough, in the container during fermentation, on the baking tray, and drizzled over the top before baking — is not excessive by Italian focaccia standards. Olive oil is the defining ingredient of focaccia's flavour and the source of its characteristic crispy exterior. It fries the bottom of the bread against the hot oiled tray, bastes the surface during baking, and contributes the smooth, fruity richness throughout the crumb. Using high-quality extra-virgin olive oil in a recipe like this, where the olive oil is a primary flavour contributor rather than a background one, produces a genuinely different and better result than a bland, neutral oil.
The baking temperature — 260–290°C — is higher than most home bakers use for bread and higher than many domestic ovens reach. Use the maximum setting your oven can achieve. If your oven tops out at 230°C, the focaccia will still be excellent — expect a slightly paler top that takes a few minutes longer to develop colour.