Ingredients
Method
Preheat and Prepare the Pan
- Preheat the oven to 165°C. Grease a standard 23×13cm (9×5 inch) loaf pan with butter or non-stick spray. Line with parchment paper — pressing it into the corners and allowing the excess to hang over the long sides of the pan as handles. The parchment handles are the specific detail that makes a clean, intact removal possible for a bread this moist and dense: attempting to invert a fully cooled banana bread without parchment handles risks the bottom sticking to the pan surface even in a greased pan. The 165°C temperature is specifically lower than most quick bread recipes specify. At this temperature the edges cook at a rate closer to the centre's cooking rate — reducing the common banana bread failure where the exterior is fully set and beginning to overbrown while the centre remains underdone. The lower temperature requires a longer total baking time but produces a dramatically more even, more moist result throughout the entire loaf.
Mix the Dry Ingredients Separately
- In a medium bowl, whisk together the 180g of flour, 1 tsp of baking soda, and ½ tsp of salt until uniformly combined. Setting the dry ingredients aside as a pre-mixed batch means the folding step — the most gluten-sensitive step in the recipe — requires minimal strokes to incorporate everything without over-working.
Cream the Sugars and Fats
- In a large mixing bowl, combine the 55g of melted butter, 55g of neutral oil, 150g of packed brown sugar, and 70g of granulated sugar. Whisk vigorously for 1–2 minutes until the mixture is thick, cohesive, and paste-like rather than oily and separated. The vigorous whisking at this stage creates a partial emulsion between the fats and sugars that produces a more uniform batter structure — and ultimately a more even crumb — than simply stirring until combined. The dual-fat combination is specifically calibrated: butter provides the rich, rounded dairy flavour that oil alone cannot produce; neutral oil provides extended moisture retention from its lack of water content — butter's approximately 20% water evaporates during baking, slightly drying the crumb over the following days, while oil's water-free fat remains in the crumb and keeps it soft significantly longer. Brown sugar's packed molasses provides hygroscopic moisture retention — it physically attracts and holds moisture from the surrounding environment — and produces the specific deep caramel flavour that granulated sugar cannot.
Add the Wet Ingredients
- Add the 380g of very ripe mashed bananas to the sugar-fat mixture and stir until combined. The bananas' ripeness is the single most impactful variable in the finished bread's flavour: green-tipped or barely ripe bananas contain significant unhydrolysed starch and minimal converted sugar, producing a bread that tastes weakly of banana and is noticeably less sweet. Fully ripe bananas — blackened skin, very soft, fragrant — have completed the enzyme-driven starch-to-sugar conversion and contain maximum fructose, glucose, and volatile aromatic esters. Mash the bananas completely with a fork before adding — visible lumps remain in the bread's crumb and produce pockets of different texture. Add the 2 eggs, one at a time, stirring each in completely before adding the next. Add the 130g of Greek yogurt, 1 tsp of vanilla extract, and 1 tsp of espresso powder. Stir until the mixture is smooth and uniform. The espresso powder is completely tasteless as coffee at this quantity in the finished bread — its function is specifically as a flavour amplifier for the chocolate. Cocoa compounds and coffee compounds are chemically complementary; espresso powder's roasted, bitter character heightens the perception of the chocolate chips' flavour without adding any detectable coffee note. Greek yogurt's acidity interacts with the baking soda to provide additional leavening beyond the straight baking soda reaction with the banana's natural acids, and its fat content contributes further to the bread's tender, moist crumb.
Fold in the Dry Ingredients
- Add the pre-mixed dry ingredient bowl to the wet mixture. Using a rubber spatula, fold gently — turning the batter over itself with large, slow strokes — until just combined. Stop when no visible dry flour streaks remain. A few lumps in the batter from the banana are acceptable; streaks of dry flour are not, but a uniformly smooth batter is over-mixed. The folding motion rather than stirring or whisking minimises the development of the gluten network — overdeveloped gluten produces a dense, tough, chewy crumb rather than the soft, tender result.
Add the Chocolate and Fill the Pan
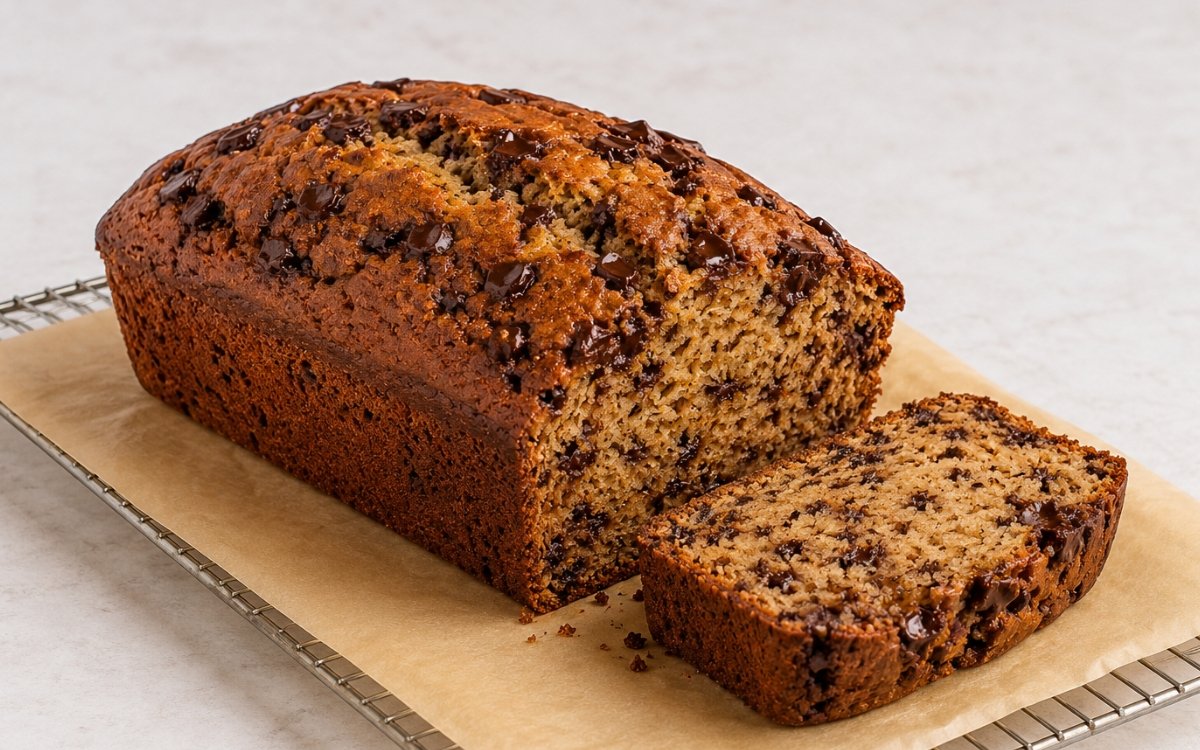
- Fold the 90g of mini chocolate chips through the batter with 3–4 gentle strokes. Mini chips are specified rather than standard chips for their even distribution through each slice — standard chips concentrate at the base of each slice due to their weight, while mini chips remain distributed throughout the crumb. Pour the completed batter into the prepared loaf pan and smooth the top with the spatula. Scatter the 40g of roughly chopped dark chocolate chunks evenly across the entire surface. The irregular, chunky pieces melt into the surface during baking and produce the slightly collapsed, pooled chocolate surface that is visually characteristic of bakery-style banana bread.
Bake
- Place in the preheated 165°C oven and bake for 60–75 minutes. At 60 minutes, begin checking with a wooden skewer or toothpick inserted into the very centre of the loaf — the highest, deepest point. The correctly baked banana bread produces a skewer that comes out with a few moist, sticky crumbs rather than wet batter. A completely clean skewer indicates over-baking; wet batter on the skewer indicates the centre needs additional time. Return to the oven in 5-minute increments until the moist-crumb result is achieved. If the top surface is browning significantly before the centre is done — check at the 45-minute mark — lightly tent a sheet of foil loosely over the top for the remaining baking time. The foil reduces direct oven heat on the surface without trapping steam, allowing the interior to finish without the top burning.
Cool Completely Before Removing
- Remove from the oven and allow the banana bread to cool in the pan on a wire rack for a minimum of 30 minutes before attempting to remove it. Banana bread removed hot tears, sinks at the centre from the residual structural instability, and crumbles rather than slicing cleanly. The cooling period allows the interior crumb to set structurally from its molten, fragile hot state into the firm, sliceable texture. After 30 minutes, use the parchment handles to lift the loaf from the pan and allow to cool fully on the rack. The bread is ready to slice when it is at room temperature — no residual warmth at the centre when pressed. Slicing warm produces compressed, slightly gummy slices; slicing fully cooled produces clean, distinct slices.
Notes
The banana bread specifically improves on the second day — a consistent quality in quick breads with high sugar content. Overnight, the banana's volatile aromatic compounds continue releasing into the surrounding crumb, the caramel notes of the brown sugar deepen, and the moisture equilibrates more evenly throughout the loaf. The day-one banana bread is excellent; the day-two banana bread tastes specifically more developed and more banana-forward. This is one of the few baked goods where immediate consumption after cooling is not optimal.
The Greek yogurt's specific contribution beyond its lactic acid content is worth understanding. At 130g, Greek yogurt adds fat, protein, and acid to the batter simultaneously. The acid reacts with baking soda for additional leavening. The protein contributes structure. The fat contributes moisture retention. Its specific 2% fat content rather than full-fat is a deliberate calibration — full-fat Greek yogurt adds additional fat that, combined with the butter and oil, can produce a slightly greasier crumb; 2% provides the acid and moisture benefits with the correct fat balance for this specific recipe.