Ingredients
Method
Freeze the Biscoff Centers
- Line a small tray or plate with parchment and scoop 24 small mounds of Biscoff spread, about 2 teaspoons or 10 g each, spacing them so they don’t touch. Freeze until firm, 30 to 45 minutes. The centers don’t need to be rock hard, but they must be firm enough to handle cleanly; too soft and they smear into the dough instead of holding together as a distinct core.
Make the Cookie Dough
- Beat the softened butter with the brown sugar and granulated sugar until creamy and smooth, 2 to 3 minutes, stopping short of fluffy and aerated. Add the eggs one at a time, mixing well after each, then mix in the vanilla. In a separate bowl, whisk together the flour, cornstarch, baking soda, baking powder, and salt, then add this to the butter mixture and mix just until combined before folding in the chocolate. The dough should be thick, soft, and scoopable, not loose; if it feels warm or slightly sticky, that’s normal and will correct itself in the chill.
Chill the Dough
- Cover the dough and refrigerate for 30 to 45 minutes, until noticeably firmer and easier to portion. This chill keeps the cookies thick, reduces spread later in the oven, and makes it easier to wrap dough cleanly around the frozen filling in the next stage.
Portion and Fill the Cookies
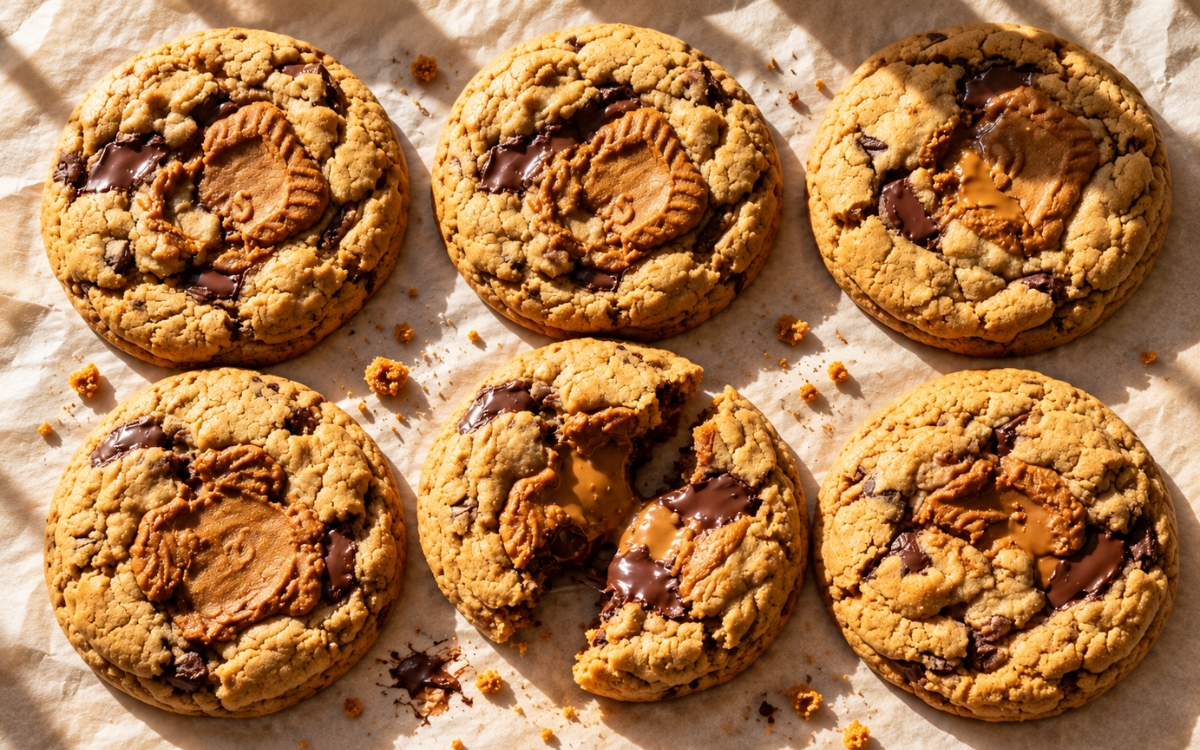
- Line baking sheets with parchment. Divide the dough into 24 equal portions, about 40 to 45 g each, and flatten each into a disc in your palm. Set one frozen Biscoff center in the middle, then wrap the dough around it and seal completely, rolling gently into a tall mound rather than a flat ball, since a taller shape bakes up thicker. Space the filled balls on the tray with room to spread, then press a few extra chocolate chunks, a small dab of Biscoff, or a piece of Biscoff biscuit lightly into the tops without pressing deep enough to expose the filling underneath.
Chill Again Before Baking
- Refrigerate the shaped cookies for 20 to 30 minutes, or freeze for 10 to 15 minutes, until firm again. Stuffed dough spreads more easily than solid dough once it hits a hot oven, so this second chill matters more here than in a plain cookie.
Bake
- Heat the oven to 180°C conventional or 170°C fan. Bake 6 to 8 cookies per tray for 12 to 14 minutes, until the edges are set and lightly golden-brown, the tops are crackled and slightly puffed, and the centers still look a little soft and underdone. Pull the tray while the middles still look tender; waiting for them to firm fully in the oven trades away the molten center. If needed, immediately after baking, gently swirl a round cutter or bowl slightly larger than the cookie around each one to tighten the shape.
Finish and Cool
- For more visible swirls, add a tiny extra dab of Biscoff to the hot cookies and lightly drag it with a spoon or small offset spatula, scattering on a few extra chocolate pieces or biscuit crumbs if desired. Let the cookies cool on the tray for 15 minutes before moving them; this rest lets the centers finish setting, the melted chocolate thicken slightly, and the Biscoff core turn creamy rather than runny. Serve warm for the softest center, or let them cool fully for a thicker, fudgier middle.
Notes
Cornstarch works alongside the flour rather than replacing any of it, softening the crumb and giving both the cookie and the area around the filling a more tender, bakery-style bite instead of a dense one.
Chopped chocolate melts into larger, glossier pools than chocolate chips, which hold their shape and distribute more evenly through the dough; a mix of both gives visible melted streaks without losing even coverage in every bite.
The two chills do different jobs. The first firms the raw dough so it’s easier to work with and keeps the base spread under control; the second re-firms the shaped, filled cookies right before they go into the oven, since a stuffed cookie spreads faster than a plain one as soon as the dough meets heat.
Sealing the dough fully around the frozen Biscoff disc separates a clean filled center from one that leaks heavily. A little seepage at the edges is normal and even looks good; a full blowout usually means the filling wasn’t cold enough or a seam didn’t close properly.